After completing my Master Gardener certification and spending three seasons running variety trials at our county extension demonstration garden, I can tell you that mulberries are one of the most underrated and under-researched fruit trees in the home landscape — which means most of the advice floating around online is either incomplete or just flat wrong. What makes this especially frustrating is that mulberries produce enormous volumes of fruit in an extremely compressed harvest window — we’re talking weeks, not months — so when growers finally figure out what they have on their hands, they’re suddenly staring down five gallons of ripe berries with no reliable plan for preservation. Water bath canning is the method I consistently recommend to extension program participants because the acidity profile of mulberries makes them genuinely well-suited to it, but the details matter more than most guides admit, and getting those details wrong is the difference between a shelf-stable jar and a safety risk. In this guide, I’ll walk you through the complete water bath process using practices aligned with current USDA and National Center for Home Food Preservation guidelines — the same ones I teach in our county’s food preservation workshops — so you can put up your mulberry harvest with confidence rather than guesswork.
That first failed attempt cost me an entire harvest, a ruined pot, and about four hours of my Saturday. What went wrong? I didn’t have the right equipment, I didn’t understand headspace, and I had no idea that mulberries — being naturally low in pectin — need a little extra help to set properly. I was winging it with a random pot, a pair of kitchen tongs, and pure optimism. This post is everything I wish someone had told me before that heartbreaking afternoon.
Why Mulberries Are Worth Preserving (and Why Water Bath Canning Works)
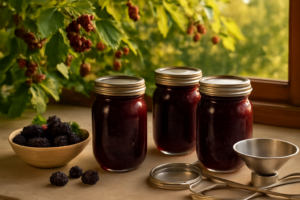
Mulberries have the most frustratingly short harvest window of almost any fruit I’ve grown. You get maybe two to three weeks of ripe berries before the tree is done for the year. If you don’t act fast, you lose them to birds, rain, or plain old spoilage. That’s exactly why learning to can them is such a game-changer. A properly sealed jar of mulberries on your pantry shelf is like bottling up summer — you’ll thank yourself in February when you crack one open for pancakes.
Water bath canning works beautifully for mulberries because they are a high-acid fruit, which means they’re safe to process in a simple boiling water bath rather than a pressure canner. The heat kills off harmful bacteria and creates that satisfying vacuum seal that keeps your fruit shelf-stable for up to a year. It’s genuinely one of the most beginner-friendly preservation methods once you understand the basics — which I promise to walk you through right here.
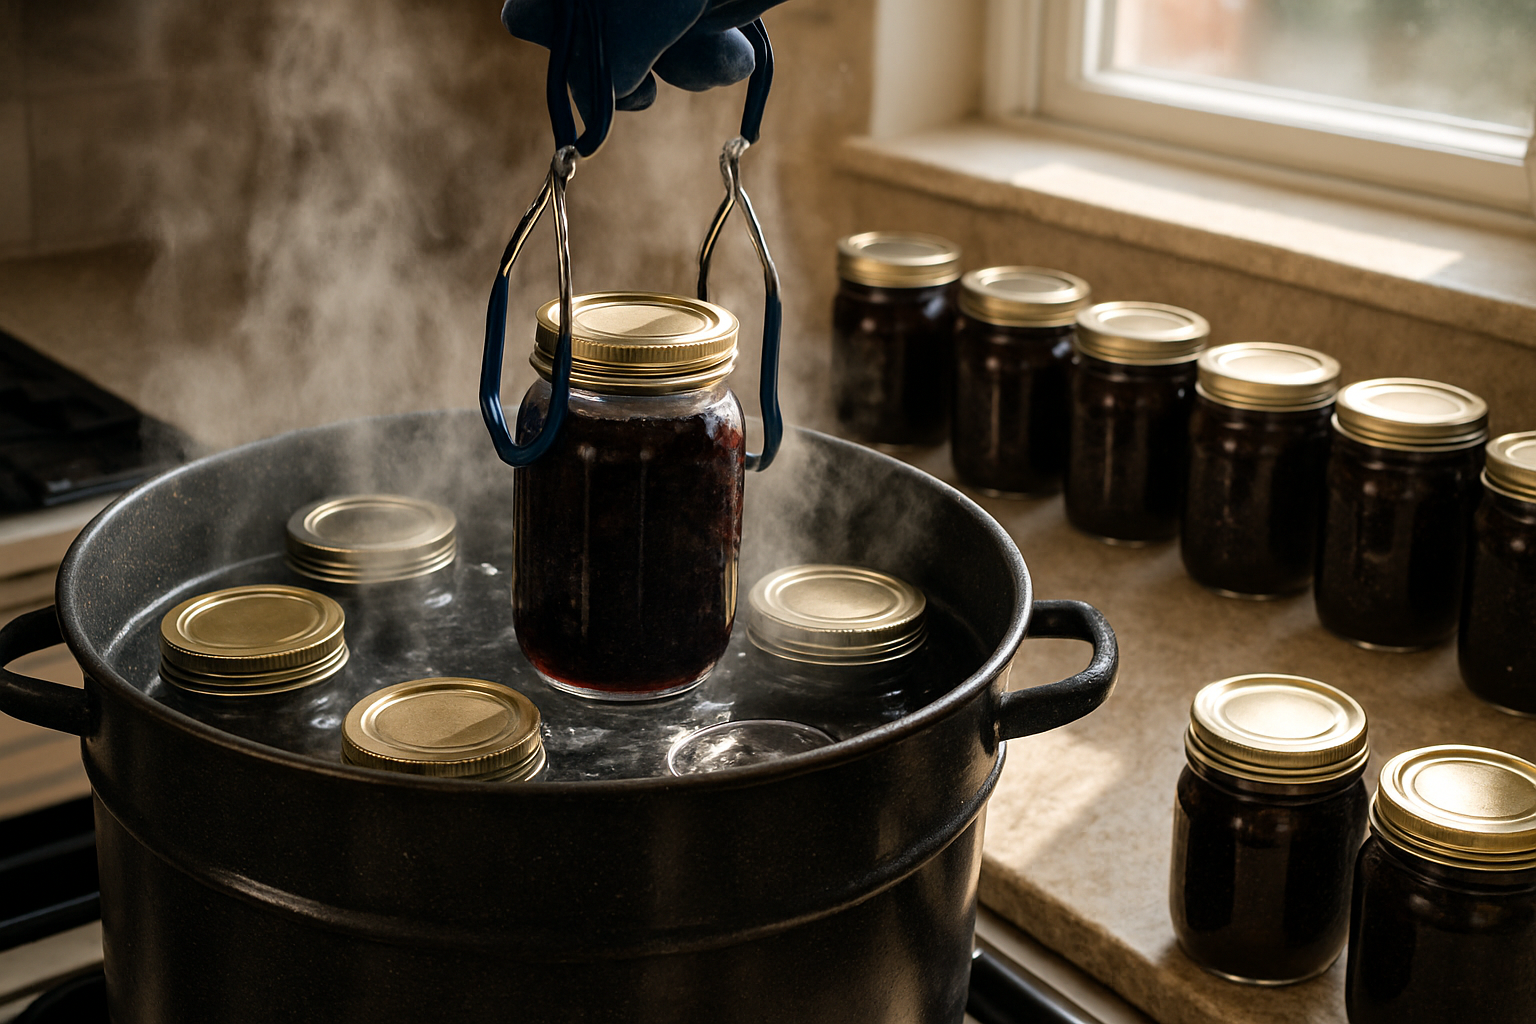
The Water Bath Canner That Actually Fits a Three-Day Mulberry Harvest
When you’re staring down 40+ pounds of mulberries picked over 72 hours, you need a canning setup that can handle back-to-back batches without cooling down between runs. A undersized or poorly designed water bath canner will kill your momentum and waste precious fruit.
What works
- The pot diameter is wide enough that you’re not fighting to fit quart jars in a single layer—I can process six jars at once instead of four, which cuts my canning day roughly in half.
- The included rack sits flat and doesn’t shift during the boil, so jars don’t clank together and risk cracking when you’re running on your third batch and exhaustion is setting in.
- The lid actually seals and holds heat consistently; I’ve noticed processing times are predictable across batches, which matters when you’re following tested USDA recipes for safety.
What doesn’t
- The enamel chipped on the interior after my second season of heavy use—nothing dangerous, but cosmetically it looks rougher than I expected for the price point.
- It takes up serious cabinet real estate year-round; if you live in an apartment or have tight storage, you’ll be annoyed every time you need to retrieve it.
I nearly returned it after the first chip appeared, convinced I’d wasted money on equipment that wouldn’t last—but two more seasons in, I realize the damage is purely cosmetic and the canner still performs flawlessly. If you’re serious about processing large mulberry harvests, grab the Supa Ant Canning Supplies Water Bath Canning Pot with Rack & Lid Starter Kit.
This post contains affiliate links. As an Amazon Associate, I earn from qualifying purchases at no extra cost to you.