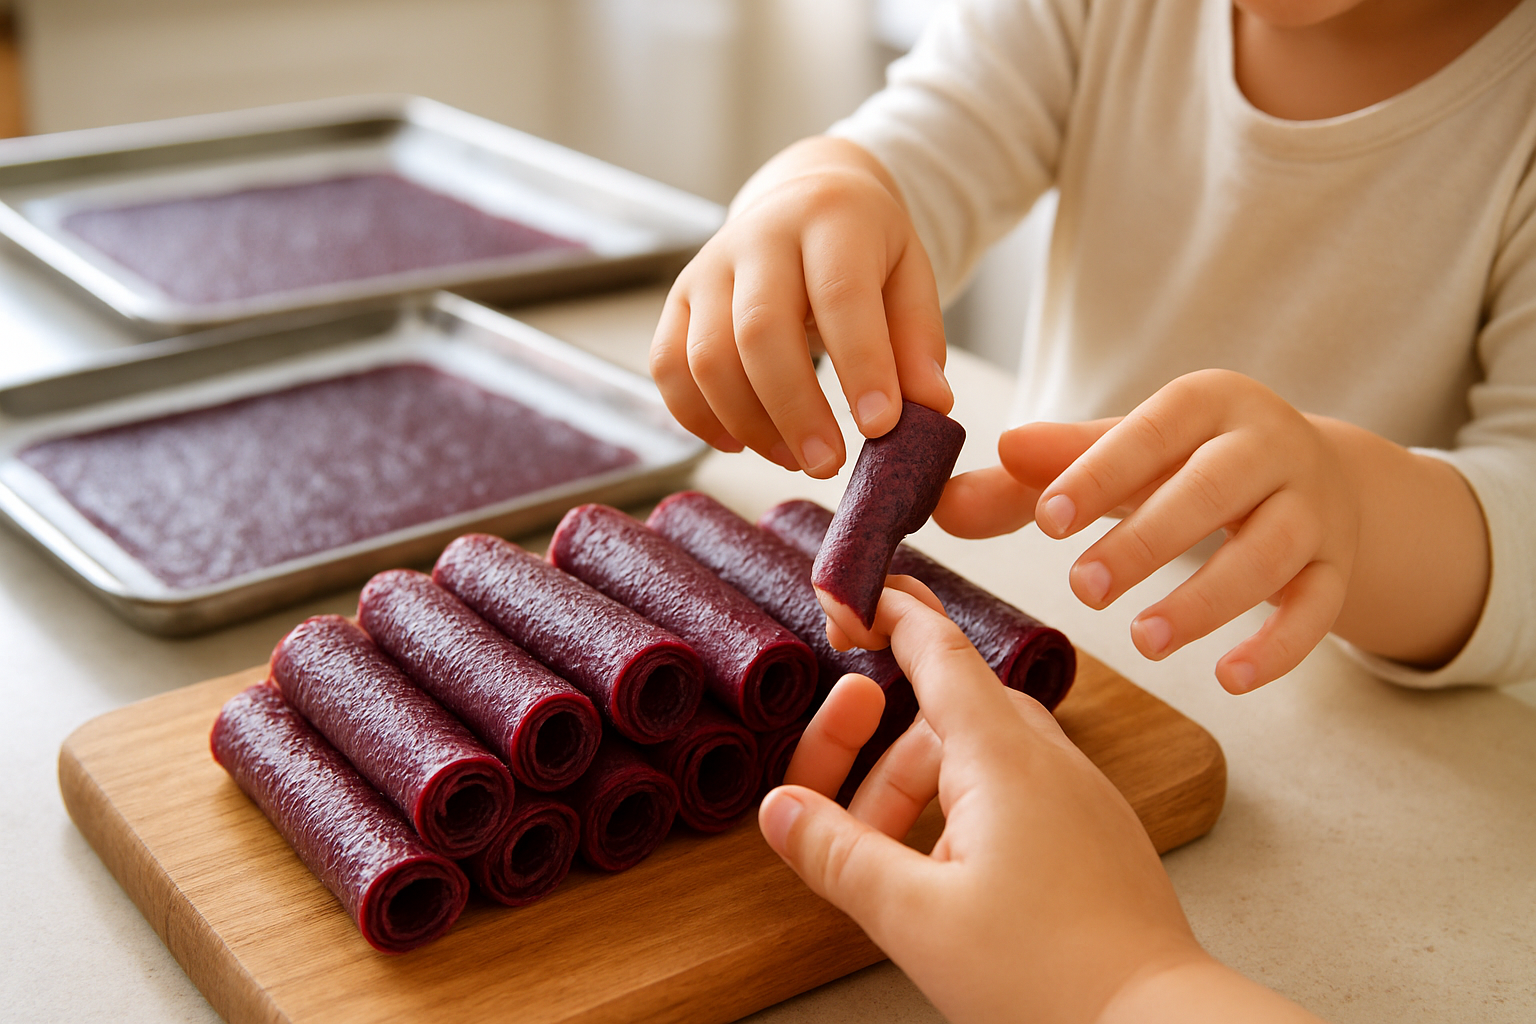
My hands are stained purple up to my elbows. It’s mid-July, and my beloved Pakistan mulberry is shedding fruit faster than I can pick it. My daughter is already asking what we’re making with today’s haul. This is the moment that separates a manageable harvest from complete chaos—the difference between preserving what I’ve grown and watching pounds of it rot on the ground while I scramble to figure out what to do with it all. A mulberry’s productive window compresses into maybe two or three brutal weeks, and in that time, I’m competing with birds, ground loss, and kids eating straight from the branches. Fruit leather solves this problem entirely because it transforms overripe berries into shelf-stable strips, doesn’t demand any fancy thickening agents, and moves volume quickly. Here’s the real win: it’s one of the few preservation projects where children actually become useful help rather than obstacles. I’ve bottled mulberries into ferments, wines, and spreads over the years, but fruit leather remains my secret weapon because it processes fruit rapidly, handles large quantities, and asks almost nothing from you in return. What follows is exactly how I do it now, stripped of the early disasters that taught me what actually matters.
Two summers back, I had what can only be described as a catastrophic afternoon in the kitchen. This year, my daughter and I produced four flawless batches of mulberry fruit leather together, and there were zero tears—hers or mine. (The eating of her approximate body weight in finished leather is a separate issue entirely.) If you’re dealing with a mulberry tree that’s dropping more fruit than your family can consume fresh and you’ve got kids who want kitchen involvement, this project delivers. I’ll walk you through exactly what I’ve learned to do right—after spending considerable time learning what went wrong.
Why Mulberries Are Perfect for Fruit Leather
Choosing your fruit matters deeply for leather-making success. Mulberries happen to be nearly perfect for this purpose—and I base that on having tested this against far more stone fruits than any sensible person would. The natural pectin levels in mulberries are already high enough that thickeners become unnecessary. Additionally, ripe mulberries deliver sweetness that means you’ll use dramatically less added sugar compared to sharper fruits like rhubarb or currants.
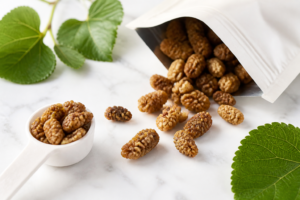
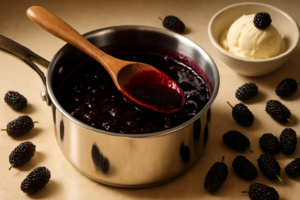
The taste itself is wonderfully intricate—it hovers between dark berries and stone fruit, with an almost preserves-like depth—and this flavor becomes even more concentrated as the leather dries. Take one cup of fresh mulberries, and it shrinks into a modest length of leather that somehow tastes ten times more intense and vibrant. Aesthetically, there’s an additional bonus: that rich, wine-dark purple hue that kids find genuinely irresistible comes purely from what’s in your bowl. Nothing artificial, nothing added.
Red varieties, pale cultivars, and dark types all work here—though the black-fruited selections like Black Beauty and Illini Star will give you maximum depth in both taste and appearance. When white or pale mulberries are your only option, a small hit of lemon brings the flavor into focus and strengthens the color development.
Basic Mulberry Fruit Leather Method (Lessons From My Kitchen Failures)
Making fruit leather sounds deceptively straightforward. Where execution usually trips people up—where I spent a sweaty afternoon ruining things—is in the actual technique itself. Below is the complete walkthrough.
Silicone Mats: The One Tool That Rescued My Fruit Leather Success
There’s nothing more defeating than peeling away a partially-dried mulberry leather only to discover half of it has bonded to your drying surface. Silicone mats eliminate this frustration entirely—the leather releases effortlessly, I avoid waste, and cleanup becomes laughably simple when I’m processing large fruit volumes in a compressed timeframe.
The advantages I’ve experienced
- Leather separates in one clean piece, even partway through drying—I can rotate to the second side mid-cycle without any tearing or damage.
- They arrive pre-sized to fit standard equipment trays (14×14 dimensions work with nearly all residential dehydrators), meaning no wrestling with oversized paper or custom cutting.
- Built to last through many drying cycles—my collection has handled an entire season’s worth of mulberry, apple, and stone fruit leathers without any deterioration in release performance.
Where they fall short
- A 12-mat set sometimes feels excessive if you’re only drying one or two trays at a time—you’ll end up with multiple mats in storage between harvest cycles.
- The material itself is noticeably thicker than standard paper, which means it sits higher in your tray and might interfere with air circulation if your dehydrator shelves sit close together.
I almost switched back to parchment in week two when I thought the silicone was warping at high heat, but it was just the normal flex of quality silicone—no actual damage. Grab a set of Lova Silicone Dehydrator Sheets (14×14, 12-Pack), and you’ll stop losing fruit to sticking.
Frequently Asked Questions
Do I need pectin to make mulberry fruit leather?
No, mulberries carry enough natural pectin that thickeners become unnecessary, which is one reason I lean on this project during the harvest crush. Ripe mulberries are also sweet enough that you’ll use dramatically less added sugar than you would with sharper fruits like rhubarb or currants. Nothing fancy required.
Which mulberry varieties make the darkest fruit leather?
Black-fruited selections like Black Beauty and Illini Star give maximum depth in both taste and appearance. Red varieties and pale cultivars all work here too, so use what your tree gives you. When white or pale mulberries are my only option, a small hit of lemon brings the flavor into focus and strengthens the color development.
Will silicone dehydrator sheets fit a home dehydrator?
The 14×14 sheets I use arrive pre-sized for standard equipment trays and work with nearly all residential dehydrators, so there’s no cutting or wrestling with oversized paper. The one drawback is that silicone is noticeably thicker than paper, so it sits higher in the tray and might interfere with air circulation if your shelves sit close together.
How much fruit leather does a cup of mulberries make?
One cup of fresh mulberries shrinks into a modest length of leather that somehow tastes ten times more intense and vibrant than the fresh fruit. Drying concentrates the flavor, which hovers between dark berries and stone fruit with an almost preserves-like depth. That wine-dark purple color comes purely from what’s in your bowl.
Keep Reading
About This Article

Written by Ruth Nakamura. Ruth Nakamura is a backyard orchardist in the Pacific Northwest who has grown mulberries for fifteen years, cultivating twelve different varieties in her own backyard. Not a horticulturist by formal training - she shares what she has learned through hands-on growing, workshops, and connecting with nurseries and growers across the country. More about this site.
Scope and limits. Ruth is a backyard orchardist without formal horticultural training. Growing conditions vary enormously by region, so confirm variety, timing, and pest guidance with your local extension service.
Verify this against a primary source
Specifics change, and your situation may differ from the one described here. These are the authorities worth checking directly:
- USDA Plant Hardiness Zone Map — zone verification for your location
- Oregon State University Extension — fruit growing and pruning research
- USDA PLANTS Database — species range and identification