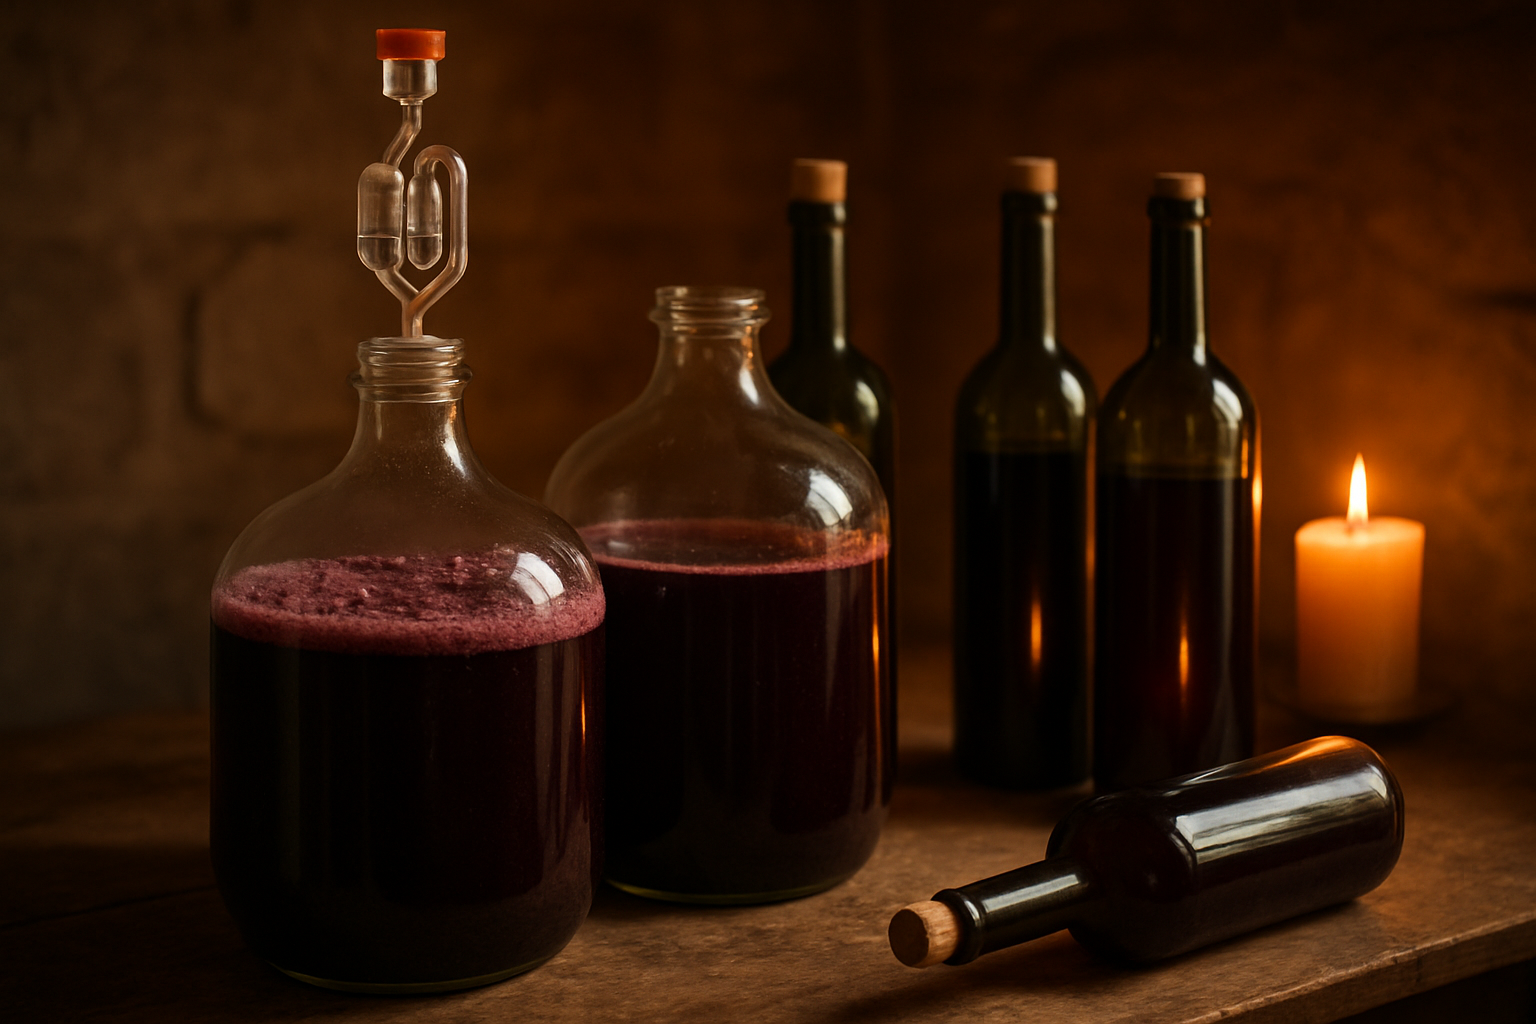
Everyone tells you that fermenting fruit at home requires fancy equipment and years of experience. I’d argue that’s mostly nonsense—what actually matters is understanding why certain basic tools exist before you skip them. My first batch failed catastrophically because I ignored every single one of them. By my second attempt, working with the right gear made the difference between something undrinkable and something I genuinely looked forward to tasting.
How My Homemade Mulberry Wine Disaster Actually Started
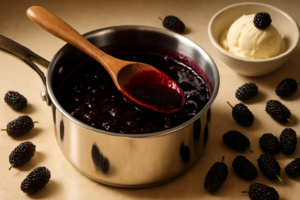
The whole thing started because my Illinois Everbearing went absolutely haywire one season with fruit production—we’re talking more berries ripening simultaneously than any reasonable person could preserve through conventional methods. I’d already put up jars of jam, stashed pint containers in the freezer for smoothies, and reduced batch after batch into syrup. Then the question hit me: what if I fermented the rest into wine?
Turns out that’s a much steeper learning curve than I assumed. Especially when your first approach is improvised and overconfident.
I found a couple of fermentation videos online, located a mason jar from my pantry, crushed several pounds of berries with sugar, threw in what I thought would work as yeast (regular bread yeast from my baking stash—terrible call), draped a kitchen cloth over the opening, and settled in to wait. Instead of producing wine, the mixture erupted into violent foam, emitted a smell my family found genuinely revolting, and by the middle of the first week sprouted fuzzy mold across its surface. I poured the whole failed experiment down the sink and spent several days genuinely frustrated with myself.
Where Everything Went Off Track (And What I Should Have Done)
Once I recovered from that disaster, I went back and actually investigated what goes wrong during fermentation. A conversation with someone at the local homebrew supply shop ended up being the wake-up call I needed—she walked through nearly a dozen missteps I’d made in a single afternoon. These are the foundational mistakes to avoid before you start:
- Bread yeast behaves completely differently from wine yeast. It ferments chaotically and in unpredictable ways, generates off-flavors you’ll detect in the finished product, and can’t handle the alcohol concentration that develops during proper wine fermentation. You need actual wine yeast—Lalvin EC-1118 or Red Star Premier Classique both work reliably for fruit wines.
- Leaving fruit exposed under cloth doesn’t keep contaminants out. Wild bacteria and mold will move in freely under cloth draping. You need an actual airlock valve that permits carbon dioxide to bubble out while preventing outside air from entering your fermentation vessel.
- Mulberries alone lack the acid and tannin structure that grapes naturally possess. To get a balanced fermentation and finished wine with actual complexity, you need to add a bit of acid blend powder and wine tannin. Otherwise your wine tastes flat and underdeveloped.
- Every single piece of equipment touching your fruit must be properly sanitized beforehand. That means jars, utensils, funnels, everything. Star San or a similar no-rinse sanitizer is essential—bacteria thrive in the combination of sugar and fruit that you’re creating.
- Leaving seeds and fruit solids in your fermenting batch too long creates bitterness. If you let mulberry pulp and seeds steep for more than the first handful of days during primary fermentation, you’ll end up with an astringent, over-extracted wine. Strain it properly and then leave it undisturbed.
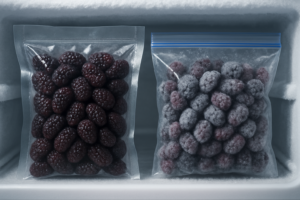
So I went back to my freezer, thawed out four pounds of mulberries I’d already put away from earlier in the season, and tried the whole process again—this time actually knowing what I was doing.
Getting the Right Supplies: What Actually Made a Difference
When you stop guessing and actually acquire proper fermentation gear, the whole experience shifts from chaotic to manageable. The gap between my first attempt and my second wasn’t inspiration or hidden talent—it was having the correct tools on hand before I started. You don’t need to drop a lot of money, but trying to cheap out on the fundamentals just guarantees more waste and disappointment. This is what I actually reach for now and what I tell people starting out:
The Single-Gallon Setup That Transformed My Mulberry Pile Into Actual Wine
Before I had a system in place, entire mulberry harvests would disappear through rot, bird predation, or staining disasters. Once I committed to proper fermentation gear, I suddenly had a way to actually preserve and transform what my tree was producing.
Why the one-gallon size makes sense
- The plastic gets dinged and hazy after a year of use, making it harder to visually inspect what’s happening during fermentation—something you actually want to monitor when you’re still learning.
- You end up with roughly five standard wine bottles once you’ve strained, clarified, and bottled everything, which feels small relative to the time invested in harvesting and processing—sometimes leaving you wondering if it was worth the effort.
I almost abandoned the whole experiment halfway through fermentation when cloudiness made me think something had gone wrong, but the hydrometer proved the wine was fermenting perfectly. Grab the Home Brew Ohio Upgraded 1 Gallon Wine from Fruit Kit and actually finish what your mulberry tree started.
- A gallon matches what you can realistically harvest before the birds move in and the weather shifts—I can finish collecting, cleaning, and starting fermentation within a tight window instead of scrambling to source enough fruit for bigger carboys.
- The airlock actually functions as intended so nothing unwanted—fruit flies, mold spores, stray bacteria—can penetrate your fermenting batch, and the hydrometer strips away the guesswork about whether fermentation is progressing or complete.
- The measurement increments printed on the side let you monitor sugar content and estimate final alcohol without purchasing additional testing equipment—essential when dealing with homegrown berries where ripeness and juice content vary unpredictably.
Where it falls short
Frequently Asked Questions
Can I use bread yeast to make mulberry wine?
No, and bread yeast was my biggest first-batch mistake. It ferments chaotically and unpredictably, generates off-flavors you’ll detect in the finished product, and can’t handle the alcohol concentration that develops during proper wine fermentation. I switched to actual wine yeast instead; Lalvin EC-1118 and Red Star Premier Classique both work reliably for fruit wines.
Is a cloth cover enough for fermenting mulberries safely?
No. Draping a kitchen cloth over my mason jar let wild bacteria and mold move in freely, and my first batch erupted into violent foam, smelled revolting, and sprouted fuzzy mold by the middle of the first week. You need an actual airlock valve that lets carbon dioxide bubble out while preventing outside air from entering.
Why does homemade mulberry wine taste flat and underdeveloped?
Mulberries alone lack the acid and tannin structure that grapes naturally possess, so the finished wine tastes flat and underdeveloped. I add a bit of acid blend powder and wine tannin for a balanced fermentation and real complexity. Leaving pulp and seeds steeping past the first handful of days also creates astringent, over-extracted bitterness.
Should I worry if my mulberry wine looks cloudy?
Not necessarily. I almost abandoned my whole experiment halfway through fermentation because cloudiness made me think something had gone wrong, but the hydrometer proved the wine was fermenting perfectly. That’s exactly why the hydrometer matters — it strips away the guesswork about whether fermentation is progressing or complete instead of leaving you guessing.
Keep Reading
About This Article

Written by Ruth Nakamura. Ruth Nakamura is a backyard orchardist in the Pacific Northwest who has grown mulberries for fifteen years, cultivating twelve different varieties in her own backyard. Not a horticulturist by formal training - she shares what she has learned through hands-on growing, workshops, and connecting with nurseries and growers across the country. More about this site.
Scope and limits. Ruth is a backyard orchardist without formal horticultural training. Growing conditions vary enormously by region, so confirm variety, timing, and pest guidance with your local extension service.
Verify this against a primary source
Specifics change, and your situation may differ from the one described here. These are the authorities worth checking directly:
- USDA Plant Hardiness Zone Map — zone verification for your location
- Oregon State University Extension — fruit growing and pruning research
- USDA PLANTS Database — species range and identification