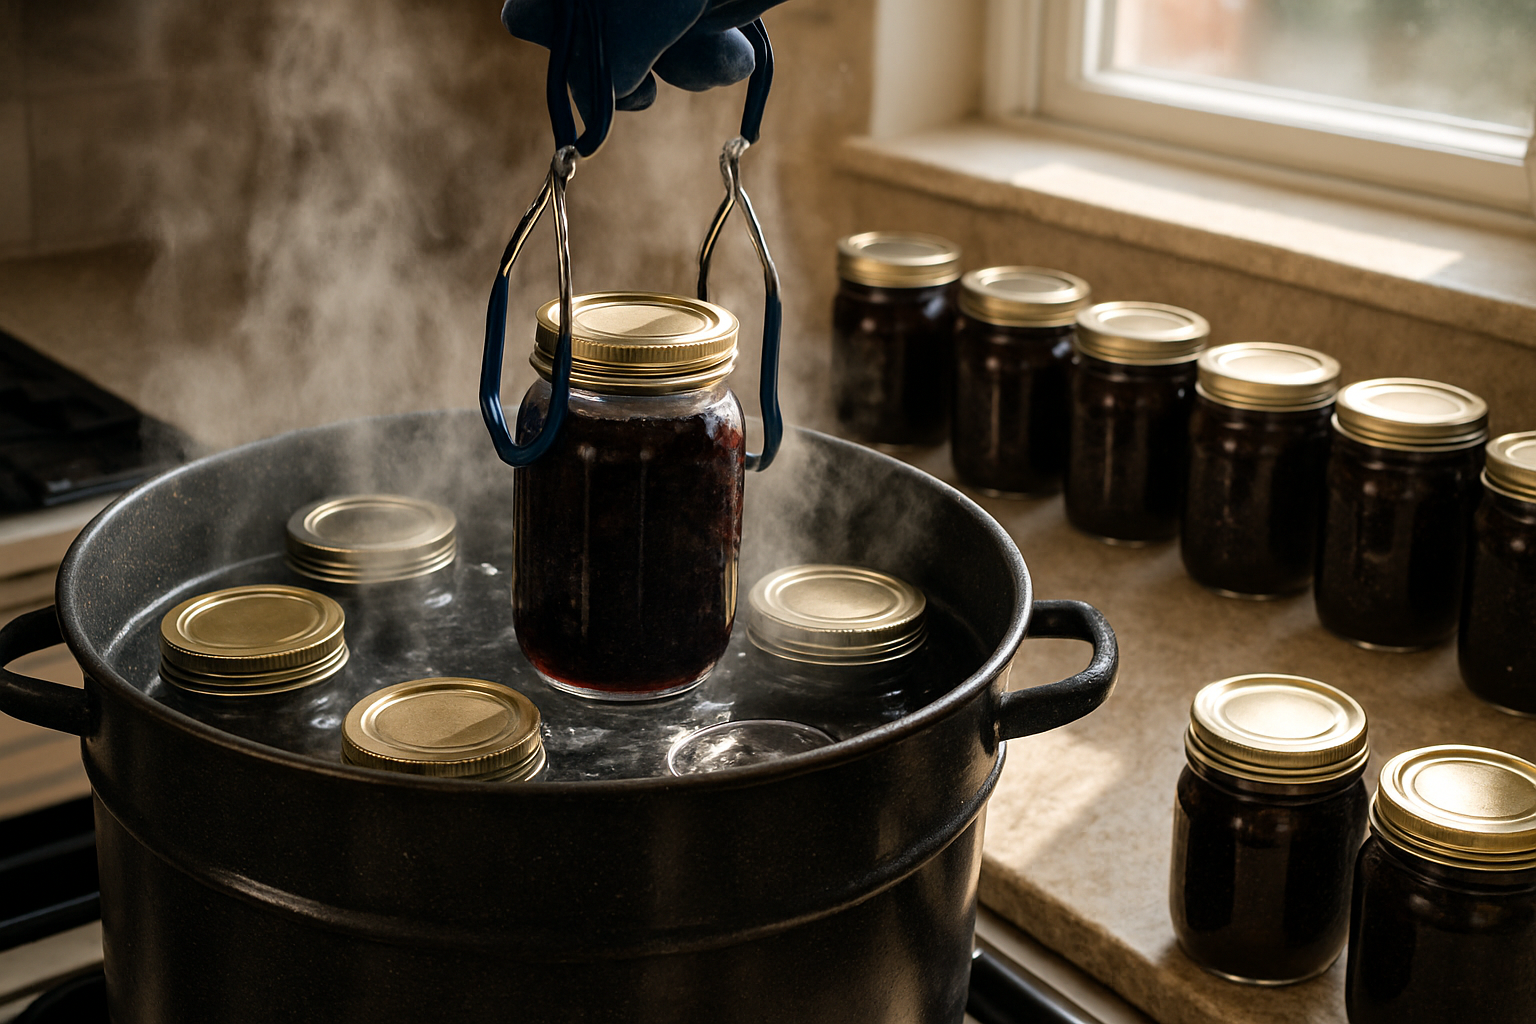
Preserving mulberries safely requires understanding the limitations of different preservation methods. Water-bath canning is common for high-acid fruits, but mulberries present their own challenges when it comes to safe preservation. Knowing when to use pressure canning versus water-bath methods, and understanding the science behind each approach, helps ensure that preserved mulberry products remain safe to eat year-round.
Why Mulberries Are Worth Preserving
Mulberries have a narrow harvest window—typically fourteen to twenty days—when ripe fruit hangs heavy on the branches. During this period, competition from birds and weather risks like rain can threaten the crop. Preservation isn’t just an option; it’s essential if you want to enjoy the summer bounty throughout the year. Those jars of mulberry jam opened in December represent thoughtful planning and effort.
What often trips up new growers is that mulberries aren’t like the high-acid fruits we usually think of when it comes to canning. Depending on the cultivar and ripeness, the pH of my mulberries has ranged anywhere from 3.4 to 5.6. That’s a big range! The upper end spells trouble for a plain water bath, and without official USDA or NCHFP-tested recipes for mulberries, I’ve learned through trial and error that treating them as low-acid is my safest bet. Let me share what I’ve discovered over the years.
Methods That Actually Keep Your Mulberries Safe
Without a tested recipe for plain mulberries in a water bath, I’ve found these methods to be the safest options for preserving my harvest:
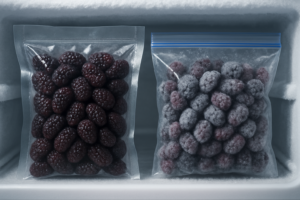
- Freezing requires almost no technique. I rinse my berries gently, pat them dry, and spread them out on a sheet pan in a single layer. After they freeze solid, I transfer them to freezer bags or containers. It’s so simple, and when I thaw them later, they taste just as fresh as the day I picked them.
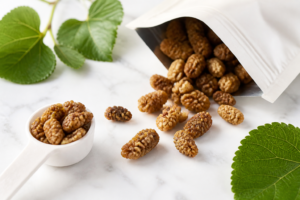
- A food dehydrator or very low oven converts mulberries into shelf-stable dried fruit. This method is a favorite of mine because it requires no canning supplies. Just gentle heat and patience turn my harvest into a delightful snack that lasts for months.
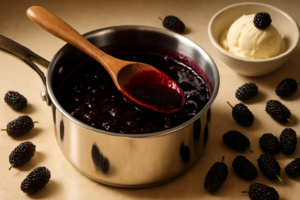
- Jams and preserves made with added sugar and acid are your water-bath-safe option. By combining mulberries with bottled lemon juice or citric acid, granulated sugar, and pectin, and following a tested recipe from NCHFP or a trusted guide, I create a safe environment for canning. It’s crucial to find a recipe that specifically mentions mulberries or another low-acid berry.
- Pressure canning handles low-acid foods, but you need an actual tested process — not improvisation. While pressure canning is perfect for low-acid produce, it’s vital to follow tested processing times for safety. Since no tested process exists for plain mulberries, I always consult my extension service or adapt a process for a similar berry.
- Your Cooperative Extension office is a free, credible resource for this exact situation. Every county has an extension office, and they often have dedicated food-preservation hotlines. They’ve been invaluable to me for variety-specific questions.
No matter which preservation method I choose, I always adhere to these fundamental rules: I use spotless jars with no cracks, fresh lids, and I clean the rims thoroughly before sealing. I pay close attention to headspace measurements, process each batch for the full time specified in my recipe, and allow the jars to cool undisturbed for a full day. I’ve learned the hard way that any jar with a flat lid or any signs of spoilage should be discarded without tasting. Safety is paramount!
The Water Bath Canner I Rely On for Mulberry Jam Production
When I finally found a tested mulberry jam recipe and realized I was facing a mountain of fruit — sometimes up to fifty pounds — I knew I needed a reliable canning vessel. A cramped or subpar water bath canner can really slow things down and lead to spoilage.
Where it excels
- Its interior diameter accommodates a full six quart-sized jars in a single layer, compared to four in standard models. This efficiency saves me hours when processing multiple batches.
- The removable rack is stable and level during a rolling boil. I can rest easy knowing my jars won’t shift or clank against each other, which is especially important when I’m running on fumes after several batches.
- The cover seals tightly, maintaining a consistent temperature, which is crucial for safety and timing when following tested recipes.
Where it disappoints
- After two seasons of heavy use, the enamel coating shows wear and tear. While it still functions perfectly, it doesn’t look as pristine as it did when I first bought it.
- Its footprint is substantial, meaning I have to sacrifice valuable cabinet space to store it, which can be frustrating in a small kitchen.
At one point, I considered returning it after the first chip appeared, worrying I’d wasted my money. But after two more seasons, I’ve come to appreciate that the damage is purely cosmetic. For anyone serious about processing large mulberry harvests, I highly recommend the Supa Ant Canning Supplies Water Bath Canning Pot with Rack & Lid Starter Kit.
Frequently Asked Questions
What pH is safe for water bath canning mulberries?
The safe cutoff for boiling-water-bath canning is pH 4.6 and below. Tested mulberry measurements range from roughly pH 3.4 up to pH 5.6 depending on cultivar and ripeness, so plenty of batches land above that line. Above pH 4.6, boiling water alone doesn’t reliably stop botulism spores from germinating in a sealed jar.
How do I freeze mulberries from a backyard tree?
I rinse the berries gently, pat them dry, and spread them out on a sheet pan in a single layer. After they freeze solid, I transfer them to freezer bags or containers. Freezing requires almost no technique, and when I thaw them later they taste just as fresh as the day I picked them.
Can I make mulberry jam that is water bath safe?
Yes, jams and preserves made with added sugar and acid are the water-bath-safe option. I combine mulberries with bottled lemon juice or citric acid, granulated sugar, and pectin, and follow a tested recipe from NCHFP or another trusted guide. The recipe needs to specifically mention mulberries or another low-acid berry.
Who can tell me if my mulberry variety is safe to can?
Your county Cooperative Extension office is the resource I use. Every county has one, they’re free and credible, and they often have dedicated food-preservation hotlines. Because mulberries aren’t on the USDA or NCHFP list of tested water-bath recipes, there’s no official processing time to point to, so I ask them variety-specific questions.
Keep Reading
About This Article

Written by Ruth Nakamura. Ruth Nakamura is a backyard orchardist in the Pacific Northwest who has grown mulberries for fifteen years, cultivating twelve different varieties in her own backyard. Not a horticulturist by formal training - she shares what she has learned through hands-on growing, workshops, and connecting with nurseries and growers across the country. More about this site.
Scope and limits. Ruth is a backyard orchardist without formal horticultural training. Growing conditions vary enormously by region, so confirm variety, timing, and pest guidance with your local extension service.
Verify this against a primary source
Specifics change, and your situation may differ from the one described here. These are the authorities worth checking directly:
- USDA Plant Hardiness Zone Map — zone verification for your location
- Oregon State University Extension — fruit growing and pruning research
- USDA PLANTS Database — species range and identification