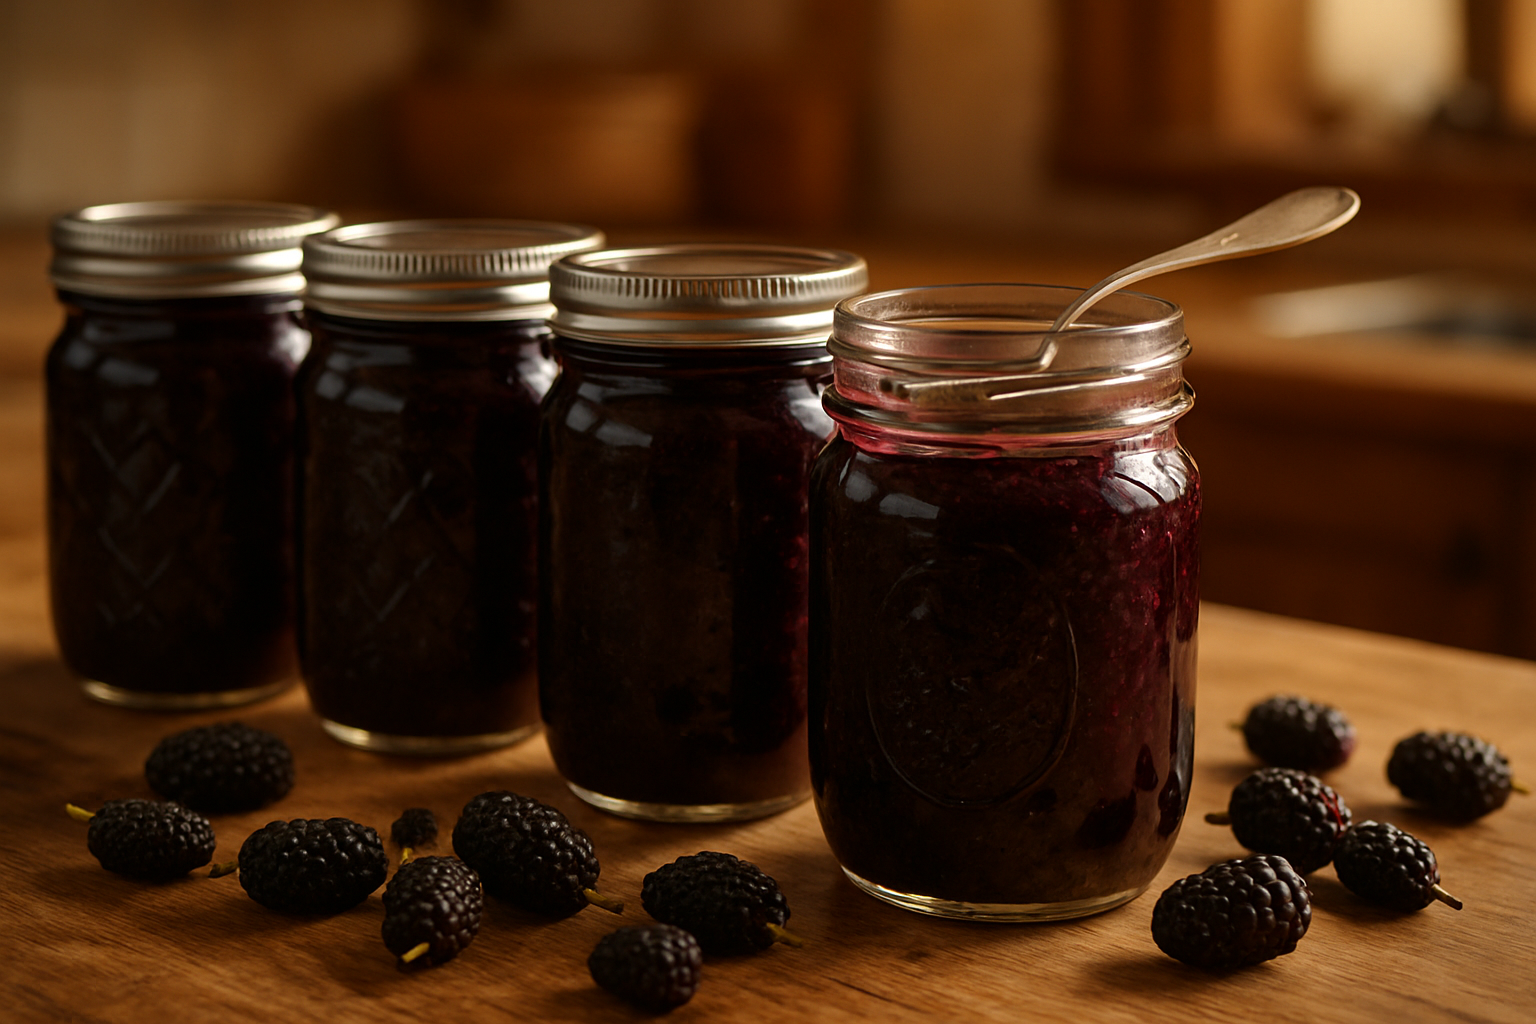
Growing mulberries successfully means understanding the characteristics of different cultivars—from Black Beauty and Chinook to Illini Star and Ozark Premier, each with distinct ripening patterns and uses. Learning through reading, connecting with nursery experts, and attending local workshops builds the practical knowledge needed for consistent harvests and successful preservation, especially when it comes to making delicious mulberry jam.
When I first started researching mulberry jam, I stumbled upon two conflicting opinions: some claimed that variety didn’t matter much—jam is jam, after all—while others, who turned out to be right, insisted that the cultivar you choose significantly impacts every stage of the process. It took me years of growing mulberries and watching my trees produce wildly different results to really understand this. The science behind it is fascinating: pectin levels, acidity, and natural sugar content vary dramatically between varieties like Morus rubra, Morus alba, and their hybrids. These differences don’t just disappear when you start cooking; instead, they become the very foundation that holds your jam together, or the reason it fails. I’ve spent three whole harvest cycles experimenting with different cultivars, observing how each one behaves, and developing a jam recipe that responds to the unique properties of mulberries rather than treating them like just another stone fruit. If you have an inherited tree or are considering adding a new one, this knowledge will completely transform your approach.
Skip ahead to my third season of making jam, and I had refined my technique to the point where a neighbor asked if I could spare some jars—no money exchanged, just a heartfelt request. That’s when you know you’ve really hit the mark: when people want it so badly they’re willing to ask for it!
Why Mulberry Jam Trips People Up (And Why It Doesn’t Have To)
One of the biggest challenges with mulberry jam is that these lovely fruits carry almost no natural pectin compared to their size and water content. While berries like blackberries and raspberries also face this issue, they at least appear denser. Mulberries can be deceiving—they look ripe and plentiful, promising to transform into something gel-like and spreadable. Spoiler alert: they often won’t without a little help.
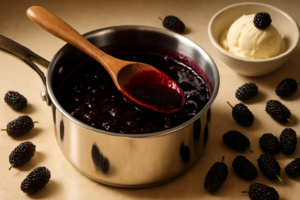
I learned this the hard way in my first year. I found a recipe online that boasted “no pectin needed—just patient cooking.” Oh, how I embraced that notion! I simmered my mulberries for what felt like an eternity, obsessively running the wrinkle test on a chilled saucer, waiting for that moment when the mixture would finally hold. Instead, it just kept spreading, as if mocking my efforts. Somewhere along the way, the sugars began to burn, and the flavor turned into something resembling burnt caramel rather than the bright, earthy taste of mulberries. I ended up with jars of a syrupy concoction that technically contained mulberries, but calling it “jam” felt like a cruel joke.
The solution was surprisingly simple: I switched to using liquid pectin, following the package directions, and trusting that the gelation would happen without putting my beloved mulberries through hours of heat. Mulberries have such a unique flavor—a delightful mix of bright and earthy—and overcooking obliterates that essence. Your main job with making jam is preservation, not transformation through heat.
The Recipe That Broke My Three-Year Troubleshooting Streak
The Pectin Solution That Ended My Batch Failures
You might find yourself looking at mulberry juice and thinking it should set, but when the boiling starts, everything often thins out in ways that feel personal. I’ve ruined countless batches by cranking up the heat, trying to force a set that never materializes, only to burn the sugars and flatten the flavor in the process. The real answer isn’t to apply more heat; it’s about adding the right amount of pectin at just the right moment.
Why this works
- It gels your entire batch within minutes of stirring, eliminating that frustrating guessing game about whether you’ve actually reached gel point or if you’ve just burnt your fruit into submission.
- It effectively handles lower-pectin varieties that often dominate backyard plantings (like many Asian blacks and hybrids) where boiling alone would strip color and muddle the taste.
- A two-box purchase gives you four packets total—enough to handle three separate batches without scrambling to reorder if your tree dumps fruit earlier than you expected.
Where it hits a limitation
- When your starting fruit tests high in pH (4.0 or above means lower acid), the pectin will still work, but your finished jam may taste hollow. You’ll need to add citric acid or fresh lemon juice before the pectin goes in, which can complicate things a bit.
- One packet per batch can lead you to bulk purchases if you’re serious about canning throughout the season, and keeping four packets on your shelf feels like a commitment if you’re not sure you’ll use them all.
I almost gave up on liquid pectin after my first batch seized up too quickly and turned grainy—until I discovered the timing trick of lowering the heat and stirring longer. Since then, Sure-Jell Certo Fruit Pectin has been my safety net every harvest.
Frequently Asked Questions
Does the mulberry cultivar really affect how the jam turns out?
Yes, the cultivar matters at every stage. Pectin levels, acidity, and natural sugar content vary dramatically between Morus rubra, Morus alba, and their hybrids, and those differences don’t disappear once you start cooking. They become either the foundation that holds your jam together or the reason it fails. It took me years of growing to understand this.
What should I do if my mulberries test at pH 4.0 or above?
Add citric acid or fresh lemon juice before the pectin goes in. At a pH of 4.0 or above your fruit is lower in acid, and while the pectin will still gel the batch, the finished jam can taste hollow. It’s an extra step that complicates things, but the flavor is worth it.
How many batches of jam will two boxes of pectin cover?
A two-box purchase gives you four packets total, which is enough for three separate batches since I use one packet per batch. That means I’m not scrambling to reorder if a tree dumps fruit earlier than expected. Keeping four packets on the shelf does feel like a commitment if you’re unsure you’ll use them.
Why did my liquid pectin make the jam grainy?
Mine seized up too quickly on my first batch and turned grainy, and I almost gave up on liquid pectin entirely. What fixed it was a timing trick: lowering the heat and stirring longer instead of rushing the set. Since figuring that out, liquid pectin has been my safety net every harvest.
Keep Reading
About This Article

Written by Ruth Nakamura. Ruth Nakamura is a backyard orchardist in the Pacific Northwest who has grown mulberries for fifteen years, cultivating twelve different varieties in her own backyard. Not a horticulturist by formal training - she shares what she has learned through hands-on growing, workshops, and connecting with nurseries and growers across the country. More about this site.
Scope and limits. Ruth is a backyard orchardist without formal horticultural training. Growing conditions vary enormously by region, so confirm variety, timing, and pest guidance with your local extension service.
Verify this against a primary source
Specifics change, and your situation may differ from the one described here. These are the authorities worth checking directly:
- USDA Plant Hardiness Zone Map — zone verification for your location
- Oregon State University Extension — fruit growing and pruning research
- USDA PLANTS Database — species range and identification