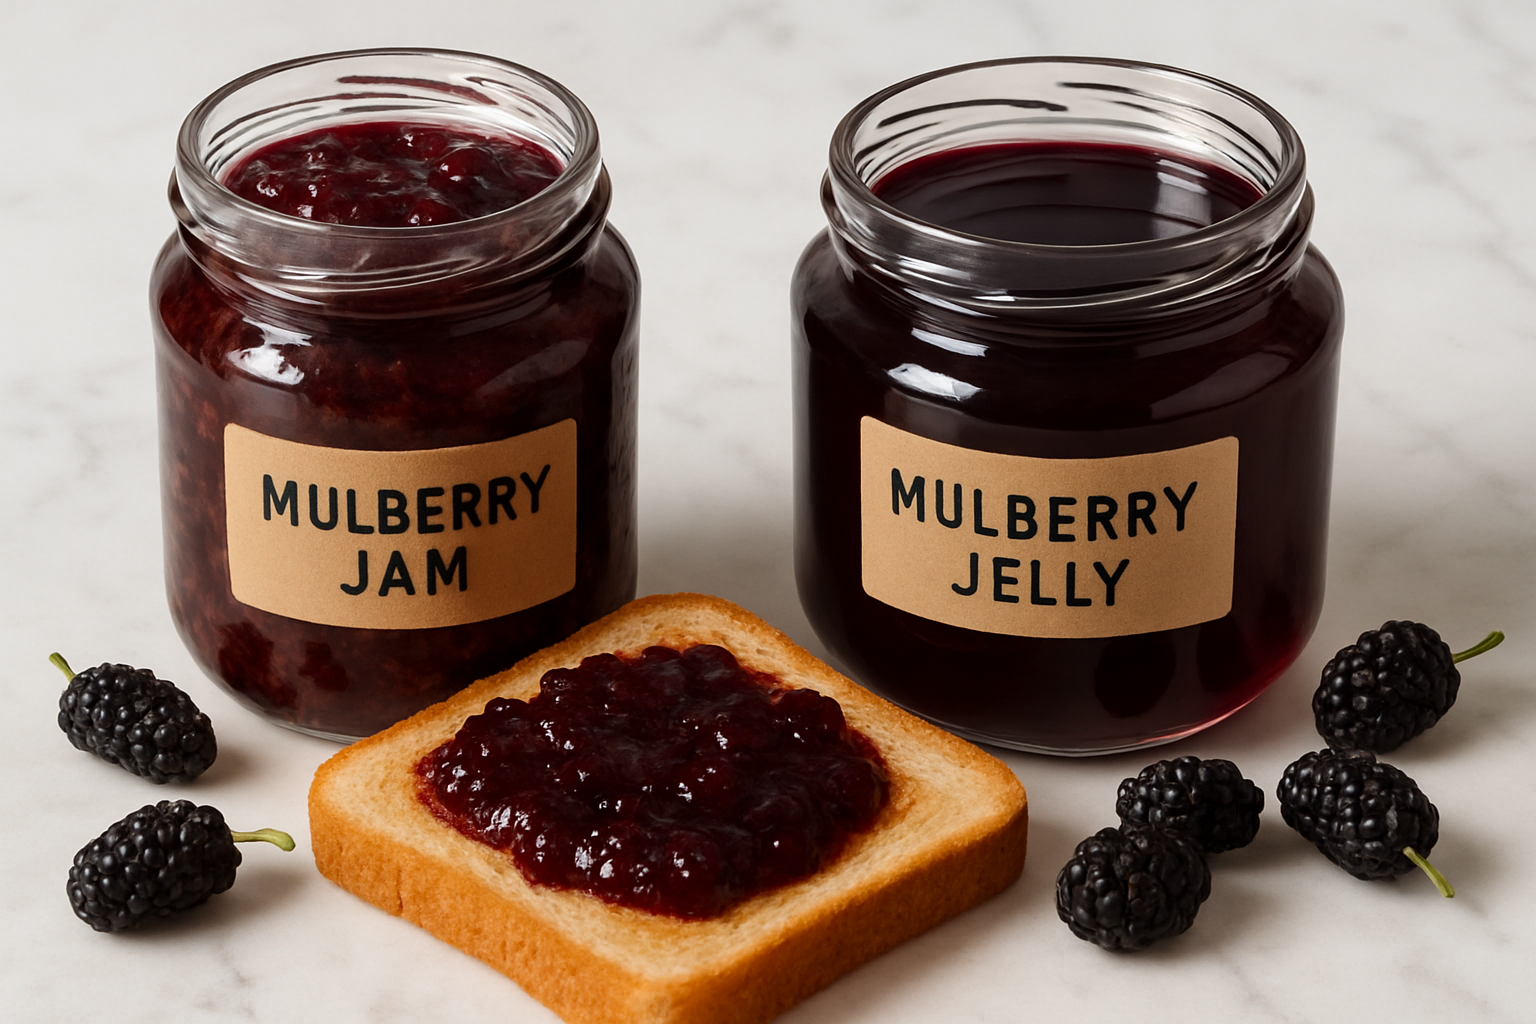
Jelly-making can present unexpected challenges. Cloudy, separated juice and unsuccessful batches sometimes result from not understanding the actual difference between jelly and jam, or from not thinking through how that difference changes the entire process. The choice between jelly and jam isn’t just about preference or aesthetics. It’s the foundational decision that determines your workflow, your equipment, your timing, and whether you end up with something shelf-stable and delicious or something that separates in storage. Mulberries present this choice more sharply than most fruits because of their structure: the seeds are tiny and soft throughout, the juice runs thin, they deliver their entire harvest in a compressed window, and the first few hours after picking are genuinely critical. Understanding which path to take at your counter with a full basket of berries is essential to success.
| Attribute | Jam | Jelly |
|---|---|---|
| Fruit content | Whole crushed fruit with seeds and skin | Strained juice only, no pulp or seeds |
| Texture | Thick, spoonable with visible fruit matter | Clear, glossy, translucent |
| Fruit ratio | 4 cups ripe mulberries | 3/4 cup sugar per cup extracted juice |
| Sugar ratio | 3 cups sugar | 3/4 cup sugar per cup juice |
| Other ingredients | 1 tablespoon fresh lemon juice | Lemon juice; pectin if very ripe |
| Final temperature | 220°F | 220°F |
| Processing time | Less time, forgives small mistakes | Several hours or overnight for straining |
Mulberry Jelly vs Jam: What Is Actually the Difference?
The distinction is straightforward, though I spent longer than I should have being unclear on it myself. Jam is built from whole fruit that’s been crushed or broken down into smaller pieces — seeds and skin and everything else stays in. You get a thick, spoonable consistency with visible fruit matter distributed throughout. Jelly takes a completely different route: it’s made from nothing but the liquid you’ve extracted and strained from the fruit. No seeds, no pulp, no texture at all. What results is a clear, glossy, almost translucent spread that catches light in a jar.
For mulberries, this split between the two methods carries real weight. Throughout each mulberry you’ll find countless small, tender seeds that are totally safe to eat but do contribute a subtle grittiness when you’re spreading jam on toast. Some people genuinely enjoy that quality — it adds character. Others find it off-putting or prefer their spreads smooth and refined. If seed texture bothers you or your household, or if you’re drawn to that jewel-like clarity jelly offers when you hold the jar up to the light, then the additional straining work jelly demands becomes genuinely worthwhile.
Choosing Jam: Why I Keep Coming Back to It Season After Season
Mulberry jam wins my loyalty for three solid reasons: it demands less of your time, it forgives small mistakes more readily, and it preserves the layered, nuanced flavor that makes mulberries special in the first place because the entire fruit contributes to the final product. These are the moments when jam makes the most sense for your kitchen:
- You’re facing a substantial haul and want to move through preservation without waiting overnight for straining to complete
- You prefer spreads with character and don’t mind (or actually want) the sensation of whole fruit throughout
- You’re tackling preserving for the first time and want something that won’t punish you for minor oversights
- Your plan is to fold it into pastries, blend it into beverages, or swirl it into sauces — places where the surface matters less than the flavor
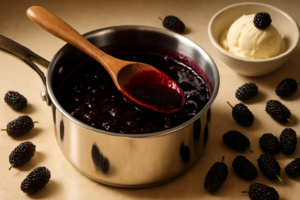
A reliable method: take approximately four cups of ripe mulberries and break them down thoroughly, combine with three cups of sugar and one tablespoon of fresh lemon juice, then bring everything to a rolling boil until a candy thermometer reads 220°F. Remove the foam that collects on top, transfer into clean jars that have been run through your dishwasher, and give them ten minutes in a rolling water bath. The result is something that can be confidently stored and gifted.
Pursuing Jelly: The Technique That Actually Changed My Results
Jelly demands more orchestration — specifically, it demands that you extract juice cleanly from the berries, which hinges almost entirely on your approach to straining. This was the element I mishandled during that disastrous kitchen afternoon, and it remains the single step capable of derailing the whole project if you’re impatient with it.
The method that produces results: warm your mulberries gradually in a heavy pot with just enough water to keep them from scorching, letting them soften until they’ve completely lost their structure and released their liquid. I learned the hard way that pouring the whole mass into a lined strainer and simply allowing gravity to do its work is the best approach. Let that juice weep through a cheesecloth or jelly bag over the course of several hours, or better yet, set it up before bed and check it in the morning. This is where my impatience nearly destroyed everything; squeezing that cloth to accelerate things forces pulp and seeds through the fabric and destroys the clarity you’re after. Waiting is genuinely the hardest ingredient in this recipe.
Once your clear juice has finished dripping, use approximately three-quarters cup of sugar for every cup of extracted juice, add lemon juice for brightness and pectin if your mulberries were picked at peak ripeness (very ripe fruit naturally contains less pectin). Heat everything until it reaches 220°F on your thermometer, skim away accumulated foam, and get it into your prepared jars.
The Straining Equipment That Won’t Betray You Halfway Through a Mulberry Harvest
Mulberry juice behaves differently than juice from apples, pears, or grapes — it’s looser, seedier, and it moves slower through fabric. Ordinary cheesecloth transforms into a clogged, useless barrier approximately halfway through your straining work, turning what should be a quick thirty-minute task into an afternoon of frustration and mounting kitchen tension. This was the precise frustration I lived through during my first jelly experiment — I kept pressing the cloth, re-pressing it, watching juice flow to a standstill, and growing increasingly annoyed.
Equipment that performs
- The tightly woven structure allows mulberry liquid to filter through without the fabric turning into a soggy, impermeable obstacle — you can move through a complete harvest without needing to swap out cloths mid-way through straining.
- Measuring 14 by 14 inches across, it drapes across your colander or bowl with room to spare and holds its position without constantly slipping or shifting, and you can bundle the corners together to hang it for overnight draining if that fits your schedule better.
- It washes without staining and air-dries quickly enough to reuse multiple times during a single harvest day, which means you’re not continuously purchasing new disposable cloths for batch after batch.
Where the equipment falls short
- The material arrives somewhat rigid and needs careful positioning to distribute evenly across your bowl, particularly if your previous experience has been with flimsy, thin cheesecloth that molds to whatever container you’re using.
- Microscopic pulp and seed fragments can still slip through, so if your goal is absolutely transparent, glass-clear jelly you’ll want to run the strained juice through a fine-mesh filter a second time — the cloth is a step forward but not the complete answer on its own.
I nearly gave up on this after the first use when it took me three tries to get it hung evenly over my bowl without bunching, but I stuck with it and now it’s the one tool I reach for every single harvest. You can grab the Cotton Farm Nut Milk Bag & Cheese Cloth Bag (Ultra Dense), XL 14×14 Inch on Amazon.
Frequently Asked Questions
Why is my mulberry jelly cloudy instead of clear?
Cloudiness almost always comes from squeezing the straining cloth to speed up the drip. Pressing forces pulp and seeds through the fabric and destroys the clarity you’re after. I pour the softened fruit into a lined strainer and let gravity work for several hours, or set it up before bed and check it in the morning.
Do mulberry seeds have to be strained out of jam?
No, the countless small, tender seeds throughout each mulberry are totally safe to eat, and they stay in jam by design because jam is built from whole crushed fruit. They do contribute a subtle grittiness when you spread it on toast. Some people enjoy that character; if your household doesn’t, make jelly from strained juice instead.
How much sugar do I use per cup of mulberry juice?
For jelly, use approximately three-quarters cup of sugar for every cup of extracted juice, plus lemon juice for brightness. Heat to 220°F on a thermometer, skim the foam, and fill prepared jars. Jam uses approximately four cups of crushed ripe mulberries to three cups of sugar and one tablespoon of lemon juice.
Does ripe mulberry fruit need added pectin for jelly?
It often does. Very ripe fruit naturally contains less pectin, so pectin should be added when working with mulberries picked at peak ripeness, along with lemon juice for brightness. Cook the juice until a thermometer reads 220°F rather than guessing, then skim the accumulated foam before jarring.
Keep Reading
About This Article

Written by Ruth Nakamura. Ruth Nakamura is a backyard orchardist in the Pacific Northwest who has grown mulberries for fifteen years, cultivating twelve different varieties in her own backyard. Not a horticulturist by formal training - she shares what she has learned through hands-on growing, workshops, and connecting with nurseries and growers across the country. More about this site.
Scope and limits. Ruth is a backyard orchardist without formal horticultural training. Growing conditions vary enormously by region, so confirm variety, timing, and pest guidance with your local extension service.
Verify this against a primary source
Specifics change, and your situation may differ from the one described here. These are the authorities worth checking directly:
- USDA Plant Hardiness Zone Map — zone verification for your location
- Oregon State University Extension — fruit growing and pruning research
- USDA PLANTS Database — species range and identification