A mature mulberry tree can yield substantial fruit across a narrow ripening window—and that sudden glut is exactly why many growers move beyond freezer space and jam-making alone. Mulberries demand a preservation method that doesn’t compete for appliance real estate or require obsessive monitoring, which is precisely what makes dehydration an attractive go-to approach. Soil conditions and microclimates can produce berries with wildly different water content and density, and those variations matter tremendously when transforming fresh fruit into something shelf-stable and palatable. Growers who’ve had rough experiences with dried mulberries—mushy texture, uneven results, off-flavor—often discover the trouble began at the soil level, long before harvest time. This post covers the steps that lead to fruit ready for successful dehydration, plus the mechanics of turning it into something genuinely enjoyable months later when fresh fruit is a distant memory.
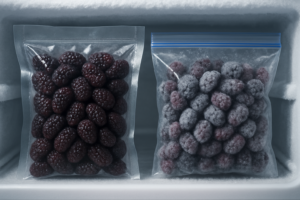
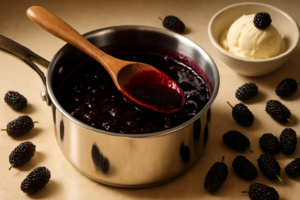
Anyone who’s picked mulberries knows the aggravating reality of that ripening window. Berries go from firm to ready to completely gone in what feels like a heartbeat—you typically get seven to ten days of peak harvest before gravity and overripeness take over. Putting them in the freezer buys time, but only if you have freezer real estate. Cooking them down into jam is satisfying, but doing that while temperatures hover near 90 degrees feels like punishment. Dehydrating, though, is the low-stress, almost-hands-off preservation route worth considering. Here’s how it works.
Why Dehydrating Mulberries Is a Game-Changer for Home Growers
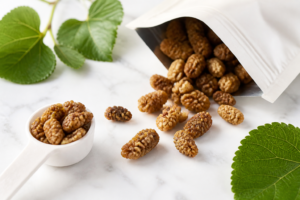
Dried mulberries remain stable in your pantry for a full calendar year when sealed properly—no freezer dependency, no canning equipment to haul out, no guessing about pectin ratios. They compress into a fraction of their original size, transforming a full dehydrator tray into what fits easily in a single jar. The flavor becomes something else entirely when moisture leaves: that gentle sweetness you taste fresh intensifies into something almost reminiscent of dates or figs, with deeper, more complex notes. If your only experience with mulberries has been eating them fresh off the tree, tasting a dried one for the first time will catch you off guard in the best possible way.
There’s also a logistics piece worth mentioning. No other fruit I grow has as short a window of freshness as mulberries do—three days in the refrigerator and the quality nose-dives noticeably. When your tree drops what feels like pounds of ripe berries overnight, dehydrating becomes the only sensible way to capture that harvest without watching it slip through your fingers. I learned that lesson through frustration and waste, watching good fruit deteriorate while I scrambled to figure out what to do with it.
That frustration is something I heard echoed from another grower working with ‘Illinois Everbearing’ and ‘Shangri-La’ varieties—juice running down the forearms, picking containers filling faster than they could be moved to the kitchen, and the forecast promising another hot spell the next day. Two summers of watching nearly a third of a full harvest turn to mush in the fruit boxes will make anyone serious about finding a better system. The sun-drying method that grower had relied on for years kept delivering the same maddening results: lay the fruit out on netting, cross your fingers about rain and humidity, and face the reality that you’ll end up with patches of moldy or sticky berries while others dry fine—the whole operation feeling like gambling with the crop. When your harvest window compresses into just fourteen or sixteen days and the trees keep producing faster than you can eat what’s already picked, outdoor air-drying becomes a losing battle against humidity, bugs, and fungal growth. A food dehydrator puts you back in charge.
Getting Your Mulberries Ready for the Dehydrator
The foundation of good dried fruit is clean, thoughtful preparation before any heat touches it. Here’s my actual workflow.
Step 1: Sort Through and Rinse
Go through your harvest and pull out anything that’s mushy, overripe, or showing mold growth. Pour everything into a colander and run cool water over them while swirling gently with your hand. Once rinsed, tip them onto a stack of paper towels or a clean cotton cloth and let them sit for 20 to 30 minutes while surface water evaporates. This drying step really does matter—residual moisture on the skin will substantially extend your drying time.
Step 2: Deal with the Stems (Your Choice)
Those little stem bits—the technical term is peduncles—are perfectly safe to eat and won’t hurt anything, but I know people who find them textually distracting in the finished product. A quick twist-and-remove takes maybe five minutes for a small batch. With truly massive harvests, I just skip the whole step and nobody has ever noticed or complained.
Step 3: Lemon Juice Optional—But Worth Considering
If you want to lock in color and introduce a hint of tartness to the flavor profile, give your berries a light misting of fresh-squeezed lemon juice before they go on the trays. This step is totally optional, but it does produce a visible difference in how the finished berries look, particularly if you’re working with paler red or white varieties.
Step 4: Arrange and Position on Trays
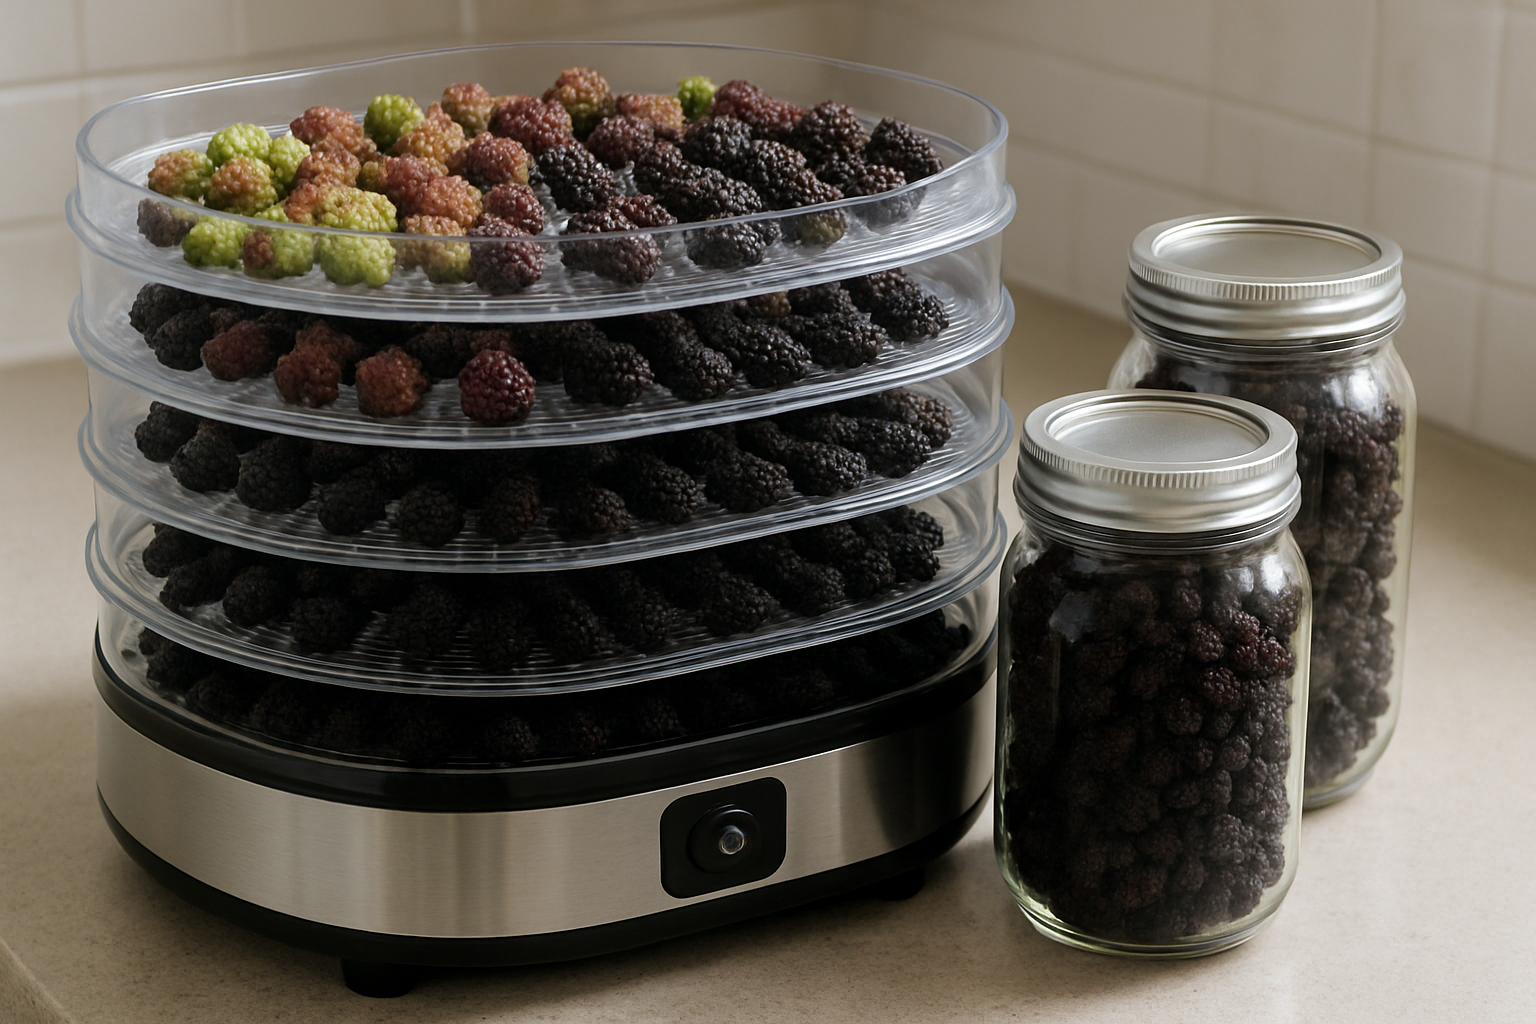
Lay berries out with nothing overlapping—they need air moving all around each one. Aim for a half-inch of breathing room between berries whenever possible. This is where silicone-lined dehydrator sheets become incredibly valuable, because mulberries release substantial quantities of juice during the drying process and that sticky sugar will bond to bare mesh in ways that make removal a nightmare. Liners save you hours of cleanup. If you’re working with stainless steel trays—as on the larger COSORI model—you’ll find that metal construction doesn’t stain or retain juice the way older plastic-screen setups do, which is a genuine quality-of-life improvement over multiple seasons of use.
Heat Settings, Duration, and the Finish Line
Keep your dehydrator running at 135°F. That temperature strikes the right balance—efficient moisture removal without overheating the fruit or damaging the delicate flavor compounds that make mulberries special. You’re typically looking at 18 to 24 hours of drying time, though this fluctuates based on how much juice your berries contain, how densely packed they are, and what the humidity levels are doing in your space.
Around the 16-hour point, start checking progress. The target texture is something like leather—pliable, slightly clingy to the touch, but definitely not wet. When you press one between your fingers, nothing should weep out or feel moist. If they’re still soft inside, continue another two hours and check again. This is not the step to rush. Berries that aren’t thoroughly dried will grow mold inside your storage jars and that’s genuinely disappointing.
After they come off the heat, let them cool completely right there on the trays—give it at least half an hour. Putting warm berries directly into a sealed container creates condensation buildup that ruins everything you just accomplished. Once cool, transfer into glass jars with tight seals or vacuum-pack them, keeping them in a dark spot at room temperature. Stored this way, you’re looking at 10 to 12 months of shelf life.
Equipment That Makes the Work Easier: What I Use and Why
While you could technically dry mulberries in an oven on its lowest setting, purpose-built equipment transforms the experience from awkward and inconsistent to straightforward and reliable. The right dehydrator makes a substantial difference.
Dehydrators
- COSORI Food Dehydrator — A reliable option for serious mulberry preservation. The 5.1 square feet of drying space handles a substantial harvest without needing to run multiple batches, and the 176°F maximum temperature with precise controls means you can hold a steady 135°F throughout the drying cycle. The 48-hour timer allows you to load it and return to perfectly dried berries the next day.
- Presto 06301 Dehydro Digital Electric Food Dehydrator — A great budget-friendly option with five BPA-free trays and adjustable temperature control. If you’re just starting out and want to try dehydrating before committing to a bigger machine, this one delivers solid results at an approachable price point.
- Magic Mill Food Dehydrator — Another excellent mid-range option with stainless steel trays, a 48-hour timer, and digital temperature controls.
- Cosori Food Dehydrator, Bigger Than 7 Trays with Large 6.5 ft² Drying Space — A larger-capacity stainless steel model worth serious consideration if your harvests regularly run to two or three days’ worth of picked fruit. The 6.5 square feet of usable surface means you can fit more berries in a single run than the standard model, the 600-watt heating element runs without much noise, and the metal tray construction doesn’t stain or retain juice the way older plastic-screen setups do. One hard-won lesson with this machine: overloading the trays on the first run will produce uneven drying on the bottom layers—spread the berries thinner and rotate halfway through and it becomes foolproof. Also worth noting: running it at full capacity with freshly picked, wet mulberries draws significant power, so avoid peak-afternoon hours on already-hot days if electricity costs are a concern.
The One Tool That Changed How I Handle My Harvest Peak
When 20-plus pounds of perfectly ripe mulberries show up in a single afternoon and your only options are watching them spoil or processing them around the clock, having a robust dehydrator stops being a luxury and becomes genuinely necessary. Without reliable temperature regulation and substantial tray capacity, you’ll lose harvested fruit faster than you can preserve it.
Where it excels
- The 5.1 square feet of usable tray space means I can handle my entire afternoon’s picking in a single run instead of keeping the machine cycling day and night for weeks at a time.
- A dehydrator set at 135°F delivers mulberries that dry evenly with superior color and no scorched or raw spots, unlike results from using a standard kitchen oven for this task.
- A built-in timer that goes up to 48 hours allows berries to be loaded and left unattended through the full drying cycle, making dehydration a hands-off preservation method during peak harvest season.
Where it falls short
- This equipment takes up serious counter real estate—if your kitchen is compact, you’re either committing to keeping it out permanently or dealing with the shuffle of moving it in and out of storage.
- The fan noise is noticeable, especially during overnight runs in homes with open layouts; I eventually moved mine out to the garage to avoid the constant humming, and some people find it bothersome enough to do the same.
I almost gave up on dehydrating after my first attempt in a borrowed machine turned to jerky-like rubber, but this one’s precision settings and full-tray capacity proved the difference between wasting fruit and actually preserving the season. Grab the COSORI Food Dehydrator and stop watching your mulberries spoil.
A Closer Look: COSORI Larger-Capacity Model for High-Volume Harvests
If your trees are anything like the ‘Illinois Everbearing’ and ‘Shangri-La’ cultivars that have pushed me to my processing limits, you already know the feeling of watching picking containers fill faster than you can move them to the kitchen. The standard COSORI handles a solid afternoon’s picking; the larger-capacity model addresses what happens when the harvest doesn’t stop.
What worked well in testing
- The drying chamber holds 6.5 square feet of usable surface across its trays, which means I could fit two or three days’ worth of picked mulberries in a single run rather than batching endlessly through the season.
- Mulberries reached that ideal chewy-but-not-wet stage in roughly 18 to 24 hours; the metal tray construction doesn’t stain or retain juice the way older plastic-screen setups do.
- The 600-watt heating element runs without much noise, so starting a load in the evening and letting it work through the night is genuinely practical—and unlike sun-drying or even oven-drying, it doesn’t pump ambient heat into the kitchen during warm weather.
What to watch out for
- The footprint is deceiving—it takes up more vertical storage space than you’d anticipate once all the trays are stacked, and loading it full of wet fruit makes it awkward to move without spillage.
- Running it at full capacity with freshly picked, wet mulberries draws significant power and generates meaningful heat; avoid peak-afternoon hours on already-hot days or your electricity costs will show the impact.
The lesson learned after the first run: overloading the trays produces uneven drying on the bottom layers. Spread the berries thinner and rotate halfway through, and the machine becomes foolproof. Cosori Food Dehydrator, Bigger Than 7 Trays with Large 6.5 ft² Drying Space, Stainless Steel Trays, 600W Faster Drying, 165°F Dehydrated Dryer for Jerky, Dog Treats, Herbs, Meat, Fruit, Yogurt, Silver
Frequently Asked Questions
Can I dehydrate mulberries in my oven instead of a dehydrator?
Mulberries can technically be dried in an oven on its lowest setting, but results tend to be inconsistent, with scorched spots on some berries and underripe ones on others. A dehydrator maintains a steady 135°F through the full 18 to 24 hours required, and unlike an oven it doesn’t pump excess ambient heat into the kitchen during warm weather.
Do I need to remove the stems from mulberries before drying?
That step is entirely your choice. Those little stem bits, technically called peduncles, are perfectly safe to eat and won’t hurt anything, though some people find them texturally distracting in the finished fruit. A quick twist-and-remove takes maybe five minutes for a small batch. With truly massive harvests I skip it, and nobody has ever noticed or complained.
Why did my dried mulberries grow mold inside the storage jar?
Almost always the berries weren’t dried thoroughly, or they went into the jar while still warm. Properly dried mulberries feel like leather, pliable and slightly clingy, and nothing weeps out when you press one. If they’re still soft inside, run another two hours. Then cool them on the trays for at least half an hour before sealing.
How should I store dried mulberries and how long do they keep?
Once the berries have cooled completely, transfer them into glass jars with tight seals or vacuum-pack them, then store in a dark spot at room temperature. Stored this way, dehydrated mulberries keep for 10 to 12 months in the pantry with no freezer space or canning equipment required.
Keep Reading
About This Article

Written by Ruth Nakamura. Ruth Nakamura is a backyard orchardist in the Pacific Northwest who has grown mulberries for fifteen years, cultivating twelve different varieties in her own backyard. Not a horticulturist by formal training - she shares what she has learned through hands-on growing, workshops, and connecting with nurseries and growers across the country. More about this site.
Scope and limits. Ruth is a backyard orchardist without formal horticultural training. Growing conditions vary enormously by region, so confirm variety, timing, and pest guidance with your local extension service.
Verify this against a primary source
Specifics change, and your situation may differ from the one described here. These are the authorities worth checking directly:
- USDA Plant Hardiness Zone Map — zone verification for your location
- Oregon State University Extension — fruit growing and pruning research
- USDA PLANTS Database — species range and identification