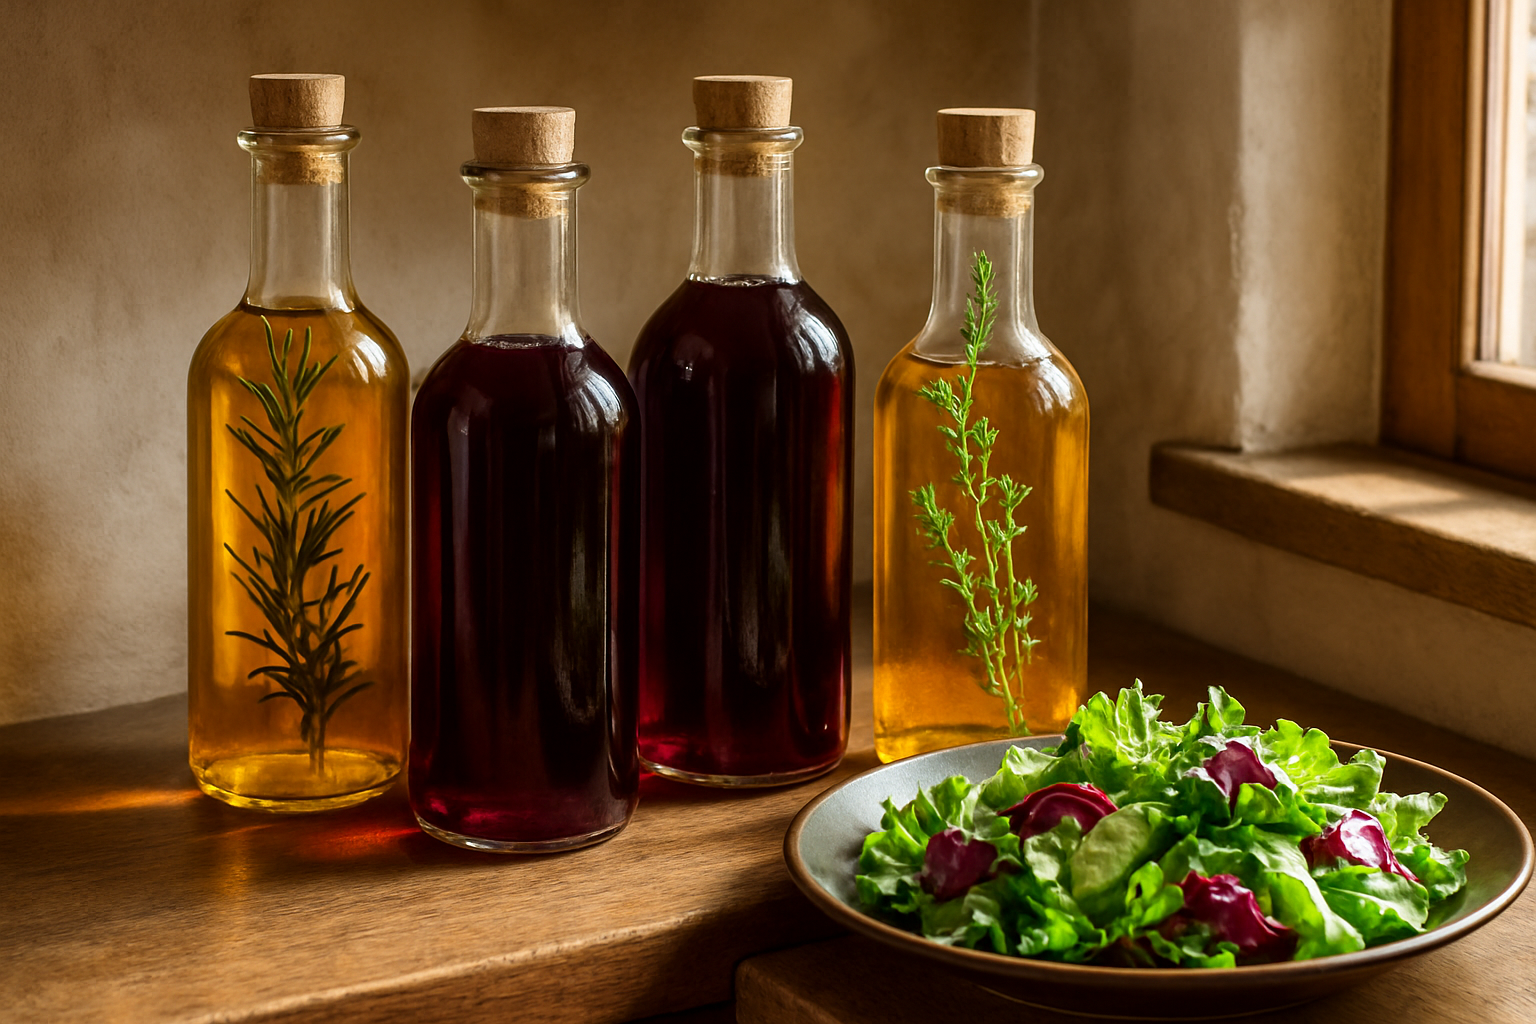
Mulberry vinegar left unattended will spoil faster than expected. When faced with heavy fruit drops, fermentation is one of the most elegant preservation solutions available. Mulberries serve multiple purposes: they feed you, they host beneficial insects, and thoughtfully positioned trees can provide cooling benefits to nearby structures. Yet even the most deliberate approach to placement can’t fully prepare for the sheer abundance of fruit that cascades down from a bearing-age mulberry over twelve weeks. When committed to letting nothing go to waste, fermentation quietly resolves a glut dilemma without intervention. Mulberry vinegar ranks among the most sensible, nothing-wasted preserves you can craft when faced with an exceptionally large harvest, and once you grasp the straightforward two-phase method involved, it becomes a reliable fixture in wrapping up the mulberry season annually.
Excess mulberries often accumulate faster than they can be converted into jam or frozen. When faced with quantities that exceed storage capacity, making mulberry wine from scratch offers an alternative outlet. A basic fermentation setup—using a container on the counter with loose cloth coverage—allows the natural fermentation process to unfold over weeks with minimal active intervention.
Once I finally recalled it existed, I peeled back the covering and breathed in. My initial reaction: “That’s definitely not wine anymore.” My second instinct: “Could this possibly be vinegar?” My third reaction, delivered with genuine alarm, was: “Have I destroyed everything and possibly produced something poisonous?” Turns out: nothing was destroyed. I had, wholly by accident, uncovered something magnificent.
What Actually Happened (The Science Behind My Happy Accident)
Here’s the explanation I eventually pulled together after frantic reading and research. When fruit converts through fermentation into alcohol and subsequently gets oxidized gradually, naturally-residing acetobacter microorganisms transform that alcohol into acetic acid — that’s your vinegar. My loosely-covered vessel had supplied the airflow those microbes required to perform their conversion, and my “failed” wine underwent a pure secondary fermentation directly on my counter without any help from me.
Mulberries happen to be a superb foundation for crafting vinegar at home. They possess naturally elevated sugar levels that feed the fermentation reaction, and their intricate flavor profile — hovering between blackberry and dark cherry with an underlying earthiness — emerges intact through the acidic conversion. The end result is a deep, brilliantly colored vinegar that bears no resemblance to anything lining grocery store shelves. It tastes fruity yet never saccharine, delivers punch without harshness, and displays this striking deep wine color that becomes a showpiece when held in a clear glass vessel on display.
How I Bottle and Keep It (Figuring This Out Demanded Two Full Growing Seasons)
The moment I recognized what I’d accidentally created, I committed to repeating it deliberately — but this time on purpose. Except the fermentation stage wasn’t ever my struggle. My genuine challenge, both rounds, was the phase afterward: transforming loosely-covered, still-fermenting fluid into something that maintains its quality long-term, looks nice when presented, and doesn’t become a landing pad for fruit fly colonies. That part goes completely unmentioned in most resources, and it’s where the bulk of my genuine insight accumulated.
Filtering Your Liquid Before Transferring to Containers
After fermentation has wrapped up — the aroma shifts unmistakably toward acetic sharpness rather than boozy tones, and fermentation activity ceases — I transfer it through multiple layers of cloth or an unbleached paper filter fitted inside a funnel apparatus. This extraction removes the leftover fruit particles and much of the mother substance, yielding a transparent(ish) finished product. I personally process mine in two stages: initial passage through a fine mesh sieve to eliminate the bulk of the remaining fruit, followed by a second pass using cloth for maximum clarity. I refrain from forcefully pressing the remaining pulp attempting to capture every milliliter — aggressive squeezing forces fine particles through filters and creates haziness in my final product.
Transferring to Sealed Containers While Minimizing Contamination Risk
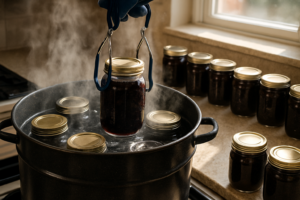
I disinfect my chosen containers beforehand — running them through a high-temperature dishwasher cycle or alternatively submerging them in boiling liquid for several minutes. This precaution proves more critical than most people realize; I forfeited my second batch of the year to fungal growth because I transferred into a jar that received only a rinse. I pour my product into containers while maintaining roughly a half-inch space at the top, avoiding a complete seal for several days if I detect lingering fermentation indicators — vinegar undergoing final conversion might generate minimal internal pressure. Once transformation completes fully (no visible bubbles, no audible escape when opening), I seal completely.
The Maturation Phase, Flavor Development, and Handling New Mother Growth
Newly finished vinegar pulled directly from a fourteen-to-twenty-one-day fermentation cycle tends to register as excessively sharp and somewhat limited in its flavor spectrum. Storing it in sealed containers for an extra two to four weeks noticeably softens the intensity and permits the genuine fruit essence to resurface and become prominent. Between my first attempt and my third batch, this single modification produced the most dramatic transformation — the waiting period following bottling carries equal significance as the fermentation itself.
It’s unremarkable and harmless if another layer of mother begins forming in my sealed bottle in subsequent weeks — just a benign cellulose-bacteria film, an identical organism to the one that generated my vinegar initially, completely edible and risk-free to consume as-is, or I can strain it away if appearance is a concern, or leave it undisturbed.
Positioning and Longevity Under Standard Conditions
Finished vinegar that’s been properly processed requires no cold storage — acidity itself generates the preservation effect, making a dim pantry location the optimal choice rather than refrigerated space. I’ve retained bottles maintaining their character for eighteen months or more using this approach. I position containers away from bright light sources, since UV contact gradually bleaches that striking wine tone and can diminish flavor intensity more rapidly than aging normally would.
One important qualifier I should address directly: homemade vinegar’s acid concentration fluctuates from batch to batch based on my starting fruit’s sugar load and duration of fermentation, meaning while it’s completely acceptable as a table vinegar, my personal batches don’t belong in canning recipes demanding verified pH levels — in those applications, purchased vinegar with verified acidity remains the responsible option.
The Containers That Ultimately Contained My Fermentation Project
Making mulberry vinegar requires managing cloth drapes, rubber bands, and perpetual background fear that ambient bacteria or insects will compromise weeks of work. Bottles with hinged closures solve this problem once my fermentation finishes and the time comes for proper storage and maturation.
The advantages
- The mechanism produces a seal capable of preventing air entrance while remaining user-friendly enough that deployment becomes habitual rather than relying on cloth to function adequately.
- Vinegar’s acidic nature doesn’t damage glass materials, allowing flavor integrity to persist from initial fermentation through extended shelf life without unpleasant tastes developing.
- Transparency permits observation of remaining quantity and sediment settlement patterns, removing uncertainty regarding when decanting should occur or whether it’s ready for sharing.
The drawbacks
- Glass construction makes these bottles substantially weightier than their plastic equivalents, so if batch production is your approach (which mine is), shelf placement and weight distribution demand advance consideration.
- Hinged seals deteriorate or jam in consistently damp storage situations — I’ve needed to soak a few of mine in a vinegar-water combination to free them up following a particularly moisture-heavy season.
I almost abandoned glass storage altogether after one batch developed a persistent cloudiness, thinking the seal had failed—but it turned out to be harmless mother formation, and the vinegar was actually better for it. Grab a set of swing top glass bottles before your next big mulberry harvest.
Frequently Asked Questions
Is the film forming in my bottled mulberry vinegar safe?
Yes, it is safe. That film is just another layer of mother, a benign cellulose-bacteria growth and the identical organism that generated the vinegar in the first place. It’s completely edible and risk-free to consume as-is. I can strain it away if appearance bothers me, or leave it undisturbed. One cloudy batch of mine was actually better for it.
Can I use homemade mulberry vinegar in canning recipes?
No, I keep my homemade batches out of canning. The acid concentration fluctuates from batch to batch depending on my starting fruit’s sugar load and how long fermentation ran, so while it’s completely acceptable as a table vinegar, it doesn’t belong in recipes demanding verified pH levels. For those, purchased vinegar with verified acidity remains the responsible option.
Why did my mulberry vinegar grow mold after bottling?
Mine grew fungal growth because I transferred it into a jar that had only been rinsed, and I forfeited my second batch of the year that way. Now I disinfect containers beforehand, either running them through a high-temperature dishwasher cycle or submerging them in boiling liquid for several minutes. This precaution proves more critical than most people realize.
Should I squeeze the pulp when straining mulberry vinegar?
No, I refrain from forcefully pressing the remaining pulp to capture every milliliter, because aggressive squeezing forces fine particles through the filter and creates haziness in the finished product. I process mine in two stages instead: an initial passage through a fine mesh sieve to remove the bulk of the fruit, then a second pass using cloth.
Keep Reading
About This Article

Written by Ruth Nakamura. Ruth Nakamura is a backyard orchardist in the Pacific Northwest who has grown mulberries for fifteen years, cultivating twelve different varieties in her own backyard. Not a horticulturist by formal training - she shares what she has learned through hands-on growing, workshops, and connecting with nurseries and growers across the country. More about this site.
Scope and limits. Ruth is a backyard orchardist without formal horticultural training. Growing conditions vary enormously by region, so confirm variety, timing, and pest guidance with your local extension service.
Verify this against a primary source
Specifics change, and your situation may differ from the one described here. These are the authorities worth checking directly:
- USDA Plant Hardiness Zone Map — zone verification for your location
- Oregon State University Extension — fruit growing and pruning research
- USDA PLANTS Database — species range and identification