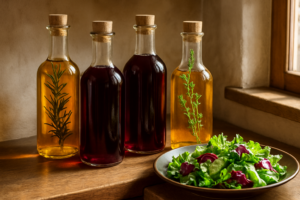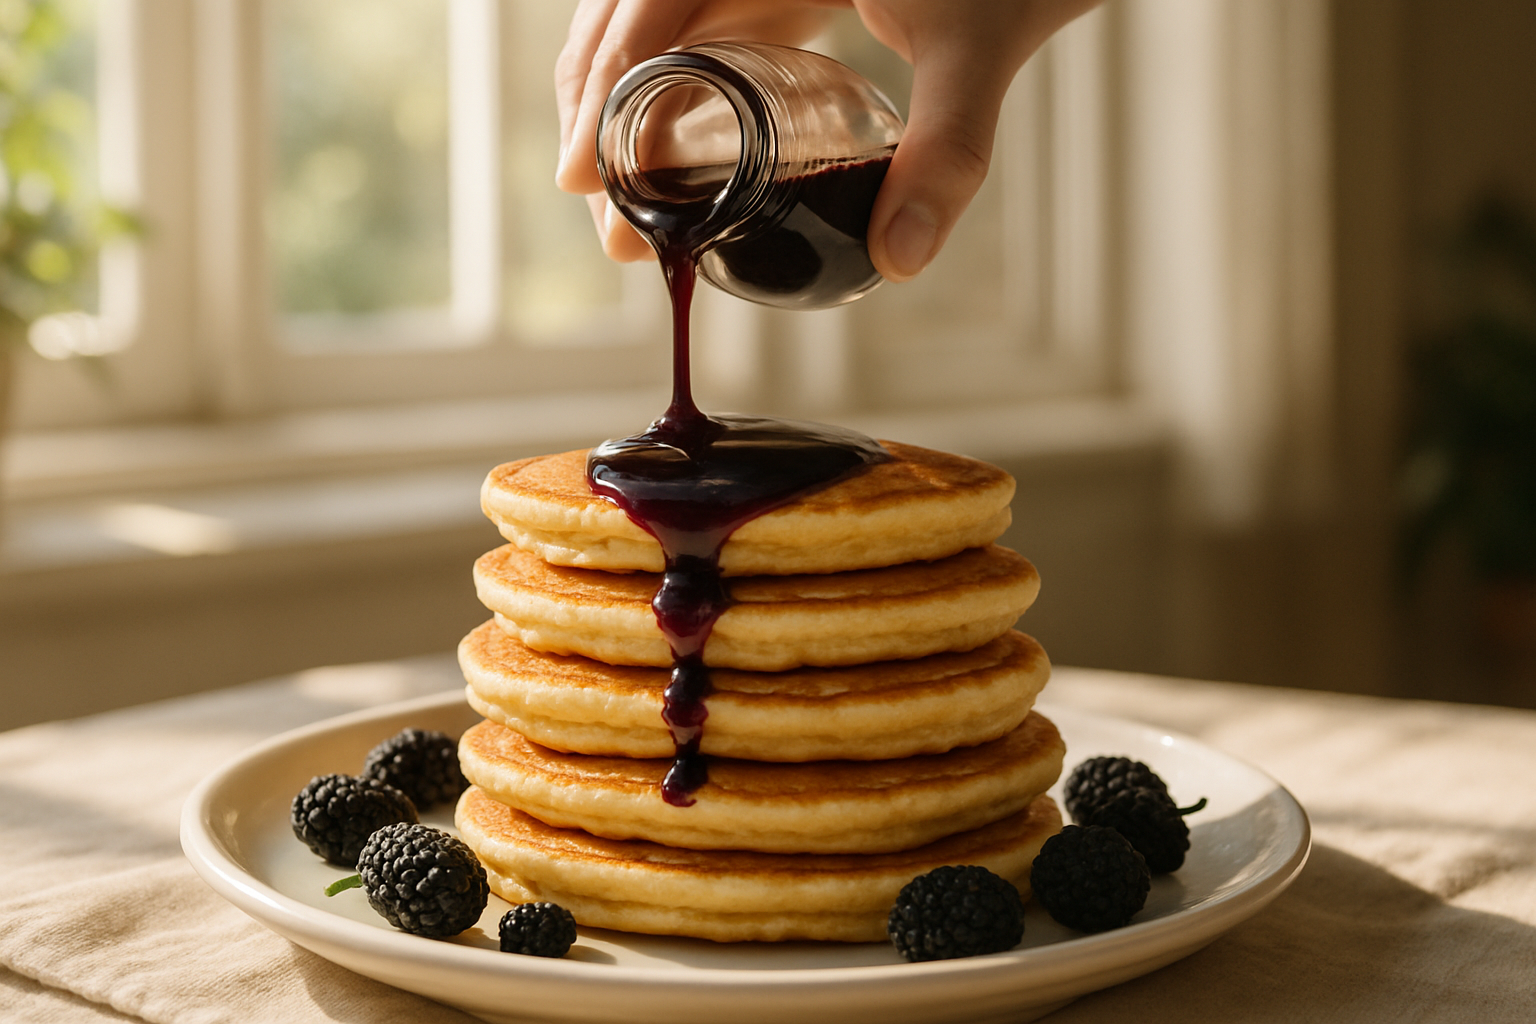
Want to know what happens when you bottle up peak-season mulberry flavor and stretch it across twelve months of cooking? You stop wasting a single berry, and you unlock uses you probably never imagined. That’s exactly why mulberry syrup has become my anchor preservation project — it’s not just jam or cordial, it’s the ingredient that turns a fleeting harvest into year-round possibilities. The versatility of this one batch of syrup is genuinely staggering: it becomes the base for fermented shrubs, it sweetens sparkling drinks, it transforms vinaigrettes from ordinary into memorable, and it holds onto that deep, almost wine-like essence of fruit at its absolute peak before the picking season vanishes. For close to six seasons now, I’ve been making syrup from the Illinois Everbearing planted near my back fence — and that means I’ve had my share of stovetop catastrophes, figured out which sugar measurements actually survive cold storage, and discovered these twelve applications through the kind of messy, real-world experimentation that only happens when you’re actually standing in your kitchen with purple-stained hands and no instruction manual. Whether you’re working with a single dwarf tree in a container or tending to multiple specimens across your property, this walkthrough will get you to a syrup worth keeping — plus enough creative applications that every last ounce finds its way into something delicious before next season rolls around.
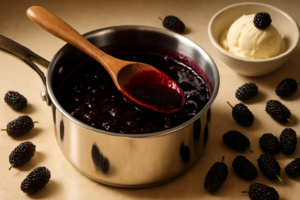
That first disaster, though — even burnt and separated, it tasted phenomenal. I salvaged what didn’t stick to the pan, poured it warm over a bowl of vanilla ice cream that night, and suddenly grasped why mulberry syrup would become such a cornerstone of how I preserve my harvest. The trick was simply learning to keep things under control while they cooked.
The Foolproof Mulberry Syrup Recipe You Actually Need
After a handful of additional attempts (each one slightly less chaotic than the last), I refined a process that’s straightforward, genuinely rewarding, and mercifully free of purple splatters across your walls — provided you stay attentive throughout. These are the essentials you’ll gather before you start.
What You’ll Need
- 4 cups mulberries, whether fresh-picked or previously frozen (black, red, or white varieties produce equally excellent results)
- 1½ cups white granulated sugar (feel free to dial this up or down based on how your palate responds — fruit sweetness differs batch to batch)
- 1 cup plain water
- 2 tablespoons freshly squeezed lemon juice (sharpens the taste profile and protects the vibrant color from fading)
- Optional flavor additions: one cinnamon stick, a handful of fresh thyme leaves, or half a vanilla bean if you want to build complexity
The Process Step by Step
- Put the mulberries, sugar, and water into a medium pot and set it on medium-low heat — trust me, high heat is where my earliest batches went wrong.
- Stir slowly until all the sugar crystals dissolve, then allow the whole thing to settle into a gentle simmer. You’ll watch the berries collapse and release their deep, dark juice — usually this takes roughly 10 minutes from when you first see bubbles.
- Keep it simmering with the lid off for 20–25 minutes, stirring every few minutes, until the liquid thickens slightly and clings to the back of a wooden spoon.
- Take the pot off the heat and pour in the lemon juice, stirring to combine. Let everything rest and cool for about 10 minutes before moving forward.
- Set a fine-mesh strainer over a clean bowl or large measuring cup, then pour the mixture through it, using a spoon to gently coax the pulp so you capture every ounce of liquid gold.
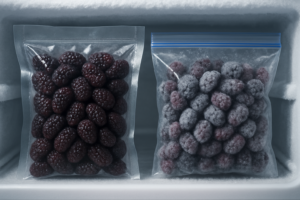
- Transfer the finished syrup into sanitized glass containers and store in the refrigerator. It will hold for roughly 3 weeks cold, or stretch to 6 months if you freeze it.
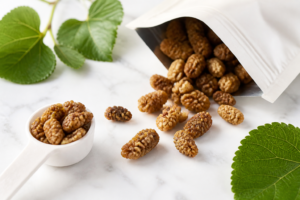
Tips specific to working with mulberries: Black varieties yield the most complex, concentrated syrup with bold character. White ones produce something more ethereal and pale, with honeyed overtones that shine in light cocktails and lemonades. Red mulberries occupy the middle ground, offering balanced flavor. Whichever cultivar you’re harvesting from, the cooking method stays the same — just taste as you go and adjust your sugar to match what your own fruit delivers.
Getting Past the Pulp Problem With the Right Strainer Setup
Mulberry syrup presents a texture challenge: seeds and fine pulp particles cling to the liquid stubbornly, and single strainers become overwhelmed and clogged when you’re working through several pounds of berries. Investing in a graduated strainer set gives you multiple options mid-batch, so you’re never stuck waiting for liquid to creep through mesh.
Where It Excels
- Three graduated mesh densities allow you to work progressively — start with the coarsest to catch visible seeds and solids, then finish with the finest to eliminate microscopic pulp particles that cloud the syrup.
- Stainless steel resists the permanent purple staining that clings to plastic, making it visibly clean and easier to monitor when you’re actually done washing.
- Three separate strainers eliminate downtime — while one sits draining in your sink, you can work berries through the others, keeping the entire operation moving forward.
Where It Falls Short
- The handle design is on the narrow side, and pressing pulp through with any meaningful force will leave your palm sore — after thirty minutes of active straining you’ll definitely notice it.
- With thick mulberry pulp, the finest mesh becomes congested quickly, forcing you to do more physical pressing and scraping than you’d want, rather than relying on gravity to move things along.
I almost ditched this set after my first batch because the finest strainer seemed impossibly slow, but then I realized I wasn’t supposed to force the pulp through — I switched to just letting it drip overnight in cheesecloth inside the strainer, and it transformed everything. Grab the Cuisinart Stainless Steel Mesh Strainer Set (3-count) if you’re serious about clear, beautiful syrup.
Frequently Asked Questions
Can I use frozen mulberries to make syrup?
Yes, the recipe calls for 4 cups mulberries, either fresh-picked or previously frozen, and both work equally well. Black, red, or white varieties produce excellent results too. I make mine from the Illinois Everbearing near my back fence. Whichever fruit you use, taste as you go and adjust sugar, since fruit sweetness differs batch to batch.
How long does homemade mulberry syrup keep?
Roughly 3 weeks in the refrigerator when stored in sanitized glass containers, or up to 6 months if frozen instead. That freezer window makes syrup an effective preservation method — one batch stretches a fleeting harvest across months of drinks, vinaigrettes and desserts without wasting the fruit.
Why does mulberry syrup need lemon juice?
Freshly squeezed lemon juice sharpens the taste profile and protects the vibrant color from fading. Remove the pot from heat, pour in the juice and stir to combine, then let everything rest and cool for about 10 minutes before straining.
What do I do when the finest mesh strainer clogs?
Stop forcing the pulp through it. I almost ditched my strainer set after the first batch because the finest mesh seemed impossibly slow, then realized pressing was the problem. I switched to letting the pulp drip overnight in cheesecloth set inside the strainer, and it transformed everything — clearer syrup, no sore palm.
Keep Reading
About This Article

Written by Ruth Nakamura. Ruth Nakamura is a backyard orchardist in the Pacific Northwest who has grown mulberries for fifteen years, cultivating twelve different varieties in her own backyard. Not a horticulturist by formal training - she shares what she has learned through hands-on growing, workshops, and connecting with nurseries and growers across the country. More about this site.
Scope and limits. Ruth is a backyard orchardist without formal horticultural training. Growing conditions vary enormously by region, so confirm variety, timing, and pest guidance with your local extension service.
Verify this against a primary source
Specifics change, and your situation may differ from the one described here. These are the authorities worth checking directly:
- USDA Plant Hardiness Zone Map — zone verification for your location
- Oregon State University Extension — fruit growing and pruning research
- USDA PLANTS Database — species range and identification