When I found out I could propagate my mulberry from cuttings and end up with a second tree for essentially free, I immediately tried it and failed twice before it finally worked on the third attempt. Now I’ve got three trees from the one I started with, and I know exactly what the failure points are — which makes this one of the more satisfying guides I’ve put together. What I didn’t anticipate was that three mulberry trees produce a genuinely overwhelming amount of fruit, and that’s exactly how I ended up deep in the world of mulberry reduction sauce — because when you’re staring down buckets of berries that go from ripe to overripe in what feels like forty-eight hours, you get creative fast. A good reduction sauce became my single most useful preservation trick: it concentrates that intense, jammy mulberry flavor into something shelf-stable that makes everything from vanilla ice cream to plain yogurt taste like you actually tried. If you’ve ever stood in your backyard watching berries hit the ground faster than you can pick them, this guide is for you.
Here’s the thing — after I laughed until I cried (and then cried a little for real because that was two cups of hand-picked mulberries), I started over. And that second batch? It completely transformed our family’s dessert nights forever. So let me save you from my exact mistakes and walk you through everything I’ve learned about making a perfect mulberry reduction sauce from the fruit growing right in your backyard.
Why Mulberry Reduction Sauce Deserves a Spot in Your Kitchen
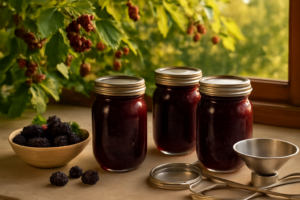
If you’ve been harvesting mulberries and mostly making jam or eating them fresh, you are genuinely leaving magic on the table. A reduction sauce is different from jam — it’s silkier, more concentrated, and intensely jewel-like in flavor. It pours. It drizzles. It makes a scoop of vanilla ice cream look like it belongs in a restaurant window. And because mulberries have such a naturally complex flavor — sweet, slightly tart, with almost a winey depth — they reduce beautifully without needing a lot of help.
Mulberries are also lower in pectin than berries like blackberries or raspberries, which actually works in your favor here. You’re not fighting the fruit to stay pourable. The natural sugars concentrate at the right pace, giving you a glossy, flowing sauce rather than something that gels up and grips your spoon for dear life.
How to Make a Perfect Mulberry Reduction Sauce (Without My Mistakes)
Start with the Right Mulberries
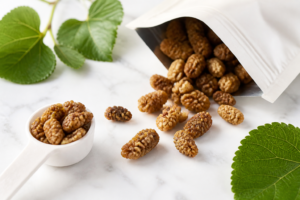
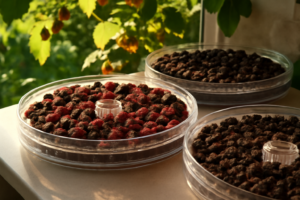
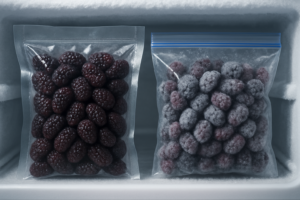
Use ripe, deeply colored mulberries — black or red varieties both work wonderfully. Slightly overripe fruit is actually ideal here because the sugars are more developed and the flavor is more complex. Avoid underripe berries; they’ll give you a sharp, sour result that no amount of added sugar will fully fix. Fresh or frozen both work. If you’re using frozen berries, thaw them completely and drain off about half the excess liquid before you start.
The Simple Ratio to Follow
For a basic mulberry reduction sauce, this is the ratio I now keep taped to my cabinet door:
- 2 cups fresh mulberries
- ¼ cup granulated sugar (adjust up or down based on your berries’ natural sweetness)
- 1 tablespoon fresh lemon juice
- 2 tablespoons water
That’s genuinely it. The lemon juice isn’t just for flavor — the acid brightens the color and balances the sweetness so your sauce tastes alive rather than flat.
The Method (Patience Is the Secret Ingredient)
Combine your mulberries, sugar, lemon juice, and water in a heavy-bottomed saucepan over medium heat. Stir gently until the sugar dissolves and the berries begin to break down — about five minutes. Then reduce your heat to medium-low and let it simmer, stirring occasionally, for 15 to 20 minutes. You’re looking for the sauce to coat the back of a spoon. Drag your finger across the spoon; if the line holds cleanly, you’re done. Remove from heat and let it cool slightly before straining if you want a smooth, seed-free sauce. If you love a rustic texture, skip the straining entirely.
The single most important tip I can give you: do not walk away, do not hand the spoon to a curious eight-year-old, and for the love of all things purple, do not turn the heat up to hurry the process. Low and slow is everything.
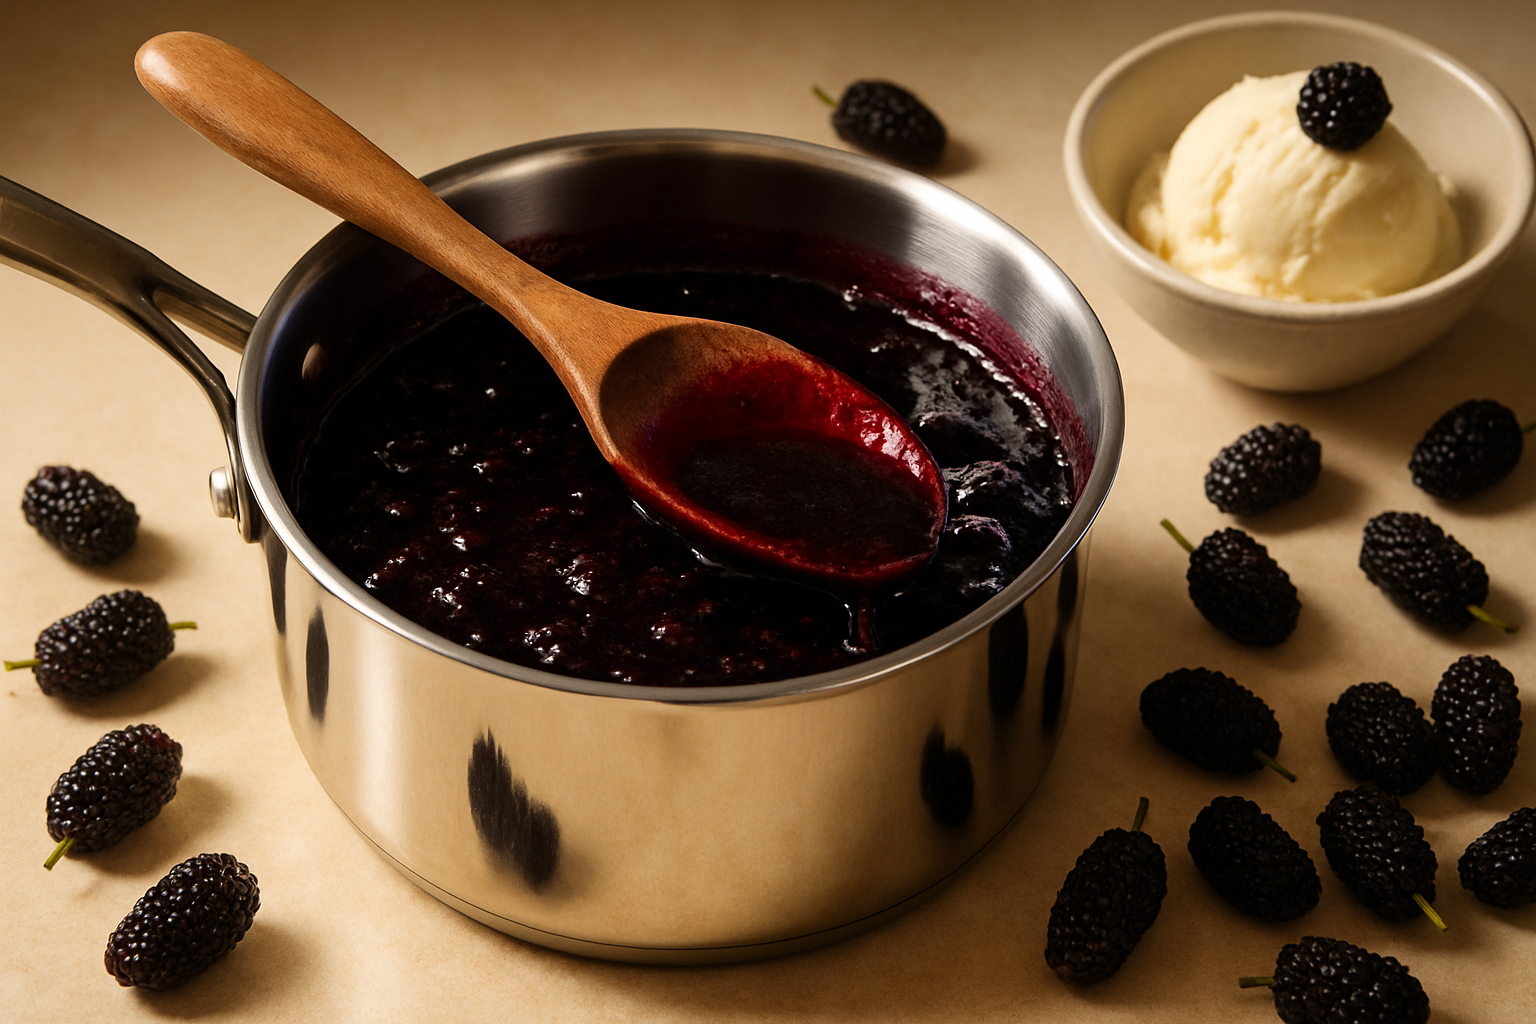
The Pan That Finally Handled Three Trees’ Worth of Mulberry Harvests Without Scorching
When you go from one mulberry tree to three, your kitchen suddenly needs to process pounds of fruit at once—and a undersized saucepan means uneven heat, burnt sauce on the bottom, and wasted fruit. A proper 3-quart capacity with a heavy bottom becomes non-negotiable when you’re reducing that much juice down to shelf-stable sauce.
What works
- The heavy stainless steel bottom distributes heat evenly across the entire surface, so the edges don’t scorch while the center is still thin and runny—critical when you’re reducing 8+ cups of mulberry juice down to sauce.
- 3 quarts is the sweet spot for a full harvest day without having to work in multiple batches; I can fit a whole picking’s worth plus room to stir without splattering.
- The lid actually seals well enough to contain sputtering fruit reduce, which saves your stovetop and lets you step away for a few minutes without babysitting.
What doesn’t
- The handle gets genuinely hot when you’re reducing for 45+ minutes; you need a towel or heat-resistant glove every single time you adjust the pan.
- At this size and quality, it’s not cheap, and if you only have one tree, you’re buying a lot of capacity you won’t use—this is an investment for serious mulberry growers.
I had a moment halfway through my first three-tree harvest where I almost reached for a smaller pan out of habit, convinced the extra cleanup wasn’t worth it, but that first batch taught me that oversizing here actually saves time overall. Pick up the MICHELANGELO 3 Quart Saucepan with Lid if you’re serious about turning your surplus into something worth preserving.
This post contains affiliate links. As an Amazon Associate, I earn from qualifying purchases at no extra cost to you.