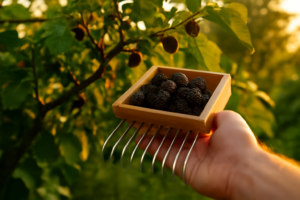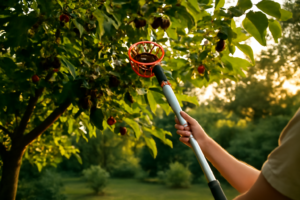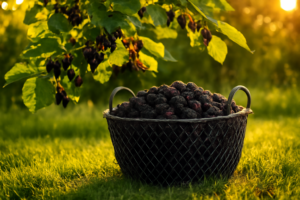
One of the most overlooked aspects of a productive mulberry tree is what you plant around it — but after nearly a decade running variety trials and demonstration plots through my county extension program, I’ve learned that the second most overlooked aspect is what you do with the fruit in the roughly 48-hour window before it turns to fermented mush in your bowl. In my demonstration garden I’ve tested dozens of companion combinations, and the results consistently show that the right understory planting not only suppresses weeds and retains moisture — it measurably improves fruit set and tree health — which means when you finally get a banner harvest, you need a storage strategy that can actually keep up with the volume. Mulberries are fundamentally different from strawberries or blueberries in their post-harvest physiology: the same thin skin and high sugar content that makes them extraordinary to eat fresh is precisely what makes them collapse so quickly, and most general berry-storage advice fails them completely. What I’m sharing here comes from both the research literature and my own tested protocols, and if you follow these steps, you can reliably extend fresh mulberry life to five to seven days — sometimes longer — without sacrificing flavor or texture.
If you’ve grown mulberries for any length of time, you already know the painful truth: these berries are nothing like the ones you buy at the grocery store. They’re soft, deeply juicy, and incredibly fragile. The clock starts ticking the moment they drop from the branch. But here’s what I’ve learned since that heartbreaking July afternoon — with the right approach, you can absolutely keep fresh mulberries tasting beautiful for four to six days in the refrigerator, or preserve them for months in the freezer. Let me show you exactly how.
Why Mulberries Go Bad So Fast (And What’s Actually Happening)
Before we talk solutions, it helps to understand the problem. Mulberries are an exceptionally high-moisture fruit with very thin, delicate skin. Unlike blueberries or strawberries, they have almost no protective waxy coating, which means moisture escapes — and bacteria enters — almost immediately after harvest. They also bruise at the slightest pressure, and any bruised spot becomes a gateway to rapid mold growth.
On top of that, mulberries continue to ripen after picking. The sugars keep breaking down, the flesh keeps softening, and what was firm and gorgeous at 10 AM can be a weeping, fermented mess by dinnertime if you leave it sitting in a bowl on the counter. Trust me. I know this from experience.
The two biggest enemies of fresh mulberries are moisture on the berry’s surface and warm temperatures. Address both of those, and you’re already most of the way to success.
How to Store Fresh Mulberries in the Refrigerator the Right Way
Step 1: Don’t Wash Them Until You’re Ready to Eat
This is the rule that changed everything for me. I used to rinse my berries the moment I brought them inside — it felt like the responsible, clean thing to do. But surface moisture is the fast lane to mold. Instead, sort through your berries right away and gently remove any that are already overripe, leaking, or showing any fuzz. These will contaminate the healthy ones shockingly quickly.
Step 2: Let Them Dry Completely Before Refrigerating
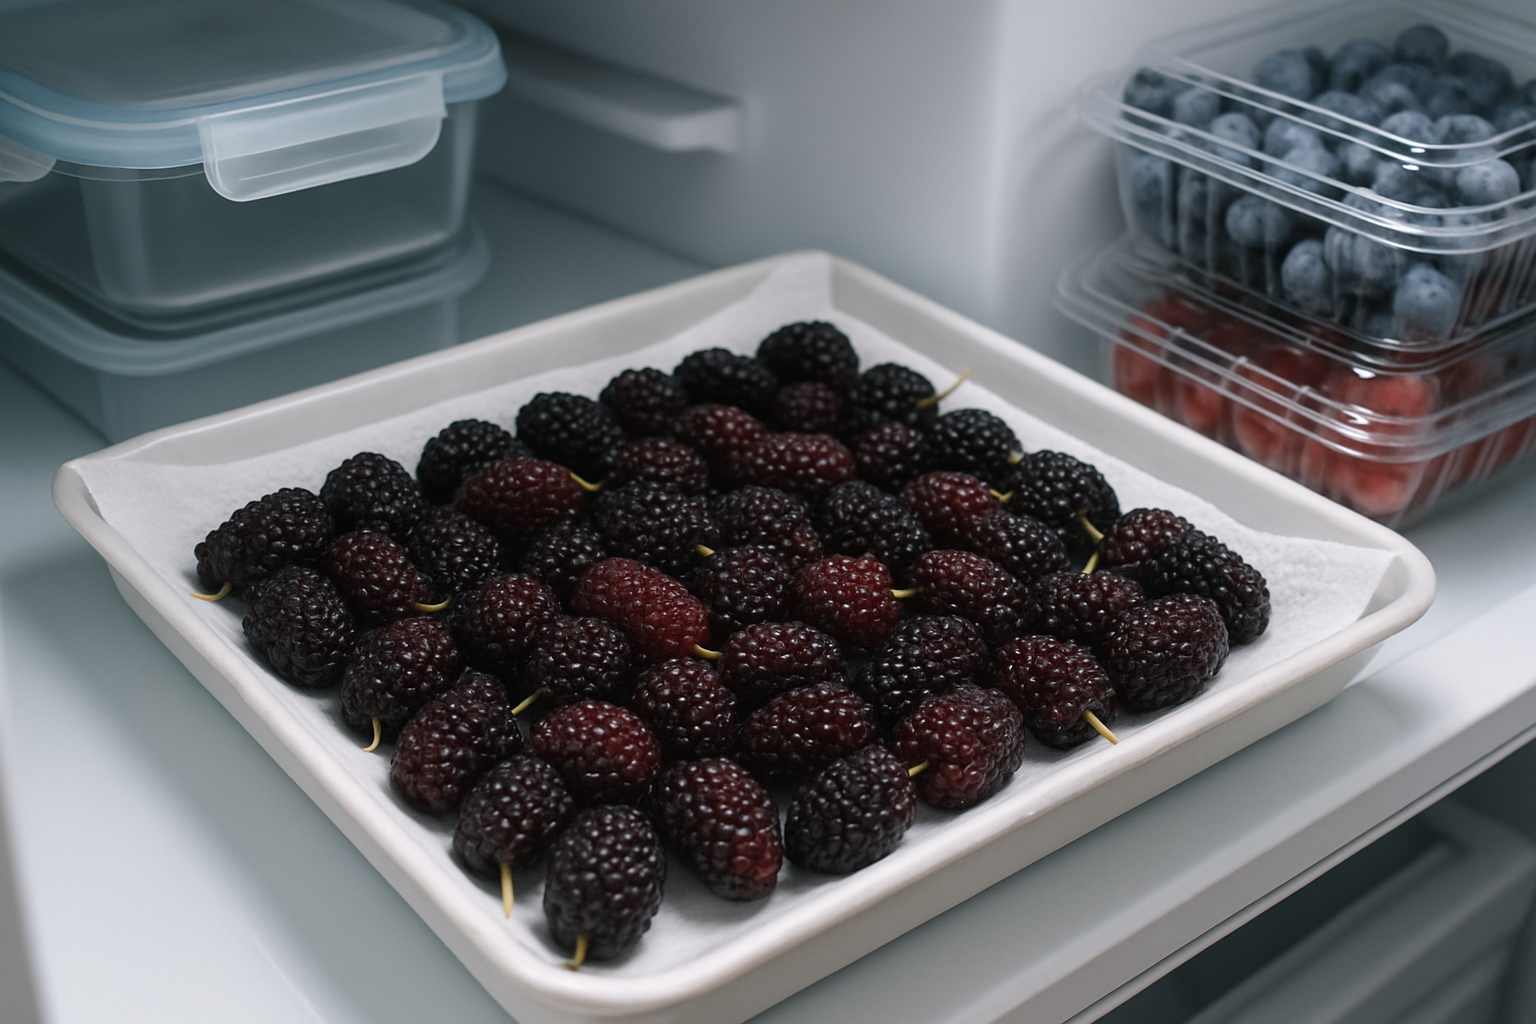
If your mulberries got wet during harvest (morning dew, a light rain, or an accidental splash), spread them in a single layer on a clean kitchen towel or paper towels and let them air dry for 20 to 30 minutes. A little patience here adds days to their life.
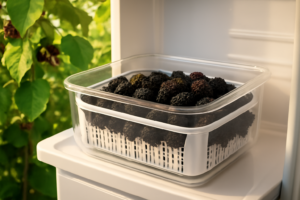
The Containers That Actually Keep Frozen Mulberries From Turning Into a Soggy Brick
After you’ve gone through the effort of flash-freezing your mulberry harvest, the last thing you want is freezer burn or ice crystal damage ruining months of storage. A good airtight container makes the difference between berries that thaw into individual fruits and ones that clump into an unusable block.
What works
- The removable colander design lets you rinse and drain frozen berries without opening the main container, cutting down on thaw time and air exposure.
- The seal actually holds—I’ve kept batches frozen for six months without the crystallization I got with ziplock bags that slowly leaked air.
- The stacked design saves real freezer space when you’re managing multiple harvest dates across early, mid, and late-season varieties.
What doesn’t
- The handle cracks if your freezer is packed tight and you’re yanking containers out in frustration—learned that the hard way in July when I was running short on space.
- They’re not transparent, so you have to label them clearly or you’ll forget which variety and harvest date is inside.
I nearly gave up on rigid containers after a set of cheap plastic ones warped in the deep freeze, but these held their shape and seal through two full seasons. 5 Pcs Fruit Storage Containers For Fridge with Removable Colander and Handle Lid
This post contains affiliate links. As an Amazon Associate, I earn from qualifying purchases at no extra cost to you.