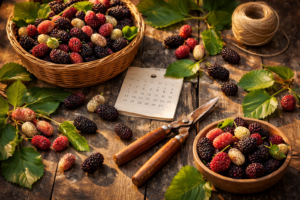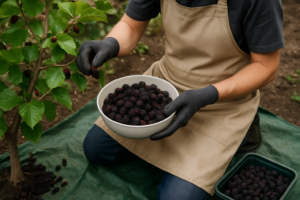
I walk out to my Pakistan mulberry every July with a harvest bucket and come back with purple-stained hands up past my elbows—a color that doesn’t wash off for a week and has definitely raised eyebrows at dinner parties. The real surprise wasn’t the staining, though. It was discovering that a proper freezing routine was the only thing standing between a glorious, three-week bounty and a kitchen full of rotting berries or—worse—a solid purple ice block I couldn’t use by winter. Once I figured out the actual mechanics of how to freeze them without turning them into a single useless frozen mass, everything shifted. The abundance stopped feeling like a problem and started feeling like a gift I could actually stretch across the whole year. What I’m laying out here is the exact process I’ve refined over more than a decade of dealing with enormous harvest gluts—no theory, just the practical steps that have kept my freezer stocked with usable mulberries from one season into the next.
A common freezing mistake is bagging mulberries without a flash-freeze step, resulting in one solid mass of frozen berries welded together and difficult to separate. The lesson learned through this error is straightforward: mulberries require a deliberate freezing approach to remain usable. Proper technique preserves months of backyard work instead of rendering the harvest unusable through a simple freezing mistake.
Why Freezing Mulberries Goes Wrong (And Why It Doesn’t Have To)
The challenge with mulberries is that they’re nothing like the berries most people freeze. They’re tender, loaded with juice, and prone to sticking together in a way that blueberries or raspberries simply aren’t. Pack them while they’re warm or damp, and the moisture causes them to fuse as they freeze solid. Once that happens, you’ve essentially created a frozen mulberry sculpture—impressively intact, but utterly impossible to work with for cooking or blending. The silver lining is that this outcome is totally preventable. All it takes is understanding the right sequence of moves, and none of them demand special tools or magic. I’m going to walk you through the exact process, step by step.
Freezing Mulberries That Stay Loose and Usable: The Complete Process
Step 1: Choose Your Berries With Care
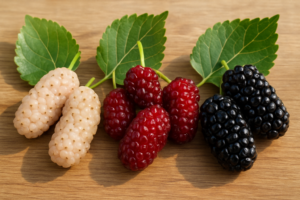
Start by being selective about which berries make it into your freezer. Look past any that haven’t reached full ripeness—they’ll taste thin and sharp. Discard any that are collapsing or leaking juice heavily, since texture and quality have already declined. What you’re after are fully mature berries with that characteristic deep color—true black or dark purple for black mulberry types, pale cream or light pink for the white varieties, depending on which cultivar you’re working with. Whether you leave the stems attached or remove them ahead of time is entirely a matter of preference; I pull mine off, but either approach works equally well in the freezer.
Step 2: Wash Carefully and Dry Completely
Give your mulberries a cool-water rinse in a colander, using a light touch so they don’t absorb excess moisture or break apart under water pressure. Soaking is absolutely the wrong move—it makes them waterlogged and even more fragile than they already are. Once rinsed, lay them out across clean towels or paper towels and give them 20 to 30 minutes to air-dry completely. This part cannot be rushed or skipped. Moisture is the enemy of successful freezing, and damp berries are the reason most people end up with that giant purple clump. Even if you’re short on time, a quick pat-down followed by sitting time is worth the wait.
Getting Sheet Pans Ready for Your Full Summer Harvest Without Cramming Your Freezer
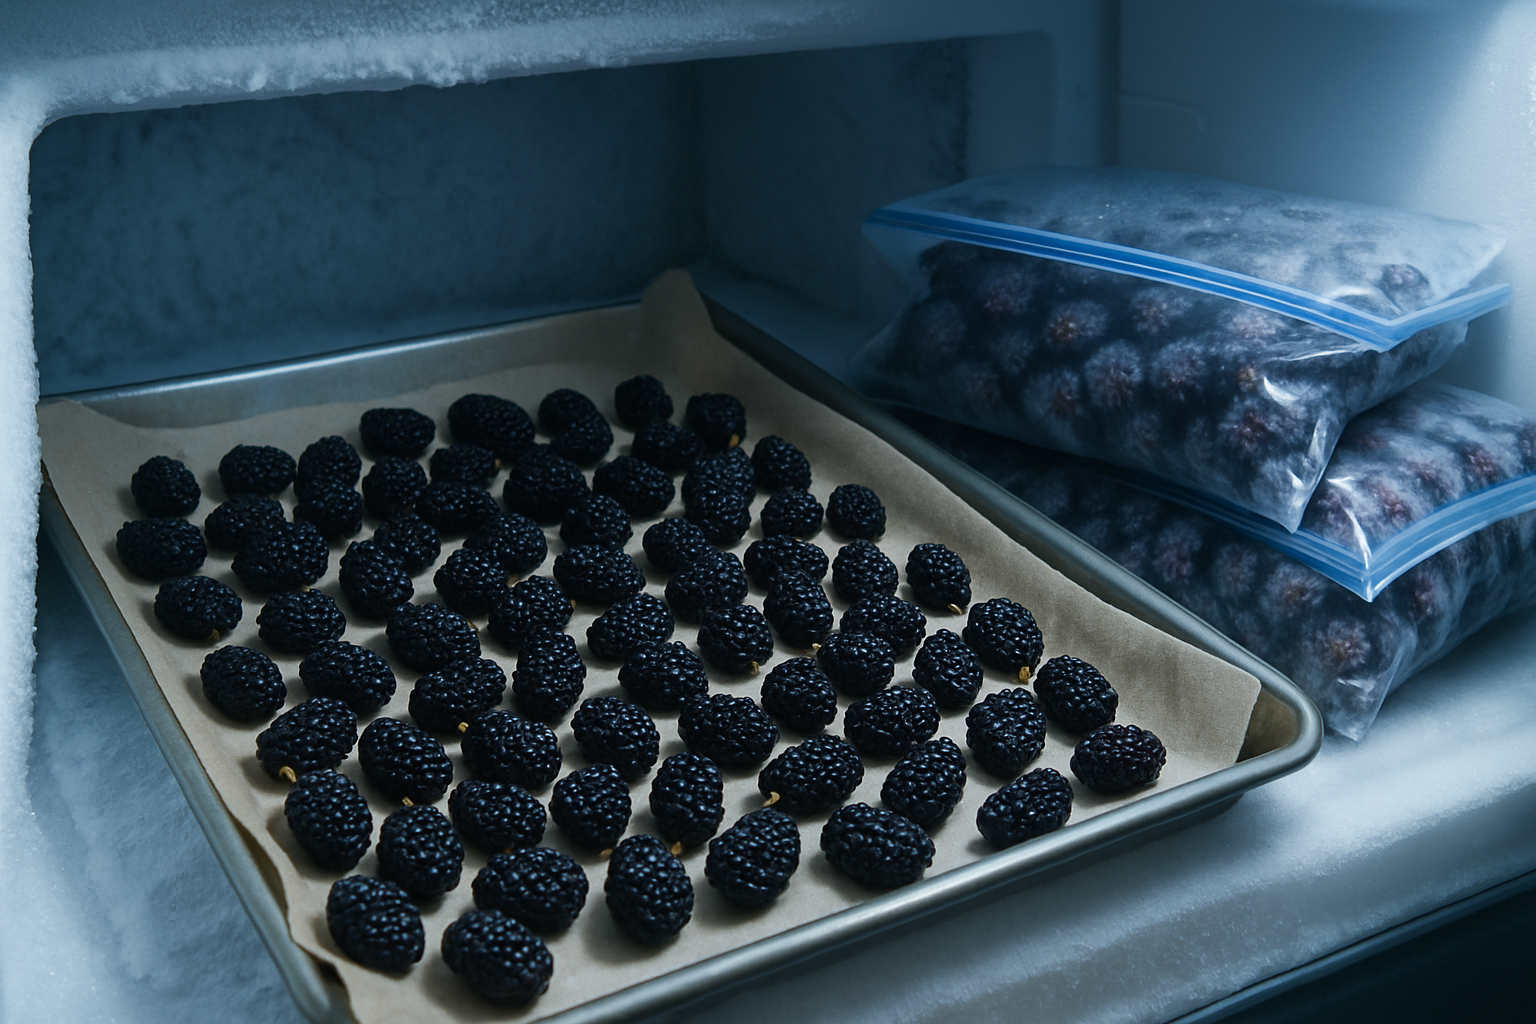
During harvest season, mulberry trees often deliver large quantities of ripe berries across a compressed window—way more than can be processed in a day or stored in bags without losing freezer space. The real challenge isn’t the picking; it’s flash-freezing them in a way that doesn’t sacrifice freezer real estate and leaves individual berries instead of a frozen clump.
What I’ve found works
- A half-sheet pan fits into a standard home freezer without monopolizing an entire shelf, letting you run two or three pans simultaneously while still keeping other frozen foods accessible.
- Berries separate and stay loose once frozen, which means you can grab just what you need for a single pie or smoothie batch instead of wrestling with a solid frozen block that requires hacking.
- The raised edges prevent rolling and spillage during transfers, and the material itself stays intact through dozens of freeze cycles without warping or chipping the way cheaper alternatives might.
The trade-offs to consider
- They demand real counter space and freezer real estate during the two-hour minimum freeze window before you can bag anything—which means you need to plan your picking rhythm around what physical space you actually have available.
- The upfront investment requires buying multiples, since a single pan means cycling through repeated freeze-thaw-bag sequences over many days when you’re in the thick of peak harvest, rather than running everything in parallel.
I almost gave up on this method when my first batch took longer to freeze than expected and started showing condensation, but that was operator error—I’d overstuffed the pan. After dialing back to a single layer, these have been bulletproof. Grab the Nordic Ware Naturals Half Sheet pans (2-Pack) and you’ll actually have a workflow that keeps up with the harvest.
Frequently Asked Questions
Should I remove mulberry stems before freezing them?
That’s entirely a matter of preference. I pull the stems off mine, but leaving them attached works equally well in the freezer, so do whichever is faster for you. What matters far more is that the berries are fully ripe and completely dry before they go onto the pan.
How long do mulberries need to freeze on the pan before bagging?
I give them a two-hour minimum freeze window on the sheet pan before I bag anything. That’s the part that demands both counter space and freezer space, so plan your picking rhythm around the room you actually have. Once frozen, the berries stay loose and separate instead of welding into a block.
How many sheet pans do I need for a big mulberry harvest?
Buying multiples helps. A single pan means cycling through repeated freeze-thaw-bag sequences over many days during peak harvest, while a half-sheet pan fits a standard home freezer without monopolizing a shelf, so you can run two or three pans at once and still reach your other frozen food.
Can I skip air-drying mulberries if I’m short on time?
Drying is a critical step that should not be rushed. After a light cool-water rinse, mulberries should be spread on clean towels or paper towels for 20 to 30 minutes to air-dry completely. Damp berries are a common reason for clumping during freezing. Even a quick pat-down followed by adequate air-drying time makes a significant difference in the final result.
Keep Reading
About This Article

Written by Ruth Nakamura. Ruth Nakamura is a backyard orchardist in the Pacific Northwest who has grown mulberries for fifteen years, cultivating twelve different varieties in her own backyard. Not a horticulturist by formal training - she shares what she has learned through hands-on growing, workshops, and connecting with nurseries and growers across the country. More about this site.
Scope and limits. Ruth is a backyard orchardist without formal horticultural training. Growing conditions vary enormously by region, so confirm variety, timing, and pest guidance with your local extension service.
Verify this against a primary source
Specifics change, and your situation may differ from the one described here. These are the authorities worth checking directly:
- USDA Plant Hardiness Zone Map — zone verification for your location
- Oregon State University Extension — fruit growing and pruning research
- USDA PLANTS Database — species range and identification