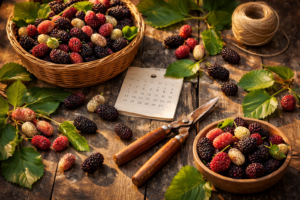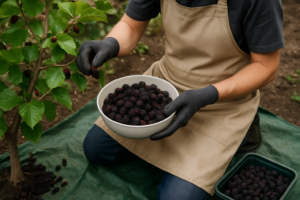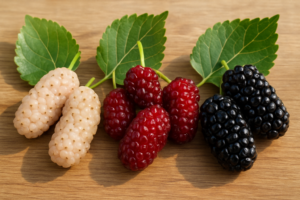
Mulberries deteriorate faster than almost any other fruit you can grow—a frustration when months of tending the tree culminates in watching the harvest turn to pulp. The window between “perfectly ripe” and “unusable mush” is genuinely narrow—somewhere around 48 hours if stored at room temperature. With deliberate storage methods, that window can stretch to five to seven days in the fridge, or months in the freezer, while preserving the flavor and texture that makes homegrown mulberries worth the effort in the first place.
If you’ve been harvesting mulberries yourself, you’ve already discovered what supermarket fruit never teaches you: these are soft, juice-laden, incredibly tender berries. The moment they come off the branch, the clock is running. Yet I’ve learned through plenty of trial and error that with a deliberate strategy, you can keep fresh mulberries in your refrigerator for somewhere between four and six days without losing quality, or tuck them away in the freezer for many months ahead. Let me walk you through exactly what I do.
Why Mulberries Go Bad So Fast (And What’s Actually Happening)
To fix the problem, you first need to understand what’s actually happening to these berries after harvest. Mulberries carry an exceptionally high water content packed inside a paper-thin, fragile skin. Compared to blueberries or strawberries, they lack any real waxy protective layer, which means both water vapor and bacterial spores move across that boundary with almost no resistance. Beyond that, they bruise from the gentlest touch, and any damaged patch turns into a fast-spreading mold infection.
Here’s the other wrinkle: mulberries keep ripening even after you’ve picked them. The breakdown of sugars accelerates, cell walls soften further, and what looked absolutely pristine at mid-morning can become an oozing, fermenting mess by supper if it sits unrefrigerated. I’ve watched this unfold too many times.
Two factors pose the greatest threat to the shelf life of fresh mulberries: condensation clinging to the fruit surface and ambient warmth. Manage those two things, and you’re already halfway to keeping your harvest intact.
The Right Way to Keep Fresh Mulberries Cold
Step 1: Skip the Rinse Until Eating Time Arrives
This single adjustment transformed my storage success more than anything else. My original habit was washing berries immediately upon bringing them indoors—it seemed like standard kitchen hygiene. But dampness on the fruit surface becomes a superhighway for mold colonization. The smarter move is to look through your harvest right away, carefully setting aside any berries that are already mushy, leaking juice, or spotted with fuzzy growth. Bad berries contaminate nearby good ones with alarming speed.
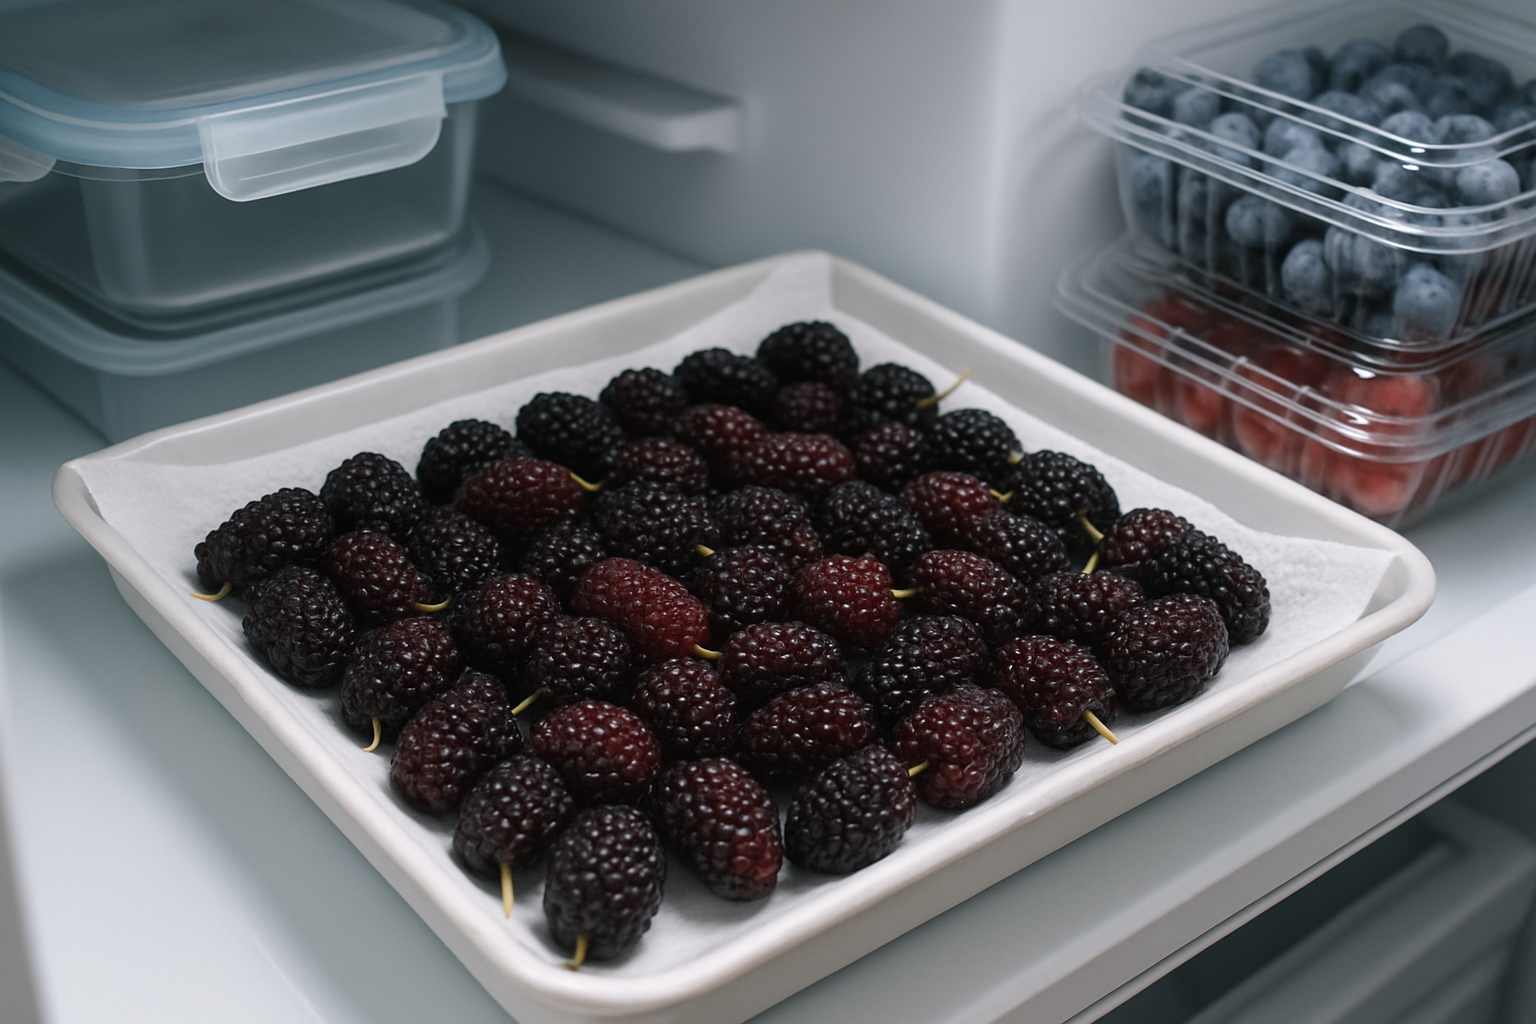
Step 2: Ensure They’re Bone-Dry Before Moving to Cold Storage
Should your mulberries have picked up moisture during picking—morning condensation on leaves, light rainfall, or an accidental splash—lay them out in a single layer across a clean kitchen towel or paper towel and allow them to sit untouched for roughly 20 to 30 minutes. This unhurried step buys you significantly more days before spoilage begins.
Finding the Right Container to Prevent Your Frozen Mulberry Stash From Becoming an Icy Clump
Once you’ve invested the time in flash-freezing your mulberry stockpile, the goal is to prevent deterioration during months of frozen storage. Crystallization and freezer burn can destroy all that work. The right storage vessel makes the difference between thawing individual berries and hauling out an impenetrable frozen brick.
Advantages worth noting
- Built-in strainer basket allows you to rinse frozen berries and drain off excess liquid without unsealing the entire container, reducing thaw time and minimizing freezer exposure.
- The closure actually performs—I’ve stored batches for half a year without the creeping oxidation I used to see with regular freezer bags that slowly lost their seal integrity.
- Nesting capability preserves valuable freezer real estate when you’re stashing harvests from early-ripening, peak-season, and late-ripening cultivars separately.
Drawbacks I’ve encountered
- The grip points snap under pressure if your freezer compartment is stuffed wall-to-wall and you’re wedging containers in with force—mine broke this past summer during a packed-freezer crisis.
- Opaque walls mean you can’t see what’s inside without opening the lid, so labeling with variety name and pick date becomes absolutely necessary.
I nearly gave up on rigid containers after a set of cheap plastic ones warped in the deep freeze, but these held their shape and seal through two full seasons. 5 Pcs Fruit Storage Containers For Fridge with Removable Colander and Handle Lid
Frequently Asked Questions
How long do fresh mulberries last if I do nothing?
Roughly 48 hours is the window between perfectly ripe and unusable mush if the berries sit unrefrigerated and untreated. With proper storage, mulberries can last four to six days in the refrigerator without losing quality, or many months in the freezer. The two biggest threats are condensation on the fruit surface and ambient warmth.
Should I sort mulberries before putting them in the fridge?
Yes, I look through the harvest as soon as it comes indoors and carefully set aside any berries that are already mushy, leaking juice, or spotted with fuzzy growth. Bad berries contaminate nearby good ones with alarming speed, so one overlooked mushy berry can take down the fruit sitting around it.
Are rigid containers better than ziplock bags for freezing mulberries?
In my own freezer, yes. I’ve stored batches in rigid containers for half a year without the creeping oxidation I used to get from regular freezer bags that slowly lost seal integrity, and without the crystallization that killed my ziplock batches. One warning: the grip points can snap if you force containers into a packed freezer.
Why should I label my frozen mulberry containers?
Because opaque container walls mean you can’t see what’s inside without opening the lid, so I write the variety name and pick date on every one. That matters more when containers nest together and you’re storing early-ripening, peak-season, and late-ripening cultivars separately. Opening lids to check contents just adds unnecessary freezer exposure.
Keep Reading
About This Article

Written by Ruth Nakamura. Ruth Nakamura is a backyard orchardist in the Pacific Northwest who has grown mulberries for fifteen years, cultivating twelve different varieties in her own backyard. Not a horticulturist by formal training - she shares what she has learned through hands-on growing, workshops, and connecting with nurseries and growers across the country. More about this site.
Scope and limits. Ruth is a backyard orchardist without formal horticultural training. Growing conditions vary enormously by region, so confirm variety, timing, and pest guidance with your local extension service.
Verify this against a primary source
Specifics change, and your situation may differ from the one described here. These are the authorities worth checking directly:
- USDA Plant Hardiness Zone Map — zone verification for your location
- Oregon State University Extension — fruit growing and pruning research
- USDA PLANTS Database — species range and identification