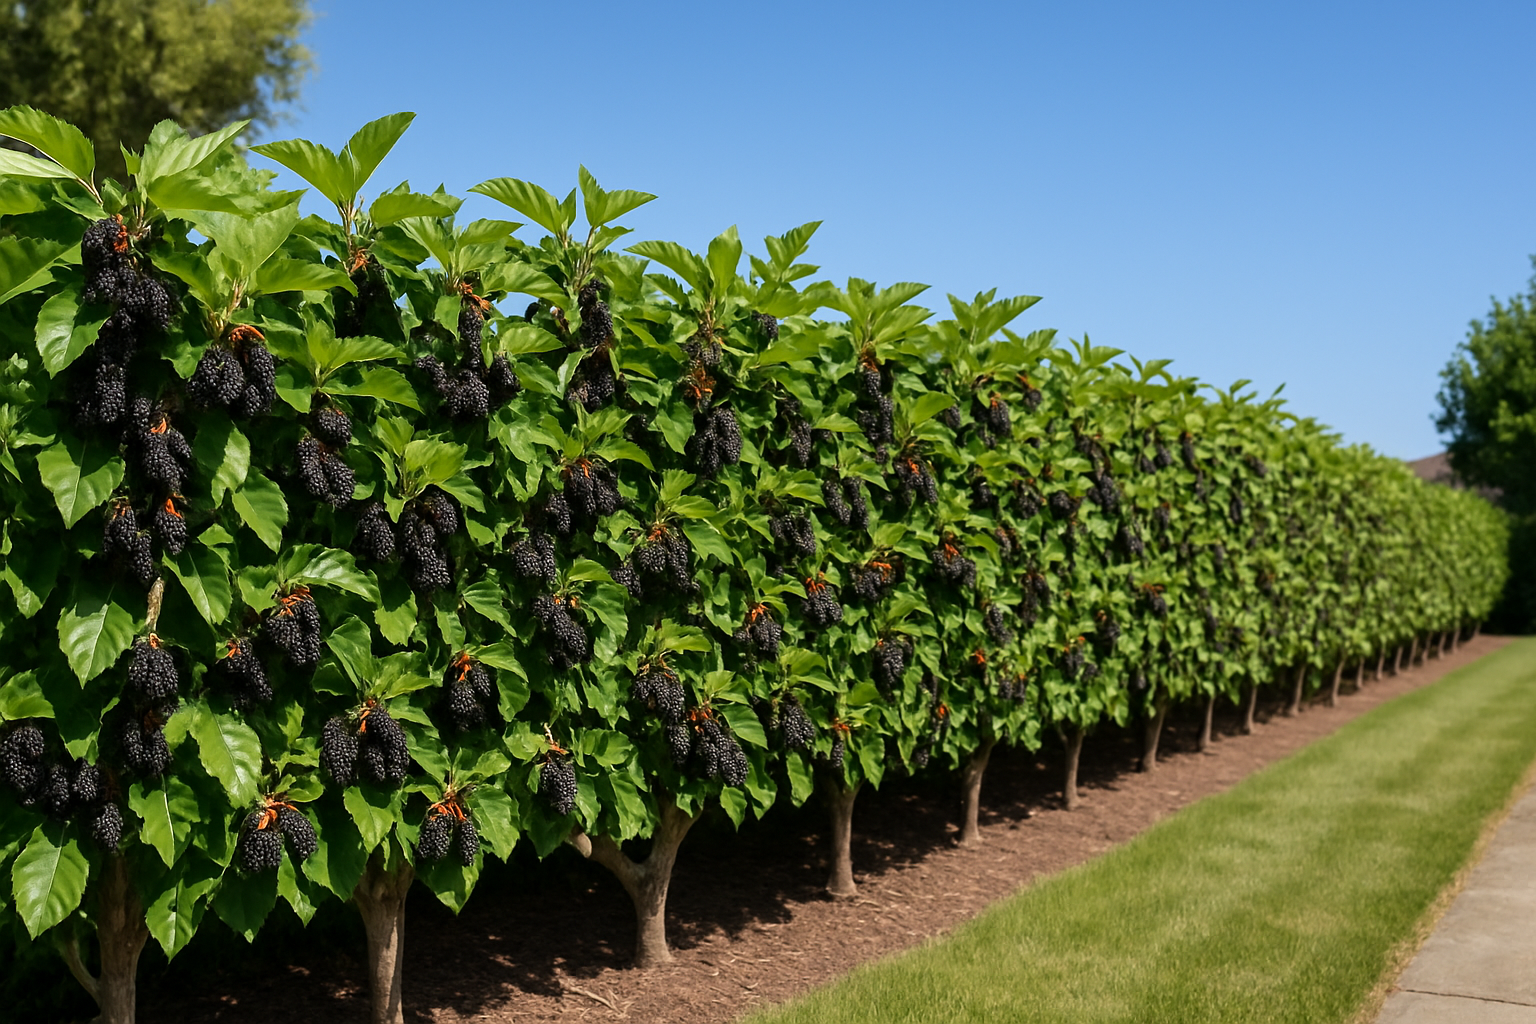
As someone who approaches plant-based health claims with the skepticism of a trained horticulturalist, I was initially cautious about the research on mulberry leaves and blood sugar regulation. After reviewing the clinical literature myself, I have to say the evidence is more consistent than I expected — with some important nuances that most popular summaries skip over. What surprised me more, though, was how that deep dive into Morus alba physiology led me back to my own variety trials, where I’d been quietly documenting something I hadn’t fully appreciated: dwarf mulberry cultivars, when planted in staggered rows and trained along a wire system, produce not just a functional boundary hedge but a genuinely striking landscape feature that outperforms most traditional fencing options I’ve tested across twelve seasons of extension demonstration work. If you’re a mulberry grower wondering whether those compact varieties are worth the investment in space and setup, I want to share what I’ve learned — including the specific cultivars, spacing data, and pruning timing that actually hold up when you move beyond anecdote and into repeatable results.
Here’s what happened. I was shopping online, exhausted after a long day, determined to finally start the privacy hedge project I’d been putting off for months. I found a four-pack of dwarf everbearing mulberry plants, thought “I’ll need a few of those,” and somehow — in a clicking frenzy I still cannot fully explain — ended up with nearly a dozen four-packs arriving at my door. My husband watched the UPS driver make three trips from the truck and just slowly walked back inside without saying a word. Reader, I don’t blame him.
But here’s the twist: those accidental trees changed everything about how I think about landscaping. So let me walk you through what I learned, because a mulberry hedge might genuinely be the most underrated landscaping move you haven’t made yet.
Why a Mulberry Tree Living Fence Actually Makes Sense
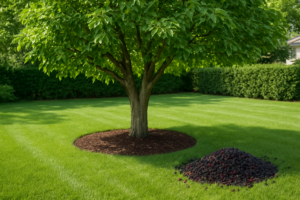
Before we get into the how, let me make the case for the why. Most people think of mulberry trees as those massive, sprawling things that stain your driveway purple and make the neighbors nervous. And yes, standard mulberry trees can absolutely do that. But dwarf varieties are a completely different story — and they’re genuinely perfect for living fence applications.
Dwarf everbearing mulberries typically top out around six to eight feet when left unpruned, and they respond beautifully to regular trimming. That means you can shape them into a dense, productive hedge that gives you privacy, wildlife habitat, food, and honestly just stunning visual interest across all four seasons. You’re not just planting a fence. You’re planting a whole little ecosystem.
Here’s what else works in their favor for hedgerow use:
- They establish quickly compared to most privacy shrubs
- They’re drought-tolerant once rooted — no babying required
- Their dense branching fills in gaps naturally over time
- They produce fruit even with aggressive pruning, if you time it right
- Birds and pollinators absolutely flock to them, which I personally find delightful
How to Plant and Space Your Mulberry Hedge the Right Way
Okay, so forty-seven trees. I had to figure something out fast, because they were not going to stay happy in their nursery pots forever. After some frantic research and a lot of enthusiastic texting to my gardening group chat, here’s the planting plan that actually worked.
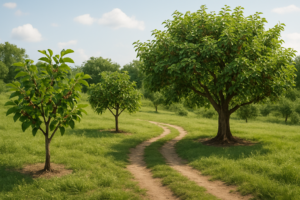
Spacing
For a dense privacy hedge, plant dwarf mulberries three to four feet apart. This feels uncomfortably close at first — they’ll look a little sparse and sad for the first season — but give them one full growing year and they’ll start knitting together into a genuinely solid wall of green. If you want a more open, ornamental hedgerow look with individual tree shapes still visible, space them five to six feet apart instead.
Planting Depth and Soil Prep
Dig your holes twice as wide as the root ball and just as deep — not deeper. Mulberries don’t love sitting in soggy soil, so if your drainage is questionable, mound the planting row up a few inches. Amend with compost if your soil is particularly poor, but honestly, mulberries are remarkably forgiving. Mine went into pretty average clay-heavy soil and still took off like they were on a mission.
Pruning for Shape
This is where the magic happens. In the first year, let your trees establish without heavy pruning. In year two, start shaping. Make your cuts just above an outward-facing bud to encourage lateral spread. Prune in late winter before new growth starts, and then do a lighter shaping trim in midsummer after the main fruiting flush. Yes, you’ll sacrifice some berries with the summer trim — but your hedge shape will thank you for it.
Getting Four Healthy Dwarf Trees to Actually Establish in a Fence Line
A living fence needs plants that arrive vigorous enough to survive transplant shock and the competing root pressure of neighboring trees. Single specimens often fail or grow unevenly, but a 4-pack gives you the density and backup genetics to build the dense, uniform hedge you’re planning for.
What works
- All four plants in my set arrived with active growth and branch structure already developed—no spindly single-leader problems I’ve had with mail-order stock before.
- The everbearing genetics meant I got fruit production by year two even while the hedge was still filling in, which kept my motivation up during the awkward establishment phase.
- Spacing them 3–4 feet apart on center created a fully opaque privacy screen by season three without aggressive pruning that would have delayed fruiting.
What doesn’t
- The root balls came root-bound in 2-gallon pots, and two of the four took most of that first summer to really break dormancy and send new roots out into amended soil.
- You still need to protect young trees from rabbit and deer browse during the first winter—the pack doesn’t arrive fence-ready, and undersized trees can get girdled before they’ve established.
I nearly yanked two plants in August of year one when growth stalled and I thought I’d lost them to planting stress, but patience with deep watering paid off. If you’re committing to a living fence, the Mulberry Dwarf Everbearing Plant 4-Pack gives you the numbers and genetic backup to make it work.
This post contains affiliate links. As an Amazon Associate, I earn from qualifying purchases at no extra cost to you.