I’m standing over my harvest bins on a humid afternoon in late August, sorting through the day’s pickings—some berries going into the freezer, others destined for the dehydrator, a handful split between fresh eating and a batch of cordial I’m experimenting with. What strikes me now, after a decade of trial and error, is that none of this would’ve happened if I’d given up when my first mulberry tree rotted in the ground. But I didn’t. Those early failures taught me something that every guide written for someone with a sprawling orchard completely misses: working with a postage-stamp yard under 500 square feet demands a completely different approach to where you plant, how you train the tree, and what you expect from your timing and harvest. The real bottleneck was never about understanding the tree itself—it was about fitting it into a space that leaves zero room for guessing. If you’re wedged into a tight corner of the city or suburbs and you want mulberries to actually work, this is what I’ve figured out through years of getting it wrong.
I refused to abandon the idea. I’m genuinely grateful I pushed through.
Why I Was Convinced a Mulberry Tree Small Yard Situation Was Impossible
The outdoor area I have is decent by urban standards, though it’s nothing to brag about anywhere else. I’m working with roughly 480 square feet of enclosed space behind a 1940s townhouse. Twelve years back when I first took over the property, what greeted me was two neglected shrubs, a brick path falling apart, and soil so clay-laden and compacted that water just sat on top of it like a sealed pot.
Mulberries are prized for their sweet, dark fruit and the abundance they produce during summer months. Standard mulberry cultivars typically grow 30 to 50 feet tall with proportional canopies, making them impractical for small yards. Many gardeners with limited space—under 500 square feet—have found ways to grow mulberries successfully by choosing compact cultivars and planning placement carefully.
So I did what any determined dreamer does: I grabbed a standard sapling from a neighborhood nursery, found the sunniest corner, dug a hole, and hoped for the best. By late October, it was withered, gray, and thoroughly dead. The clay retained moisture after weeks of rain, the root system couldn’t handle the saturation, and by Tuesday of that week I was staring at a very expensive, very dead stick in the ground. Back to the drawing board, bruised wallet and all.
Where I Went Wrong—and What Actually Shifted Everything
After that first catastrophe, I stopped skimming articles and actually sat down to understand what I was up against. These discoveries flipped how I thought about the whole project.
Compact cultivars are the game changer you haven’t heard about
Compact everbearing mulberry cultivars—sometimes cataloged as Morus nigra compact strains or dwarf everbearing types—typically stay between 6 and 10 feet tall without aggressive pruning. The fruit is just as luscious and dark as what comes off a standard tree. These compact varieties often begin fruiting in their first or second year, compared to five or six years for full-size trees.
You cannot compromise on soil drainage
Mulberries adapt to almost everything except waterlogged roots. In my situation, where the ground was basically adobe clay, I had to choose: tear out the clay and rebuild it, or build upward. I chose upward, and it saved me. Even a 10 or 12-inch elevation shift gives roots the air pocket they crave and puts your soil mix entirely in your hands.
Direct sun exposure outweighs acreage
Mulberries need a bare minimum of six hours of unshaded light each day if you want them to produce fruit reliably. When space is limited, smart placement of the tree becomes especially important. Observing how shadows move across a yard at different times of day helps ensure the chosen location receives adequate sunlight throughout the growing season.
Pots and containers are a fully viable long-term choice
Dwarf mulberries thrive in containers that are at least 15 gallons for permanent growing. Container cultivation offers flexibility—you can move trees to optimize light exposure, protect them during harsh winters, and grow mulberries in yards that are mostly paved or decked. With proper care, container-grown dwarf mulberries produce reliable annual harvests.
How I Rebuilt My Yard—and What Gear Actually Paid Off
Once I pivoted toward raised beds and compact mulberry varieties, I rebuilt the whole situation around those commitments. Here’s exactly how I structured it and what equipment did the heavy lifting.
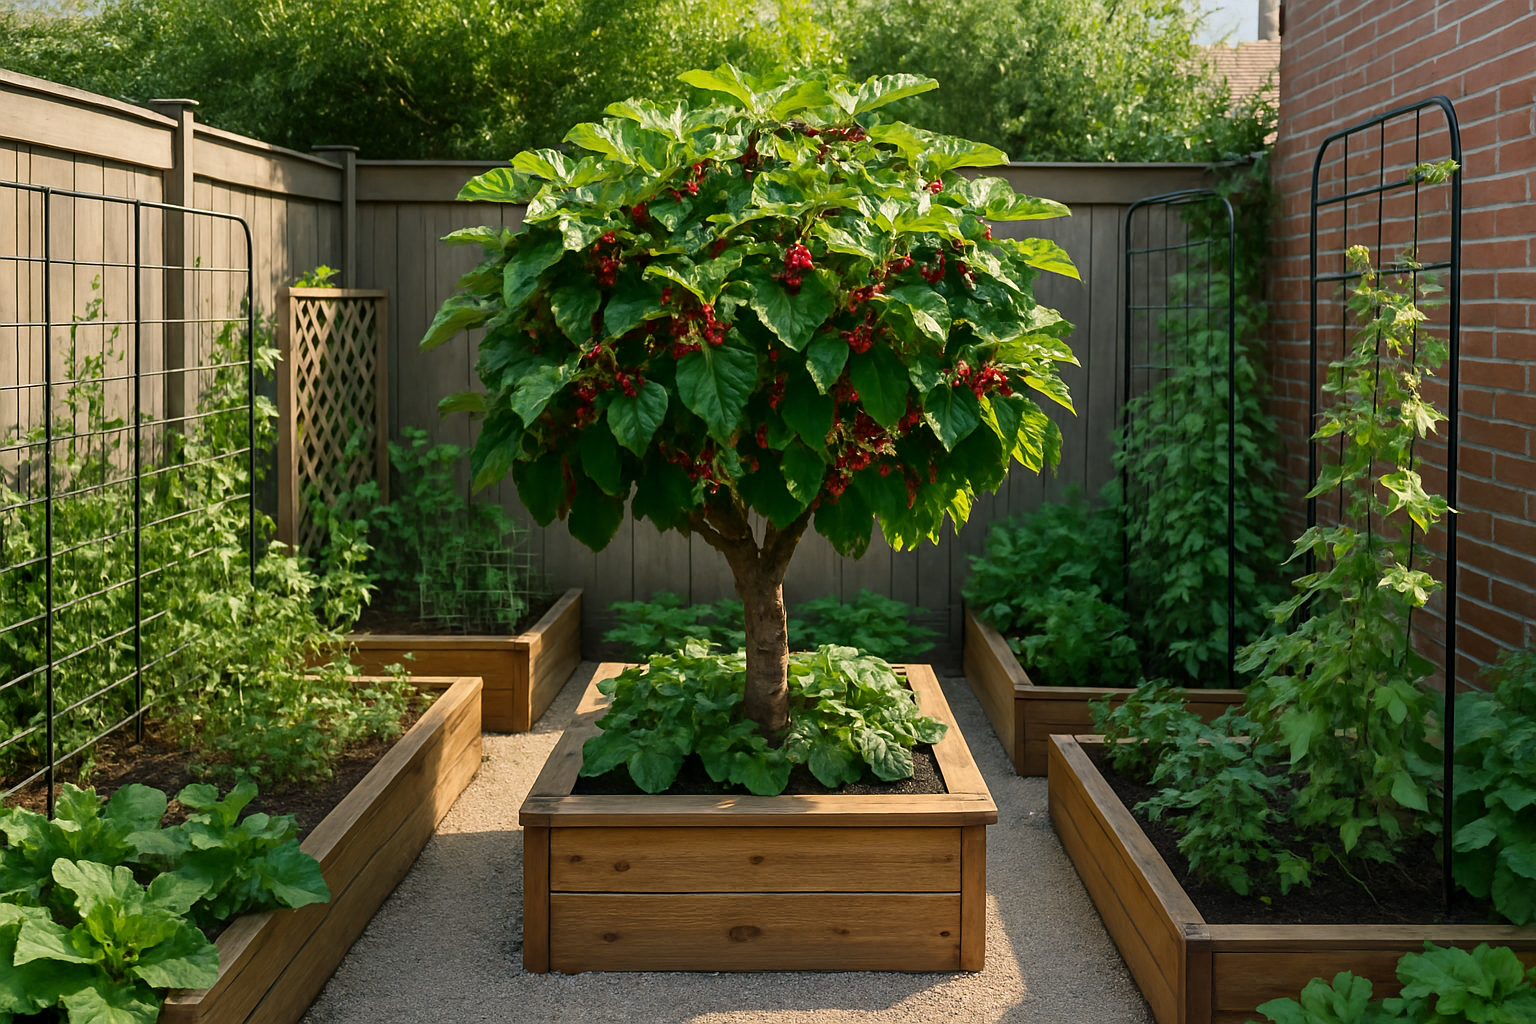
I constructed two raised beds along the fence line that faces south—territory I’d previously overlooked because it felt cramped and awkward to work. That spot is now where the first doomed sapling used to sit, and it’s transformed into the most productive corner of my whole setup.
Building Raised Beds That Let a Dwarf Mulberry Flourish in a Tight Residential Space
Once you’re confined to under 500 square feet, a standard-size mulberry root system becomes a territorial nightmare. A well-designed raised bed gives you the leverage to keep a compact mulberry controlled, fed, and happy without it sprawling across every inch you own.
What performs well
- A 4-by-2 footprint stays small enough that you’re not dealing with aggressive root expansion into neighboring yards, yet the 12-inch depth prevents a dwarf everbearing from drying out too fast during the dry stretches of July.
- Galvanized steel construction holds up—wood rots within two or three seasons when it’s getting hammered by falling mulberry leaves and persistent moisture, but steel brackets stay solid through repeated freeze and thaw.
- An unlined bottom edge lets roots eventually anchor into the native soil underneath, which cuts down the irrigation demands drastically—my summertime watering schedule moved from daily soakings to every-other-day once roots broke through.
What falls short
- Twelve inches of growing depth isn’t enough headroom for the more vigorous dwarf strains; my Pakistan variety started expanding horizontally instead of deepening its taproot, forcing me into heavier pruning schedules than I preferred just to maintain containment.
- Galvanized metal absorbs and radiates heat intensely in full-sun situations, which can damage tender foliage on newly established trees when temperatures spike—I had to rig up afternoon shade fabric during my first summer rather than watch the canopy wilt and scorch.
Raised bed systems can work for dwarf mulberries, though deeper containers generally perform better. Newly planted trees may show stress initially until roots establish and a consistent watering routine is found. Utopia Home Galvanized Raised Garden Bed Kit (4x2x1ft, Silver)
Frequently Asked Questions
Why did my mulberry tree die in heavy clay soil?
Waterlogged roots are a common cause of mulberry failure. Clay soil that holds moisture for weeks after rain can lead to root saturation, causing decline and death. Mulberries adapt to almost everything except waterlogged roots, so improving drainage before planting is essential for success in poorly draining yards.
How deep should a raised bed be for a dwarf mulberry?
The 12-inch depth I use keeps a dwarf everbearing from drying out too fast during the dry stretches of July, but it isn’t enough headroom for the more vigorous dwarf strains. My Pakistan variety started expanding horizontally instead of deepening its taproot, forcing heavier pruning than I preferred just to maintain containment.
Should a raised bed for mulberries have an open bottom?
I leave the bottom edge unlined so roots eventually anchor into the native soil underneath, which cuts irrigation demands drastically. My summertime watering schedule moved from daily soakings to every other day once roots broke through. That same breakthrough is what stabilized my dwarf after it showed stress signals in the first couple of weeks.
Do galvanized raised beds get too hot for young mulberry trees?
Galvanized metal absorbs and radiates heat intensely in full-sun situations, which can damage tender foliage on newly established trees when temperatures spike. During my first summer I rigged up afternoon shade fabric rather than watch the canopy wilt and scorch. Steel still beats wood, which rots within two or three seasons under falling mulberry leaves and moisture.
Keep Reading
About This Article

Written by Ruth Nakamura. Ruth Nakamura is a backyard orchardist in the Pacific Northwest who has grown mulberries for fifteen years, cultivating twelve different varieties in her own backyard. Not a horticulturist by formal training - she shares what she has learned through hands-on growing, workshops, and connecting with nurseries and growers across the country. More about this site.
Scope and limits. Ruth is a backyard orchardist without formal horticultural training. Growing conditions vary enormously by region, so confirm variety, timing, and pest guidance with your local extension service.
Verify this against a primary source
Specifics change, and your situation may differ from the one described here. These are the authorities worth checking directly:
- USDA Plant Hardiness Zone Map — zone verification for your location
- Oregon State University Extension — fruit growing and pruning research
- USDA PLANTS Database — species range and identification