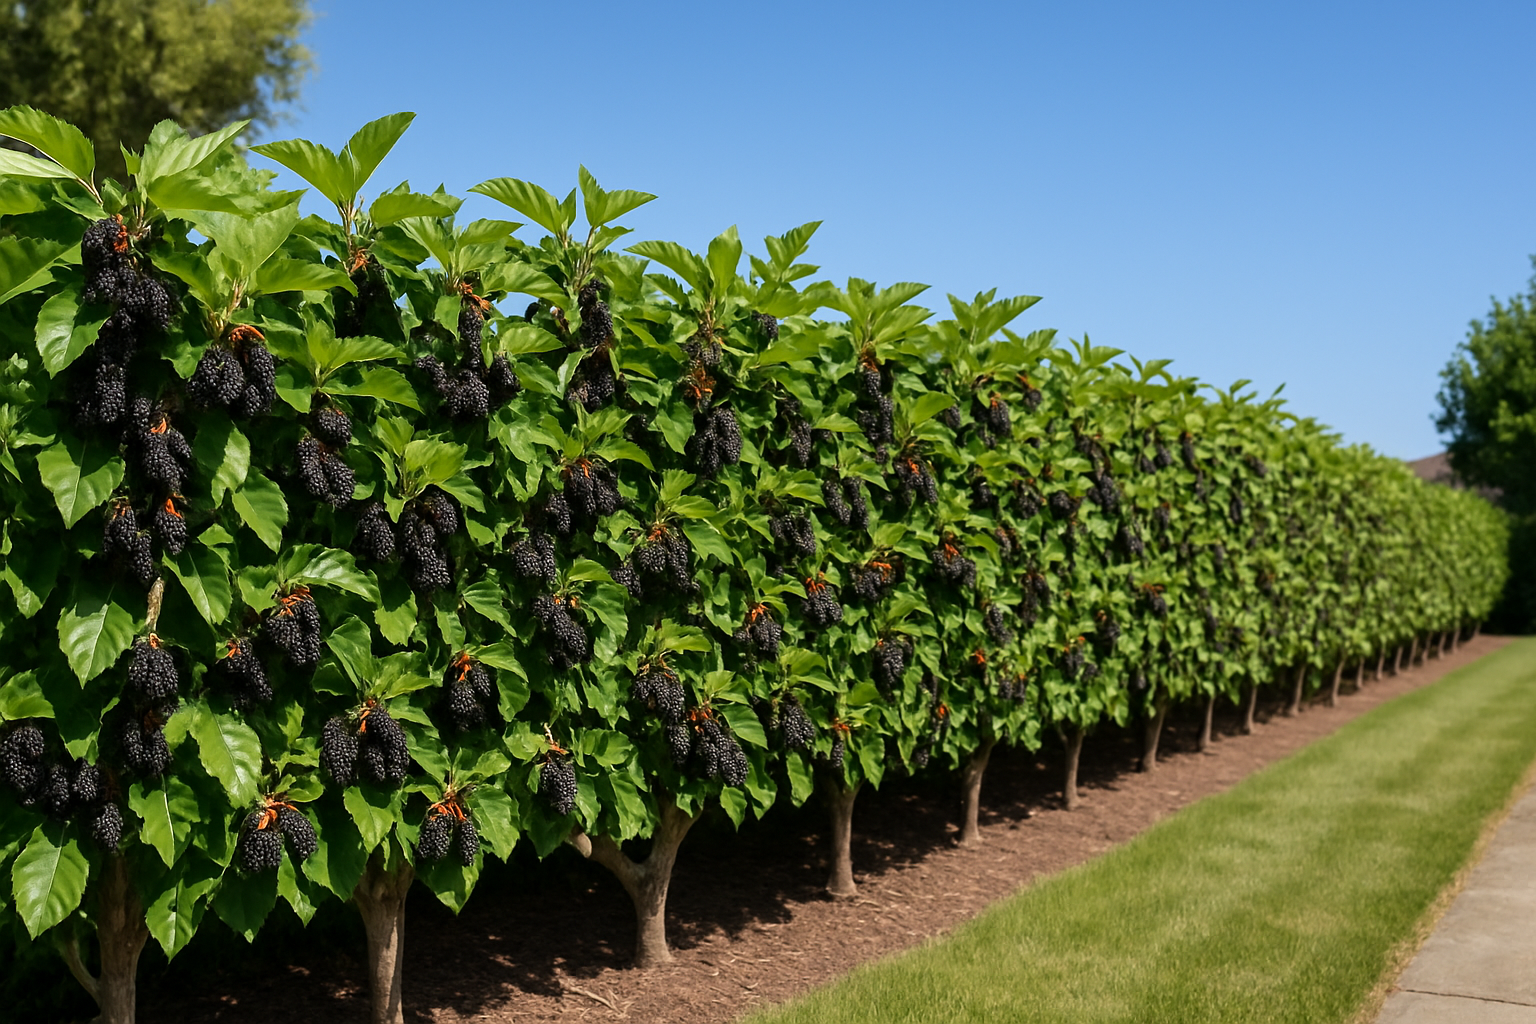
Many gardeners dismiss dwarf mulberries as undersized curiosities that belong in containers, not property lines. This assumption overlooks their actual performance in hedging applications. The real advantage of dwarf mulberries emerges when you consider how compact cultivars planted in overlapping rows with intentional wire training can create a functional privacy barrier with ornamental appeal — something that can outperform conventional fencing in both longevity and visual interest. For anyone considering dwarf varieties, the key decision points include cultivar selection, proper spacing, and a pruning calendar that supports both structure and fruit production.
Here’s what triggered this whole thing. I was scrolling through a late-night online nursery catalog, frazzled from a particularly brutal workday, absolutely resolved to finally execute the boundary screening project I’d postponed for far too long. A four-pack of dwarf everbearing mulberry saplings caught my eye, and I thought, “Well, I should probably grab a couple of these sets to really establish good coverage.” What followed was an embarrassing click-through marathon that I’ve tried hard to forget — but somehow, nearly a dozen four-packs showed up on my doorstep. My husband watched the UPS driver make multiple journeys from the delivery truck into our yard, then simply retreated indoors without uttering a syllable. I genuinely understood his reaction.
Yet there was an unexpected silver lining: that massive, unintended order ended up reframing my entire approach to yard design. Let me take you through what those trees taught me, because a mulberry-based living boundary might be the single most overlooked landscaping strategy in the Pacific Northwest.
Why a Mulberry Tree Living Fence Actually Makes Sense
Before getting into technique, I should address the basic argument. Most homeowners envision mulberry trees as those wild, sprawling specimens that deposit purple stains across your concrete and raise your neighbors’ eyebrows. Standard varieties absolutely fit that description. Dwarf cultivars, though, operate in an entirely different category — they’re genuinely suited to living fence applications.
Compact everbearing mulberries cap out somewhere between six and eight feet when you leave them unpruned, and they respond enthusiastically to consistent trimming schedules. That characteristic opens up the possibility of shaping them into a thick, productive boundary line that simultaneously delivers privacy, creates wildlife corridors, yields harvestable fruit, and honestly transforms your perimeter into something visually compelling across every season. You’re not merely constructing a fence. You’re building an active growing system.
Here’s what else tips the scales toward hedgerow applications:
- They fill in faster than the majority of boundary shrubs available to Pacific Northwest gardeners
- Once established, they handle dry periods without constant irrigation or fussing
- Naturally branching growth patterns eliminate awkward gaps as plants mature
- They keep producing berries even when you’re cutting them back heavily, provided you time your maintenance carefully
- Beneficial insects and migratory birds treat them like an all-you-can-eat destination, which I find genuinely rewarding to watch
Laying Out and Spacing Your Living Mulberry Boundary Correctly
I suddenly owned forty-seven trees, which meant I had to devise a strategy right away — they wouldn’t remain viable in their shipping containers indefinitely. After several days of intensive research and a nonstop exchange of messages with my local growing community, here’s the approach that delivered actual results.
Spacing Parameters
To achieve a truly thick privacy buffer, set dwarf mulberries at intervals of three to four feet between centers. This arrangement will look rather thin and underdeveloped initially — that first full season feels discouraging — yet patience pays off when they start interweaving their branches into a substantial, protective canopy. If you’re aiming for an airier, specimen-focused appearance where individual plant silhouettes remain distinguishable, increase your intervals to five or six feet.
Hole Preparation and Root Collar Positioning
Excavate planting holes that measure roughly twice the width of your root mass while maintaining equivalent depth — avoid going deeper. Mulberries tend to struggle in waterlogged conditions, so if drainage poses challenges in your location, construct a slight raised bed for your hedge line. Incorporating compost into the backfill helps if you’re working with particularly poor soil composition, though honestly, these plants demonstrate remarkable adaptability. My own specimens went straight into fairly unremarkable clay-dominated soil and established themselves with impressive speed.
Training and Architectural Pruning
This is where the transformation occurs. During the establishment year, resist the urge to aggressively prune — let the trees build root strength and crown volume. Come year two, commence your structural reshaping. Orient your pruning cuts toward upward-pointing dormant eyes to stimulate horizontal branching patterns. Conduct your heavier pruning session during late winter dormancy, then perform a lighter architectural trim around midsummer once the primary berry production cycle has finished. Yes, you’ll forfeit some fruit during that second trimming — but your hedge’s architectural integrity will improve noticeably.
Why Four-Packs Give You a Functional Hedge, Not Just Single Trees
A living boundary demands plants with sufficient vigor to weather the transplanting process and the competitive pressure exerted by adjacent root systems. Isolated individual specimens frequently underperform or exhibit uneven growth patterns, whereas a grouping of four provides the structural redundancy and genetic consistency required for a uniform, tightly-woven hedging effect.
Advantages I’ve Confirmed
- My four-pack arrived with visible vigor and already-developed branch architecture — no spindly, single-stemmed frustrations that sometimes plague mail-order single specimens.
- The everbearing trait delivered harvestable yields by year two despite simultaneous hedge-filling work, which sustained my enthusiasm during the awkward in-between growth phase.
- Positioning them at three-to-four-foot intervals produced a sight-blocking hedge wall by the third season without the severe cutbacks that would have delayed fruit output.
Challenges I Encountered
- The four specimens arrived with congested root systems in two-gallon containers, and a pair of them spent most of that first growing season slowly mobilizing their root growth into the surrounding soil rather than establishing immediately.
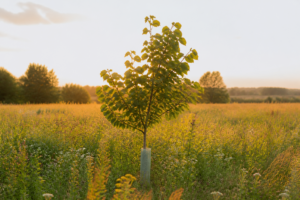
- Even with four trees arriving simultaneously, you’ll want protective barriers against wildlife pressure throughout the first dormant period — the ensemble doesn’t arrive fortified against browsing, and undersized plants can sustain girdling injuries before roots develop fully.
I nearly yanked two plants in August of year one when growth stalled and I thought I’d lost them to planting stress, but patience with deep watering paid off. If you’re committing to a living fence, the Mulberry Dwarf Everbearing Plant 4-Pack gives you the numbers and genetic backup to make it work.
Frequently Asked Questions
How tall do dwarf everbearing mulberries get unpruned?
Compact everbearing mulberries cap out somewhere between six and eight feet when left unpruned, which is why I think they suit a living fence. They also respond enthusiastically to consistent trimming, so you can shape them into a thick boundary line rather than fighting the sprawling habit of standard mulberry varieties.
How long before a dwarf mulberry hedge blocks the view?
Planting dwarf mulberries at three-to-four-foot intervals typically produces a sight-blocking hedge wall by the third season, without the severe cutbacks that would delay fruiting. The first full season often appears thin and visually discouraging, so a period of awkward in-between growth is normal before branches begin interweaving into a mature canopy.
Will dwarf mulberries grow in heavy clay soil?
Mine went straight into fairly unremarkable clay-dominated soil and established themselves with impressive speed. Mulberries do struggle in waterlogged conditions, so if drainage is a problem where you’re planting, I’d build a slight raised bed for the hedge line. Compost worked into the backfill helps with particularly poor soil.
Do young mulberry hedge plants need protection from animals?
Yes, I’d put protective barriers up against wildlife pressure throughout the first dormant period. Even receiving four trees at once doesn’t arrive fortified against browsing, and undersized plants can sustain girdling injuries before their roots develop fully. That first winter is when the plants are least able to shrug off damage.
Keep Reading
About This Article

Written by Ruth Nakamura. Ruth Nakamura is a backyard orchardist in the Pacific Northwest who has grown mulberries for fifteen years, cultivating twelve different varieties in her own backyard. Not a horticulturist by formal training - she shares what she has learned through hands-on growing, workshops, and connecting with nurseries and growers across the country. More about this site.
Scope and limits. Ruth is a backyard orchardist without formal horticultural training. Growing conditions vary enormously by region, so confirm variety, timing, and pest guidance with your local extension service.
Verify this against a primary source
Specifics change, and your situation may differ from the one described here. These are the authorities worth checking directly:
- USDA Plant Hardiness Zone Map — zone verification for your location
- Oregon State University Extension — fruit growing and pruning research
- USDA PLANTS Database — species range and identification