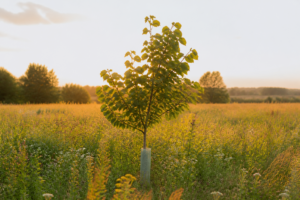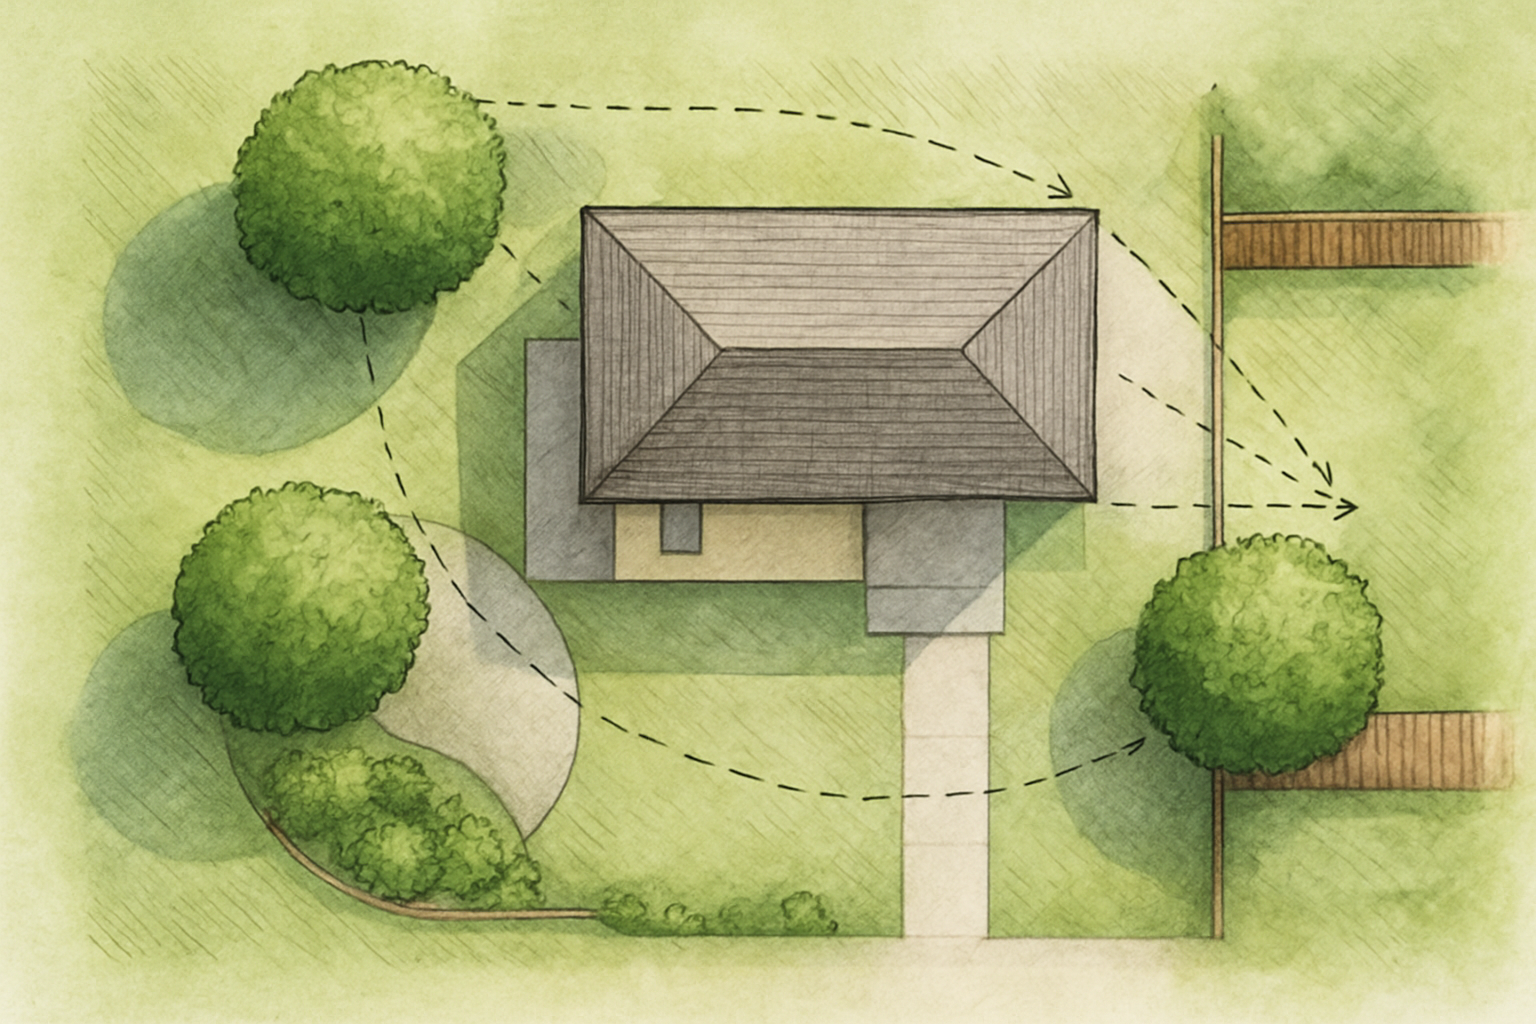
Mature mulberry trees can drop substantial fruit during peak season — and where that fruit lands determines whether it becomes a harvest opportunity or a cleanup task. In backyard settings where space is limited, every planting decision has consequences. Mulberries deliver triple duty: fruit production, shelter for pollinators and birds, and a well-positioned canopy that provides summer cooling for nearby structures. The planting location matters enormously. Key considerations include which angles maximize the ripening window, where fallen fruit can be managed without contaminating vegetable beds, and which vantage points allow monitoring of ripening branches before bird activity increases. Thoughtful placement helps coordinate your preservation rhythm; poor siting often means managing fruit off patios and wishing the decision had been reconsidered at planting time.
My own origin story involves less forethought than you’d hope. I brought home an Illinois Everbearing sapling, spotted what looked like a decent patch of open ground on the sunny side of the yard, dug without measuring anything, and basically called the job done. No consideration of what that tree would look like at maturity, no mental math about where roots might travel, no contingency plan for what happens when you’re surrounded by fruit for weeks on end. About twenty months in, my neighbor tactfully mentioned that my tree’s root system seemed to have taken an exploratory tour directly underneath her raised beds. Roots, apparently, had never figured into my planting calculus. I’d imagined a modest fruit tree. I’d accidentally created something with architectural ambitions.
Why Mulberry Tree Placement in Your Yard Deserves Serious Thought
Mulberries possess genuine superlatives — they grow with stunning speed, they produce abundantly, and they’re genuinely striking to look at across an entire year’s cycle. But that growth vigor is precisely the reason deliberate siting becomes critical. Depending on the cultivar you select, a mature tree occupies thirty to forty feet in width and comparable vertical space. Throw one down without thinking and you risk throwing permanent shade across your vegetable beds, splitting pavement with muscular roots, or converting your favorite outdoor lounging spot into a slippery biohazard every June.
The silver lining runs deep, though. Those very same characteristics — the expansive canopy, the rapid establishment, the generous fruit yield — flip into genuine advantages when you’ve actually planned where they go. Let me walk you through the decision-making framework that prevents placement regrets and builds tree success from day one.
Harvesting Logic, Shade Deployment, and Where Your Tree Fits Visually
Where to Position for Manageable Harvesting
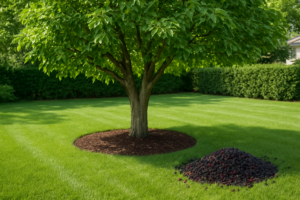
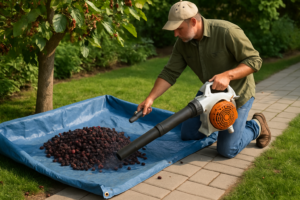
Once fruit reaches ripeness, the window for collection tightens fast — mulberries don’t sit pretty in storage, and the actual work of pulling ripe fruit by hand consumes hours. The approach most of us gravitate toward involves spreading fabric beneath the branches and tapping the limbs to drop everything at once. This requires realistic working room. Plan for a minimum perimeter of eight to ten feet of unobstructed space radiating outward from your trunk to move around, reposition your collection setup, and actually maneuver. Equal care goes to understanding your landscape topography — think about the actual path fruit takes as it falls. Stains are permanent on concrete, wood, and many fabrics. Orient your tree so the abundance lands on turf, mulched beds, or zones where seasonal purple streaking won’t gnaw at you visually.
Positioning Your Canopy for Maximum Cooling Impact
Few shade-providing trees match a mulberry’s density and spread at maturity. That overhead coverage proves genuinely valuable — but only when it actually intercepts the sun that’s heating your spaces during the hours you care about. Southwestern exposure relative to your buildings matters most; that’s where the sun bears down hardest in afternoon hours across summer months. To cool a house wall or patio meaningfully, position your tree fifteen to twenty feet distant from your foundation. That separation keeps the canopy near enough to shade effectively without allowing roots to probe toward your underground utilities and structural footings.
Making Your Mulberry a Landscape Anchor
A mature mulberry commands attention — peeling bark with character, layered foliage that invites you to sit underneath it, and a branching pattern that curves gracefully as the tree ages. These qualities make it fundamentally different from a tree you tolerate for function alone. Use that presence. A single tree stationed in a back corner becomes a visual destination that organizes your whole yard around it. Positioned against a fence, it softens the hard line and creates a natural backdrop. In a diverse food garden, it anchors the canopy layer, providing shelter for berries, perennials, and ground covers that appreciate dappled light.
Avoid dense clustering near structures, septic drain fields, buried water infrastructure, or hardscaping. Root systems are aggressive and indiscriminate. They need open soil where they can expand without eventually triggering a contractor’s invoice.
Strategic Placement Patterns for Different Yard Configurations
- Smaller properties (under 5,000 sq ft): Opt for a naturally restrained cultivar like Dwarf Everbearing, positioning it in a corner location to preserve usable garden footprint while capturing both fruiting potential and filtered afternoon shade.
- Properties with moderate size: Make the mulberry a waypoint on your property — position it along a garden corridor or near a seating zone so foot traffic naturally flows toward it, rather than just past it.
- Larger acreage: Plant at the perimeter of mown lawn so equipment can navigate freely below the crown, or station it along property edges as a productive living boundary that screens the view beyond.
- Terrain with slope: Mulberries excel at soil stabilization thanks to their extensive rooting habit. A hillside that resists conventional mowing or planting transforms into a low-fuss mulberry grove.
- Adjacent to animal spaces or wildlife zones: Fallen mulberries delight backyard poultry, native birds, and beneficial insect populations. Positioning your tree so fruit naturally cascades into these areas multiplies your ecological gains.
Creating a Physical Site Map Before You Dig: How I Account for Sun Paths, Sightlines, and Ripeness Monitoring
Effective mulberry placement requires viewing your property as three-dimensional — considering fruit drop zones, shadows cast by the canopy across seasons, and sight lines from where you spend most time. Poor visual access from the home’s primary windows can make it easy to miss the optimal picking window, leaving harvest to birds and wildlife instead.
Approaches that proved their value
- Transferring my intended placement onto scaled graph paper revealed that my assumptions about sun exposure patterns didn’t match reality — I found a perpetually shaded pocket I would have planted into without the exercise.
- Tracing sight lines connecting my living spaces to prospective tree positions showed me which locations would keep ripening fruit visible from kitchen and driveway windows, substantially cutting losses to wildlife since I could track color changes continuously.
- Mapping out where your tree’s shadow falls during afternoon hours — particularly in summer — made the difference between theoretical shade benefit and actual measurable cooling of house walls and outdoor seating zones.
Approaches with genuine limitations
- A two-dimensional plan on paper can’t capture how soil drainage patterns shift year to year — a wet year reorganized my subsurface water flow, leaving me with a microclimate scenario I hadn’t anticipated.
- The planning phase felt tedious enough that I skipped it before my third planting, relying instead on instinct, and that tree still underperforms in its corner because I never invested the 20-minute mapping commitment I should have.
I almost threw away my first sketch because the tree spacing looked cramped on paper, but those tight plantings actually became my best pest management strategy once the canopies interlocked. Grab the Design-Your-Garden Toolkit and spend the afternoon plotting before you dig.
Frequently Asked Questions
Which mulberry cultivar fits a yard under 5,000 sq ft?
On a smaller property, under 5,000 sq ft, I’d pick a naturally restrained cultivar like Dwarf Everbearing and tuck it into a corner location. That preserves usable garden footprint while still capturing fruiting potential and filtered afternoon shade. Corner placement also keeps the canopy out of the middle of the yard, where it would shade beds you actually need.
Can I plant a mulberry on a slope that’s hard to mow?
Yes, and it’s one of my favorite uses for them. Mulberries excel at soil stabilization thanks to their extensive rooting habit, so a hillside that resists conventional mowing or planting transforms into a low-fuss mulberry grove. It’s one place where an aggressive root system is purely an asset, though I’d still stay clear of septic drain fields and buried water infrastructure.
How do I keep birds from getting my mulberries before I do?
Plant where you can actually see the fruit ripen. I put two trees in without clear visual access from my home’s primary windows, and I routinely missed my peak picking window by a week or more while birds methodically finished the crop. Tracing sight lines from kitchen and driveway windows before digging let me track color changes continuously and cut losses.
Where should I never plant a mulberry tree?
Avoid dense clustering near structures, septic drain fields, buried water infrastructure, or hardscaping, because root systems are aggressive and indiscriminate and need open soil to expand. I’d also avoid any spot where fruit drops onto concrete, wood, or patios, since stains are permanent. My own tree sent roots under my neighbor’s raised beds about twenty months after planting.
Keep Reading
About This Article

Written by Ruth Nakamura. Ruth Nakamura is a backyard orchardist in the Pacific Northwest who has grown mulberries for fifteen years, cultivating twelve different varieties in her own backyard. Not a horticulturist by formal training - she shares what she has learned through hands-on growing, workshops, and connecting with nurseries and growers across the country. More about this site.
Scope and limits. Ruth is a backyard orchardist without formal horticultural training. Growing conditions vary enormously by region, so confirm variety, timing, and pest guidance with your local extension service.
Verify this against a primary source
Specifics change, and your situation may differ from the one described here. These are the authorities worth checking directly:
- USDA Plant Hardiness Zone Map — zone verification for your location
- Oregon State University Extension — fruit growing and pruning research
- USDA PLANTS Database — species range and identification