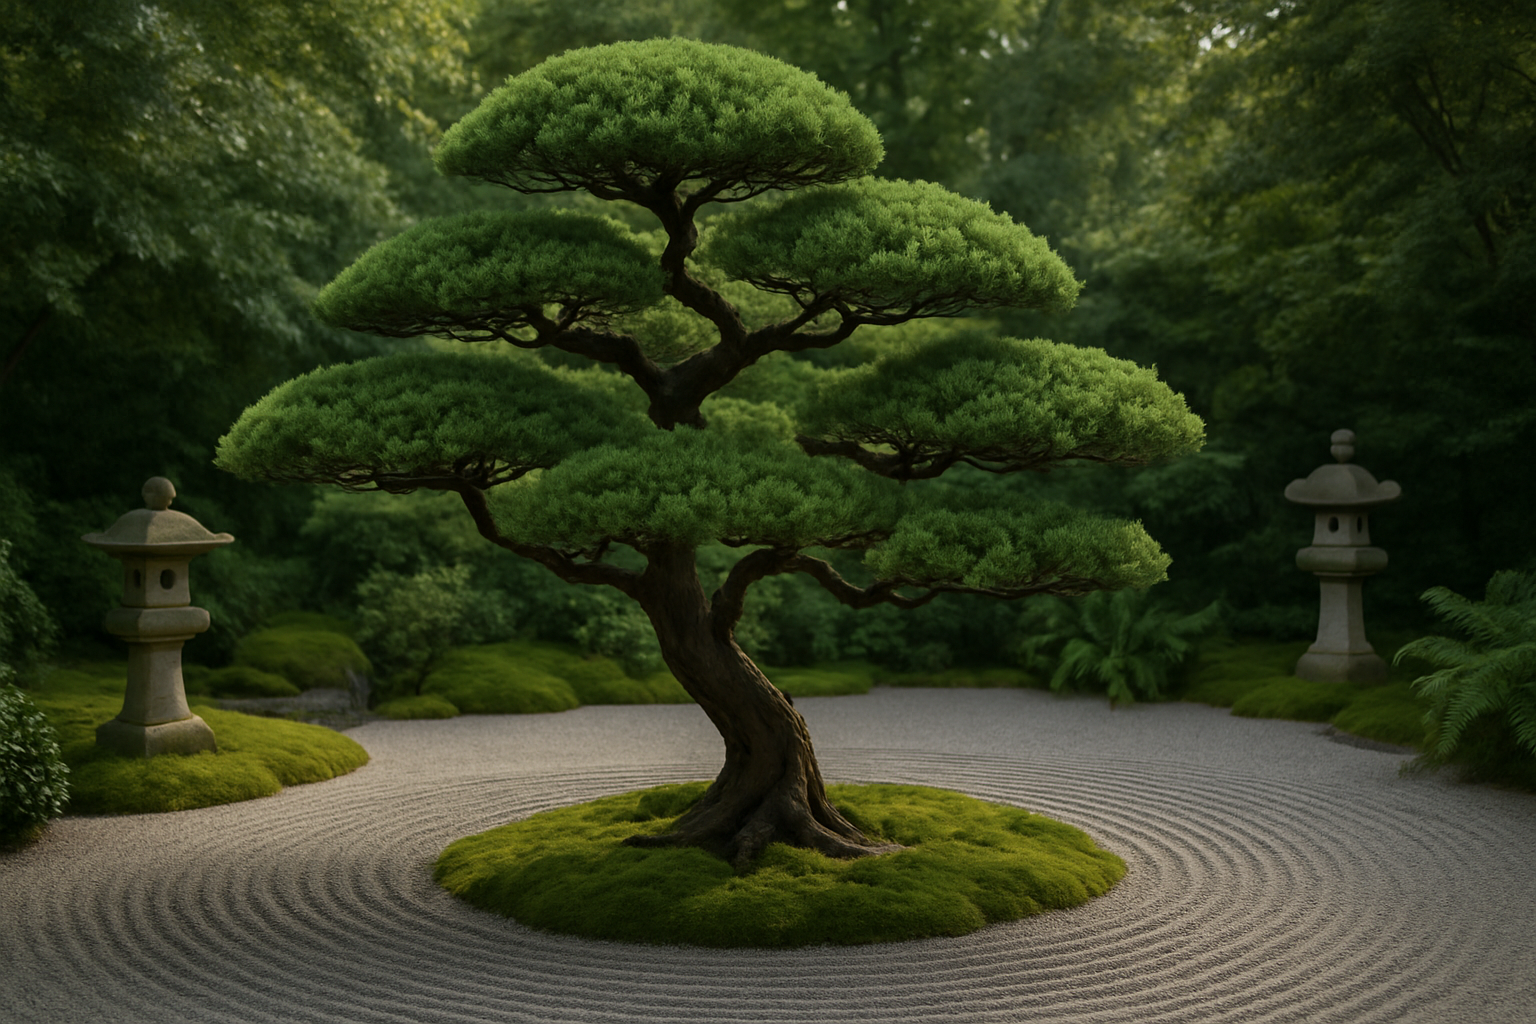
A mulberry garden’s appearance and its function during harvest are inseparable concerns. The way the tree’s canopy and foliage work with your picking and processing setup — your baskets, your workflow, your processing space — all have to sync as one integrated system. The window between “ready to pick” and “collapsing into fermentation on the branch” closes in what feels like hours, which means layout and picking rhythm matter enormously. Japanese garden design principles align well with practical homestead thinking, combining visual elegance with the infrastructure needed to harvest and preserve every ripe fruit without waste to overripeness or fallen berries. Understanding this timing prevents the common experience of returning to the tree days later to find perfectly ripe berries beginning to collapse into mush.
Why Japanese Garden Design and Mulberry Trees Are a Natural Match
Here’s what surprised me after a decade of tending mulberries: they’re almost engineered for the visual language that Japanese garden traditions celebrate. In that design approach, fruit-bearing trees get valued for their presence across all seasons—the early-spring flowers, the dense green canopy through summer, the shift in foliage tone as autumn arrives, and that spare, almost architectural branching structure once the leaves drop. A mulberry delivers on every front. Its form has real sculptural presence, the kind that creates depth and visual rhythm. And unlike the ornamental trees that Japanese gardens often emphasize, this one produces food. That combination feels genuinely useful rather than purely decorative.
The design philosophy underlying Japanese gardens rests on three anchors: restraint, materials that feel authentic, and deliberate siting of each element. Building within that framework doesn’t require spending money. It demands forethought, a sketch or two, and—I know from trial and error—resilience when your first attempt looks more like an active renovation site than a finished space.
Japanese Mulberry Garden Design on a Budget: Where to Start
Select a Cultivar Suited to Your Growing Footprint
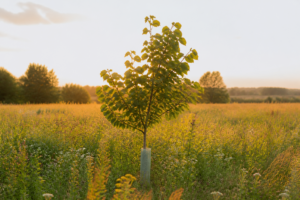
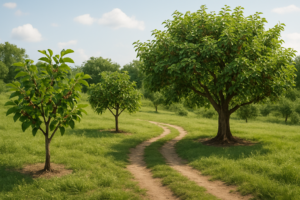
Start by understanding which tree fits your landscape. The Dwarf Everbearing mulberry works brilliantly in tight quarters or modest yards, staying below six feet and taking to pruning with enthusiasm, while yielding ripe fruit over an extended season. If your property has the room, the Illinois Everbearing creates a broad, sweeping crown that becomes your garden’s visual anchor point. White mulberry types (Morus alba) bring a particular refinement to the design, with finer foliage and a more elegant branching pattern.
Position your mulberry so it’s framed by a window or located near where you actually sit outside. In Japanese garden thinking, views from both inside the house and throughout the landscape matter equally. That kind of deliberate framing costs nothing but makes an unmistakable impact.
Ground Surface Material: Durability and Aesthetics Under Your Canopy
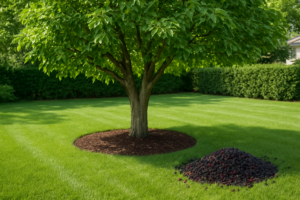
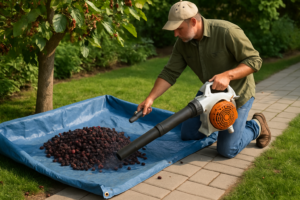
The treatment of the soil surface in a Japanese-influenced mulberry garden serves two functions—what you see from above, and what’s actually happening with compaction and water movement during picking season. Unfinished dirt gets trampled hard once you’re reaching up into branches during a heavy harvest, and typical mulch varieties (especially the cheaper sorts) migrate, decompose unevenly, and leave behind bare patches that turn boggy when rain arrives.
Advantages of a stone-based approach
- River stones or similar aggregate don’t rot out, degrade, or require seasonal replacement the way organic mulch does—no raking, no reapplying, no interruption to your workflow right before harvest.
- Stone has thermal mass, meaning it absorbs and radiates warmth back toward the branches above. Research suggests that shifting from dark bark mulch to river stone can advance fruit ripening in the mid-tier cultivars by roughly 3 to 4 days in the ripening cycle.
- The solid, inhospitable surface underneath your canopy discourages the populations of slugs and armored bugs that normally use a loose mulch layer as a transit highway, reducing the pressure you’ll face from pests when the weather turns damp.
Limitations to factor in
- The upfront expenditure for stone, particularly if you’re covering a sizable area underneath or around multiple trees, can be substantial; you’ll also want to lay down a permeable barrier first, otherwise decades of weed-pulling from between rocks awaits you.
- Stone radiates absorbed heat intensely in direct sun and contributes nothing to biological soil composition or water retention, so if you’re already managing thin, fast-draining, or nutrient-poor earth, you’ll be managing amendments separately rather than letting mulch do that work.
I almost gave up on this approach after a July heat wave when the rocks were so hot I burned my hand checking soil moisture—but adding drip irrigation under the rock layer solved both the temperature and watering problem. If you want a low-maintenance ground layer that looks intentional and actually functions in a fruit-focused garden, consider Virekm decorative river rocks and ornamental pebbles.
Frequently Asked Questions
Which mulberry cultivar works in a small yard?
The Dwarf Everbearing is the one I’d point to for tight quarters or a modest yard, since it stays below six feet and takes to pruning with enthusiasm while still ripening fruit over an extended season. If you have real room, the Illinois Everbearing makes a broad, sweeping crown that anchors the whole garden visually.
Does river rock actually make mulberries ripen earlier?
Stone has thermal mass, so it absorbs warmth and radiates it back toward the branches above. Shifting from dark bark mulch to river stone can advance fruit ripening by roughly 3 to 4 days in the ripening cycle for mid-tier cultivars. Results may vary depending on local conditions and specific tree placement.
Do I need landscape fabric under decorative river rocks?
Yes, lay down a permeable barrier before the stone goes in. Without it you’re facing decades of pulling weeds from between rocks, which defeats the whole point of a ground layer you never have to maintain. The upfront cost of stone is already substantial, especially covering a sizable area around multiple trees.
How do you deal with stone mulch getting too hot?
I added drip irrigation under the rock layer, which solved both the temperature and the watering problem. I nearly abandoned the whole approach after a July heat wave when the rocks were hot enough that I burned my hand checking soil moisture. Stone also adds nothing to soil biology or water retention, so amendments become a separate job.
Keep Reading
About This Article

Written by Ruth Nakamura. Ruth Nakamura is a backyard orchardist in the Pacific Northwest who has grown mulberries for fifteen years, cultivating twelve different varieties in her own backyard. Not a horticulturist by formal training - she shares what she has learned through hands-on growing, workshops, and connecting with nurseries and growers across the country. More about this site.
Scope and limits. Ruth is a backyard orchardist without formal horticultural training. Growing conditions vary enormously by region, so confirm variety, timing, and pest guidance with your local extension service.
Verify this against a primary source
Specifics change, and your situation may differ from the one described here. These are the authorities worth checking directly:
- USDA Plant Hardiness Zone Map — zone verification for your location
- Oregon State University Extension — fruit growing and pruning research
- USDA PLANTS Database — species range and identification