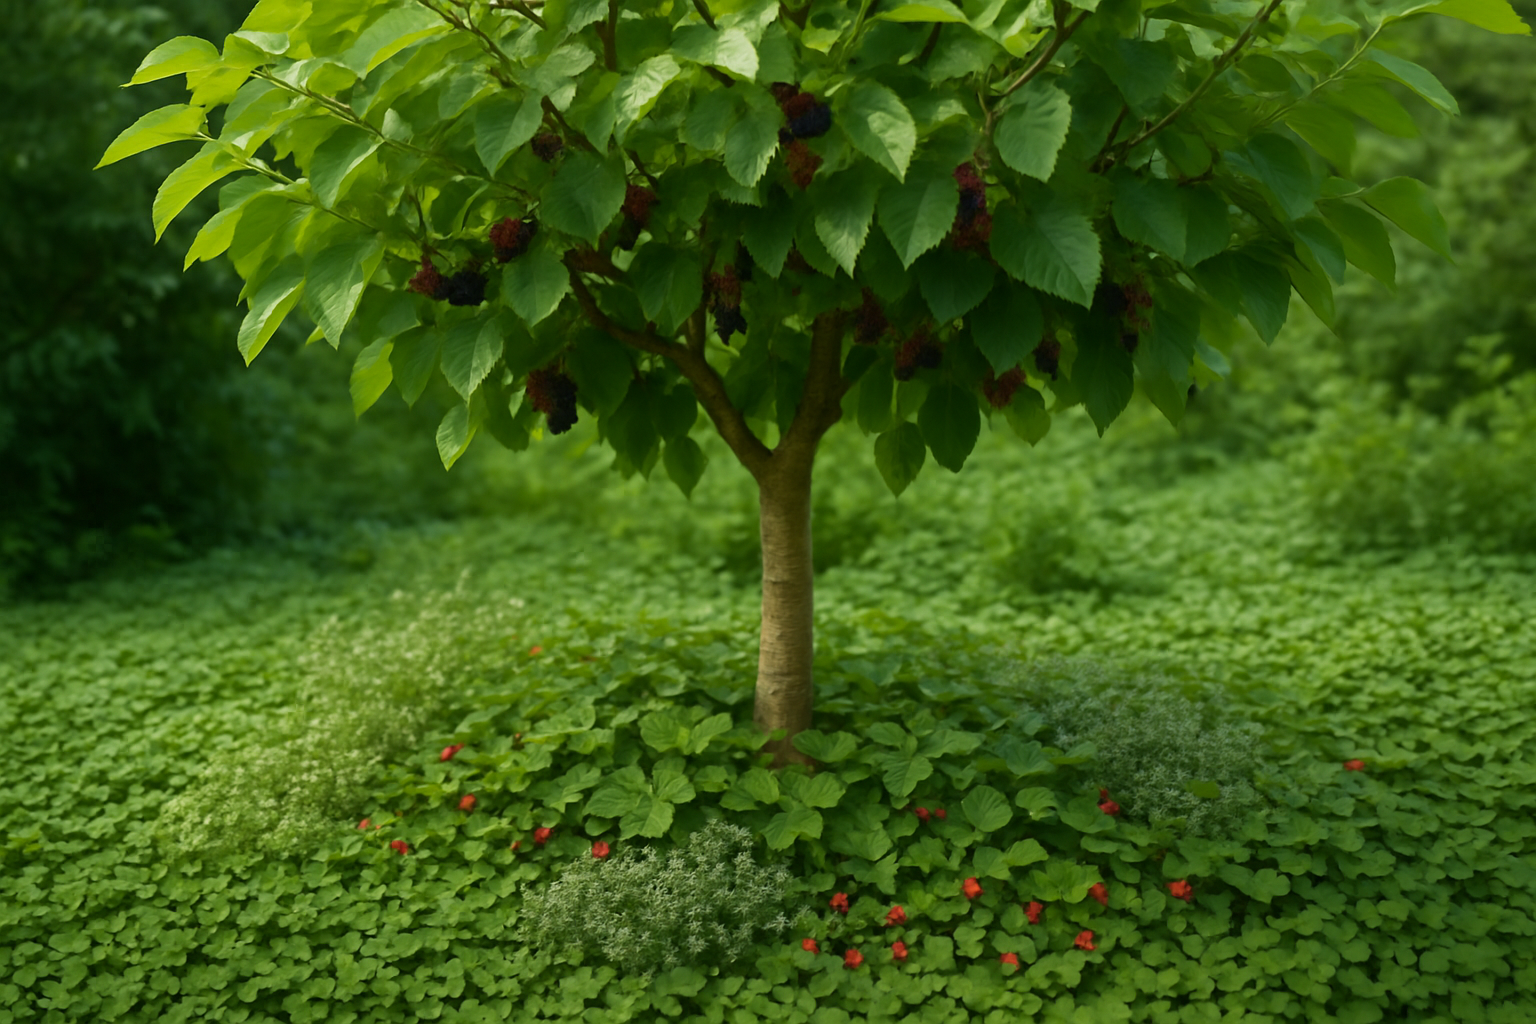
Mulberries offer rewarding growing opportunities for backyard orchardists. From cultivars like Black Beauty to the hardy Illini Star, there are options suited to different conditions and goals. Growing mulberries involves learning what works in your own yard and sharing those lessons with other growers.
Last summer, my neighbor stopped by, curious about why the dirt beneath my mulberry tree looked vibrant and thriving, while theirs resembled a neglected parking lot. That conversation has stuck with me because the answer isn’t as simple as “just plant something” — it’s about understanding what my mulberry tree is doing to that soil, and then choosing plants tough enough to survive it.
Over the years, I’ve watched various plants thrive and wither under my dozen mulberry cultivars, and I’ve learned that the bare patch problem isn’t due to neglect or bad luck. There’s a lot of biology happening beneath those trees, and once I started working with it instead of against it, the ground cover situation resolved itself. The way fallen fruit lands on bare soil, how root systems compete for moisture, and the dense canopy overhead all affect what grows at ground level, impacting how much delicious fruit I actually harvest. Muddy berries rot faster, dirt splash can introduce fungal issues, and bare soil means lost fruit rolling into grime instead of landing on something clean and usable. After experimenting with everything from thyme to living mulches, I’ve discovered that the right ground cover not only protects my harvest but also enhances the entire system. In this post, I’ll share what I’ve seen work under my mulberries, based on my actual experiences, not just theoretical gardening advice.
If you’re reading this, you’ve likely stared at that dusty, lifeless circle beneath your tree and wondered if anything would ever grow there. The struggle is real! Soil compacts, weeds take over, and whatever you plant seems to vanish without a trace. Let’s dig into what’s really happening and then find solutions together.
Why Is the Ground Under Mulberry Trees So Difficult?
To find the right solution, it helps to understand what your mulberry tree is working against when it comes to anything trying to grow beneath it. These trees have specific traits that make ground-level gardening quite challenging:
- Aggressive surface root networks: Mulberry roots spread horizontally rather than deep, and they are very thirsty — they intercept moisture and nutrients right at the soil surface, where new plants need to establish themselves.
- Thick overhead shade: Once a mulberry matures, the canopy becomes genuinely dense. Sunlight struggles to reach the forest floor, which eliminates most of your planting options right off the bat.
- Potential allelopathic effects: There’s some evidence that mulberries produce chemical compounds capable of suppressing seed germination and plant growth in the surrounding soil.
- Hardpan soil conditions: When tree roots extract moisture so aggressively, the remaining soil becomes dense and unyielding, making it nearly impossible for transplants or seedlings to push their roots down.
I learned this lesson the hard way when I planted hostas in year three. I’d read they loved shade, and I assumed that was all I needed to know. Within two seasons, they were gone! What I hadn’t factored in was that shade tolerance means nothing when roots can’t penetrate the soil or access moisture. You’re searching for a very specific combination: plants that thrive in dry conditions, genuinely grow well with minimal light, and can either outcompete or coexist with an established mulberry’s root system. That combination does exist, but it’s a narrower field than most gardening books suggest.
What Actually Survives and Thrives Under Mulberry Canopies
After I stopped guessing and started consulting experienced growers and reading through real trial-and-error accounts, the answers became clearer. Here’s what I’ve personally watched succeed in the toughest ground-level spots.
Creeping Thyme — The Resilient Performer
Creeping thyme is a reliable ground cover under mulberry trees. It typically grows between 2 and 3 inches tall, spreads across bare patches, thrives in dry conditions, tolerates partial shade, and produces delicate purple flowers attractive to bees and butterflies. The foliage releases fragrance when brushed. Once established, thyme is difficult to remove and can transform bare soil into a functional, textured space. It performs particularly well in dry spots beneath mulberry trees.
Forget-Me-Nots — When Shadow Is Deep
Where my mulberry’s canopy reaches its densest point, forget-me-nots have become my go-to solution. These tiny blue flowers thrive in genuine shade, self-seeding once established and needing barely any intervention once they take hold. They won’t populate the innermost zone immediately around the trunk, where root competition peaks and moisture disappears entirely, but throughout the transition zone where the canopy opens up a bit, they fill in with remarkable vigor. Growing them from seed makes financial sense, especially after I’ve already invested in so many failed attempts elsewhere!
Irish Moss — For That Velvety Finished Look
If aesthetics matter as much as function, Irish moss creates a polished appearance. Its growth pattern forms a continuous cushion across the soil surface, it welcomes both shade and light, resists foot traffic, and crowds out weeds through sheer density. The initial establishment takes longer than with thyme — it’s not a quick fix — but the payoff is a space that feels genuinely landscaped rather than abandoned.
Essential Ground-Level Planting Guidelines
- Prepare soil with organic matter first. Mix in compost before you plant — even one good inch gives seeds and roots a fighting chance against compaction and moisture loss.
- Maintain consistent moisture during establishment. Plan for 4 to 6 weeks of regular watering while plants get their root systems down. A drip line or soaker hose helps manage this without too much effort.
- Choose seeds over nursery transplants. Transplants often carry the conditioning of ideal nursery soil and struggle when moved into the unique challenges under a mulberry tree. Seeds that germinate on-site adapt from the beginning.
- Leave a buffer zone around the trunk. Maintain a bare ring of several inches to prevent bark decay and the moisture-related fungal issues that can arise from ground cover touching the tree directly.
- Time seeding for fall or spring. Both seasons naturally provide the moisture and moderate temperatures that boost germination rates dramatically compared to summer or winter attempts.
Creeping Thyme as Your Mulberry Ground Cover: Proven Performance Under Difficult Conditions
The compacted, barren soil beneath a mulberry canopy presents real challenges — it hardens after rainfall, becomes a weed magnet during wet spells, and erodes quickly whenever heavy rain falls. I was looking for something that could handle deep shade, stay low-maintenance during my busiest harvest weeks, and wouldn’t wage war with the shallow root system overhead.
Where thyme delivers
- Weed suppression kicks in by year two as the mat thickens — I stopped hand-pulling and stopped applying fresh mulch constantly just to fight invasives.
- The aromatic oils seem to discourage some smaller climbing insects, and the dense coverage appears to reduce nesting appeal for certain birds that otherwise colonize lower branches.
- During the dry season, thyme performed without supplemental irrigation past the initial establishment phase — just two or three waterings post-germination, and it filled gaps independently.
Where thyme requires patience
- Seed germination is slow and doesn’t cover evenly — visible growth typically appears 4 to 6 weeks after sowing, with patchy areas requiring time to fill in over the following seasons.
- Existing shade from a mature, well-established canopy can kill isolated thyme sections, so hands-off planting doesn’t work if your tree is already years old and casting heavy shadow.
I almost ripped out the whole bed in month three because the germination looked so sparse I thought I’d wasted money, but the thyme exploded once temperatures warmed up. 20000pcs Purple Creeping Thyme Seed for Planting — Perennial, Fragrant, Drought-Tolerant
Frequently Asked Questions
Why did my hostas die under my mulberry tree?
Mine died for the same reason yours probably did: shade tolerance alone isn’t enough. I planted hostas in year three assuming shade was the only factor, and within two seasons they were gone. Mulberry surface roots intercept moisture right where new plants establish, and the leftover hardpan soil is too dense for roots to push down into.
How long does creeping thyme take to fill in under a mulberry?
Patience is required when establishing ground cover from seed. Visible growth typically takes 4 to 6 weeks, and patchy areas may persist until the plant fills in over the following seasons. Weed suppression improves as the mat thickens by the second year, at which point reseeding becomes unnecessary.
Should ground cover be planted right up against the mulberry trunk?
No, I leave a bare ring of several inches around the trunk. Ground cover touching the tree directly invites bark decay and the moisture-related fungal issues that come with constant dampness against the bark. The innermost zone around the trunk is also where root competition peaks and moisture disappears, so most plants won’t hold there anyway.
Does bare dirt under a mulberry tree affect the fruit?
Yes, and this is a big reason I bothered with ground cover at all. Muddy berries rot faster, dirt splash can introduce fungal issues, and bare soil means fallen fruit rolls into grime instead of landing on something clean and usable. Covering that ground protects part of the harvest I used to lose.
Keep Reading
About This Article

Written by Ruth Nakamura. Ruth Nakamura is a backyard orchardist in the Pacific Northwest who has grown mulberries for fifteen years, cultivating twelve different varieties in her own backyard. Not a horticulturist by formal training - she shares what she has learned through hands-on growing, workshops, and connecting with nurseries and growers across the country. More about this site.
Scope and limits. Ruth is a backyard orchardist without formal horticultural training. Growing conditions vary enormously by region, so confirm variety, timing, and pest guidance with your local extension service.
Verify this against a primary source
Specifics change, and your situation may differ from the one described here. These are the authorities worth checking directly:
- USDA Plant Hardiness Zone Map — zone verification for your location
- Oregon State University Extension — fruit growing and pruning research
- USDA PLANTS Database — species range and identification