
One of the first things I cover in Master Gardener workshops is how forgiving mulberries are compared to most fruit trees — but “forgiving” doesn’t mean “needs nothing.” The difference between a tree that coasts along producing mediocre fruit and one that genuinely thrives usually comes down to two or three specific soil and siting decisions made at planting time. What I’ve also seen in my own variety trials is that growers who actually do something with a serious harvest — and mulberries can bury you in fruit fast — tend to take the whole tree more seriously, pruning for access, timing their harvests more precisely, even choosing cultivars based on sugar content rather than just yield. Fermentation is one of the most rewarding endpoints for a mulberry surplus, and after watching a lot of beginners waste both good fruit and good money on the wrong equipment, I started paying close attention to which home winemaking setups actually hold up to the particular demands mulberry juice puts on a kit — the heavy pigment load, the fast fermentation onset, the sediment volume. This guide reflects what I’ve observed works, what doesn’t, and why the right starting kit makes the difference between a hobby that sticks and a carboy gathering dust in the garage.
This post contains affiliate links. As an Amazon Associate I earn from qualifying purchases at no extra cost to you.
Why Most Beginner Wine Kits Set You Up to Fail
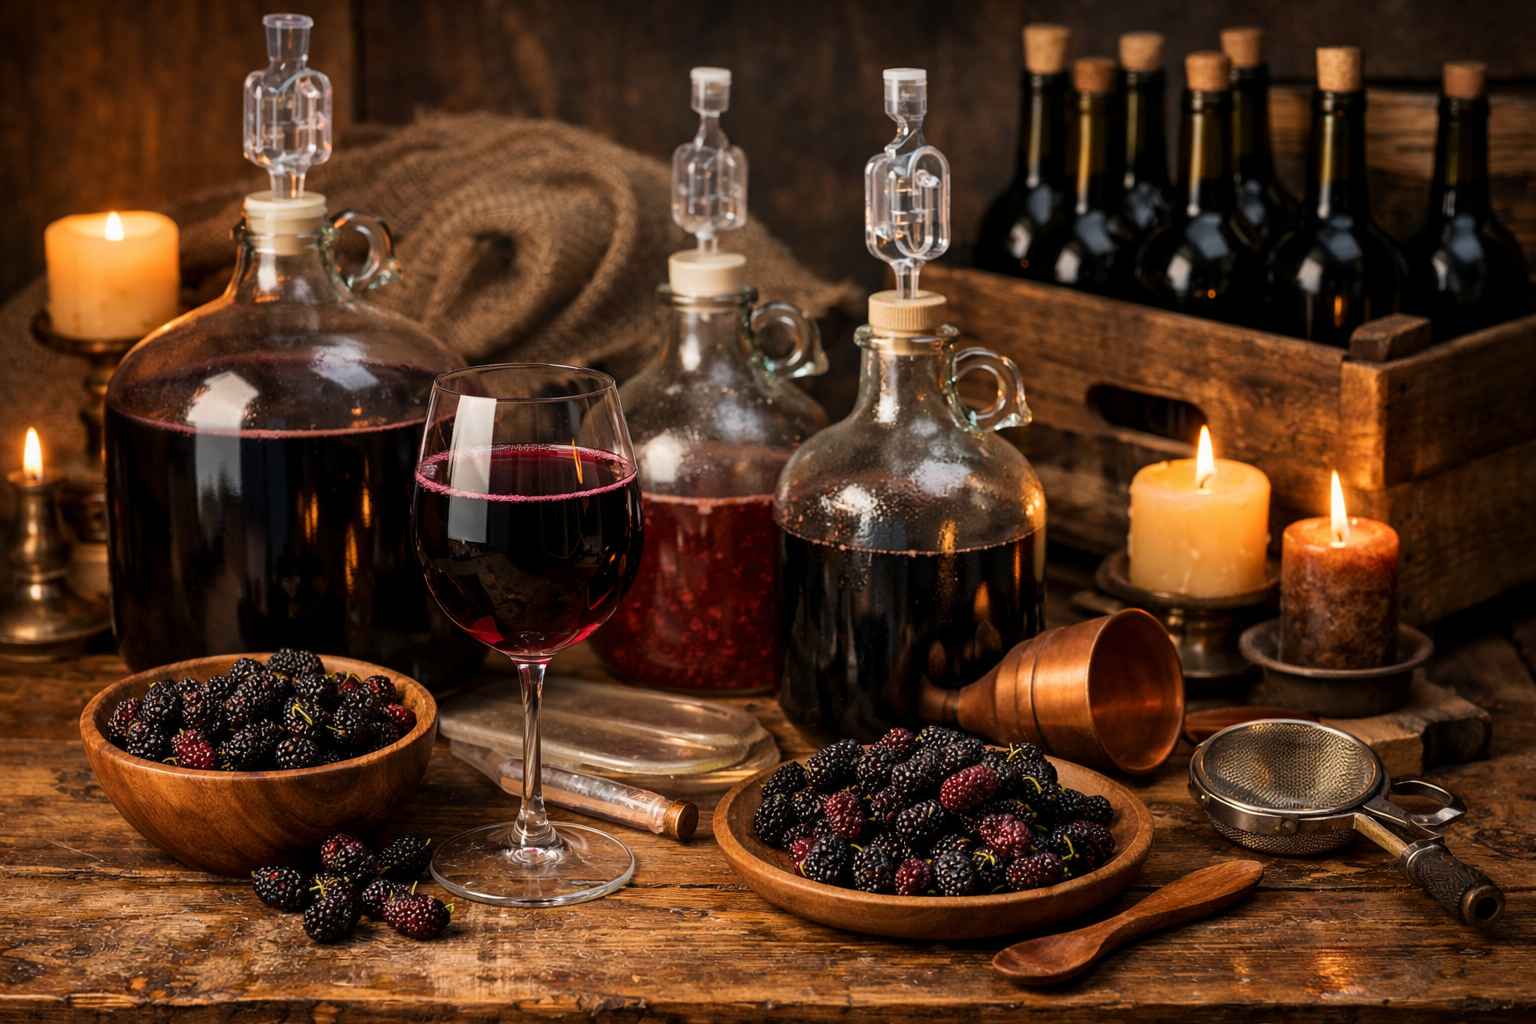
Here’s the thing nobody tells you when you’re starting out: a lot of beginner winemaking kits are designed around grape juice or generic fruit, and they assume you’re working with predictable sugar levels and clean, store-bought ingredients. Mulberries are a different animal. They’re high in natural sugars, they throw off a ton of sediment, and they ferment with an enthusiasm that can catch a first-timer completely off guard. I’ve had buckets bubble over. I’ve had wine that smelled like vinegar by week two. I’ve also had batches that turned into something genuinely beautiful — deep, jammy, a little wild — and the difference almost always came down to having the right equipment from the start.
The kits I wasted money on early had flimsy airlocks that didn’t seal properly, siphons that created so much splashing that I was oxidizing the wine before it even made it to secondary fermentation, and instructions that assumed I knew what “racking” meant without ever explaining it. One kit arrived with a cracked carboy. I’m not naming names. But I learned a lot from those failures, and now I have strong opinions about what actually belongs in a starter setup.
The Kits I Actually Recommend (And Why)
After testing multiple setups with my mulberry harvests over the past few years, these are the kits and pieces of equipment I keep coming back to. I’ll break down who each one is best for, because “best for beginners” isn’t one-size-fits-all.
Best All-Around Starter Kit: Home Brew Ohio Upgraded 1 Gallon Wine Kit
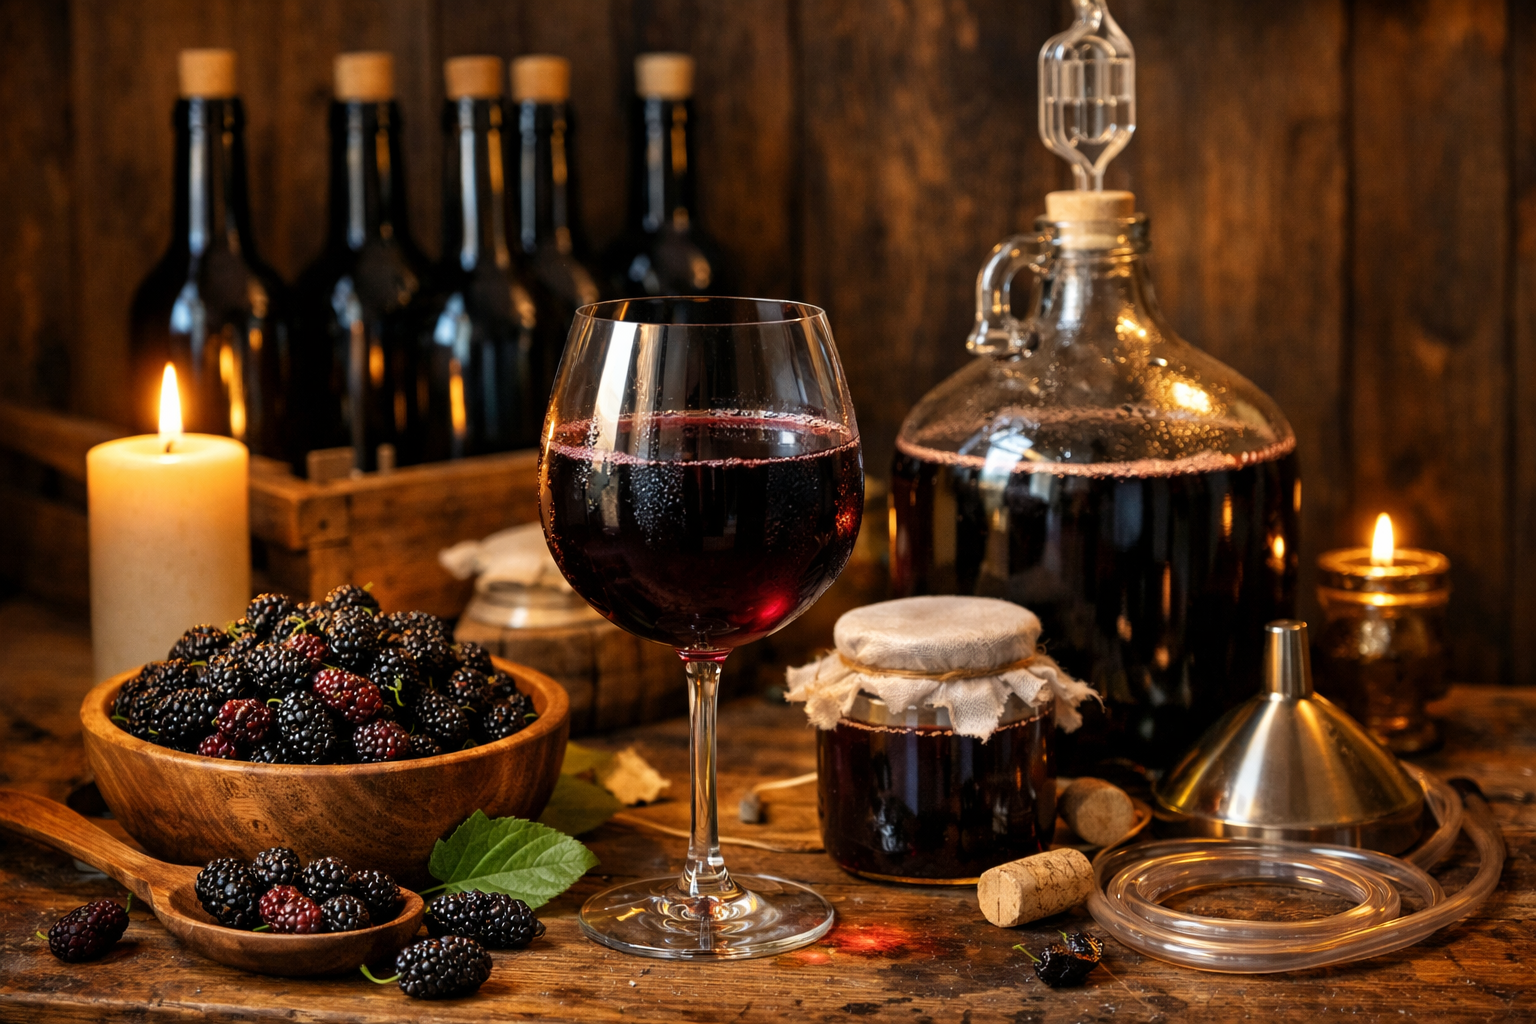
The Home Brew Ohio Upgraded 1 Gallon Wine from Fruit Kit is the one I wish I had started with. What sets it apart from the cheaper options is that it includes a mini auto-siphon — that single piece of equipment changed everything for me. Racking mulberry wine without a siphon is messy, stressful, and almost guarantees you’ll stir up the lees you just spent weeks waiting to settle. With an auto-siphon, you start the flow with one pump and let gravity do the rest. Clean transfers mean clearer wine and better flavor. The kit also comes with a glass carboy (not plastic — important for anything you’re fermenting longer than a few weeks) and a solid airlock. This is my top pick for anyone making their first one-gallon batch of mulberry wine.
Best Value for Repeated Batches: Craft A Brew Fruit Wine Making Kit
If you’re the kind of person who finds one thing you love and immediately wants to do it twenty more times — hello, fellow mulberry obsessive — then the Craft A Brew Fruit Wine Making Kit is incredible value. It’s designed to work with fresh fruit, frozen fruit, or juice, and it includes enough supplies for up to 20 one-gallon batches. The equipment is reusable, the instructions are genuinely beginner-friendly, and the fact that it’s built around fruit (rather than grape juice concentrate) means it translates beautifully to mulberry wine. I use this kit when I’m experimenting with new mulberry blends — mixed berry, mulberry-ginger, mulberry with a splash of elderflower — because I’m not precious about using my “good” equipment for test batches.
It also makes a great gift for someone you’re trying to lure into the fermentation hobby. Not that I’ve done that. More than twice.
Best for Someone Who Wants Everything in One Box: Complete Grape Juice Brew Starter Set
The Wine Making Kit Home Brewing Complete Starter Set earns its place on this list because it comes with four bottles, yeast, nutrients, a siphon, airlock, and a step-by-step guide — literally everything you need to go from mulberries to bottled wine without a second Amazon order. The glass fermentation jar is well-made, and including yeast nutrients in the kit is a detail that a lot of cheaper sets skip. Nutrients matter for fruit wines because mulberry juice doesn’t always have everything yeast needs to ferment cleanly to completion. A stalled fermentation on week two is a special kind of heartbreak. This kit helps you avoid it right out of the box.
Don’t Overlook Your Airlocks — They Matter More Than You Think
I know airlocks seem like the boring part of winemaking, but a bad airlock — or one that doesn’t fit your vessel properly — can ruin a batch you’ve waited months for. I’ve tried a lot of them, and I keep a few different styles on hand depending on what I’m fermenting.
For most of my mulberry wine carboys, I use the Fastrack Twin Bubble Airlock and Carboy Bung (2-Pack). The twin bubble design makes it easy to see that fermentation is actively happening, and the bung fits snugly enough that I’ve never had a seal failure. I also keep the Fastrack 3 Piece Airlock Set with Drilled Rubber Stopper around — the three-piece style is easier to clean, which matters when you’re working with pulpy, sticky mulberry must that can clog a narrow airlock tube. And if you’re scaling up or doing multiple batches at once, the Bubble Airlock Set with 4 Airlocks and Stoppers is a smart buy — having extras means you’re never stuck waiting on one batch to finish before you can start another.
A Word About Yeast — Because Mulberry Wine Deserves the Right One
Your kit will likely come with a packet of yeast, and that’s fine for a first batch. But once you’ve made a few gallons and you’re starting to develop opinions (and you will develop opinions), yeast selection becomes one of the most interesting variables to play with.
For something a little different — especially if you want a sweeter, more aromatic mulberry wine — I’ve been really happy with Angel Sweet Wine Yeast, which is specifically designed for fruit wines and tends to preserve more of the berry’s natural aroma. It’s a 10-pack of 3g sachets, so you’ll have plenty for multiple batches. For a drier, more classic style that lets the deep mulberry flavor really come through without sweetness getting in the way, Red Star Premier Classique (formerly Montrachet) Yeast is my go-to. It’s reliable, widely used, and it handles mulberry must beautifully — fermenting all the way to dryness without getting finicky about temperature fluctuations in my not-perfectly-climate-controlled garage.
- Want a sweeter, fruit-forward wine? Try Angel Sweet Wine Yeast
- Want a dry, bold mulberry wine? Go with Red Star Premier Classique
- Not sure yet? Use whatever comes in your kit for batch one, then experiment
My Final Recommendation — and Where to Start
If you’ve read this far, you’re ready. Here’s the honest summary: the best home wine making kit for beginners who want to make mulberry wine is the Home Brew Ohio Upgraded 1 Gallon Fruit Wine Kit. It has the auto-siphon that will save your sanity, a glass carboy that will actually last, and enough solid equipment to take you through several batches without needing upgrades. Pair it with a backup set of Fastrack Twin Bubble Airlocks and a packet of Red Star Premier Classique Yeast, and you have everything you need to turn your mulberry harvest into something you’ll actually be proud to pour.
If you know you’re going to get addicted (you will), the Craft A Brew Fruit Wine Making Kit gives you incredible bang for your buck across many batches. And if you want the total all-in-one experience with bottles included right from the start, the Complete Starter Set with 4 Bottles and Step-By-Step Guide is a beautiful way to begin.
The mulberries are worth the effort. I promise. Grab a kit, pick your yeast, and go make something purple and wonderful. And if you end up with stained grout — well, welcome to the club. Drop a comment below and let me know which kit you’re starting with, or ask me anything about getting your first batch going. I answer every single one.