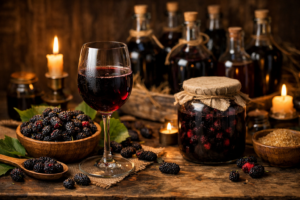
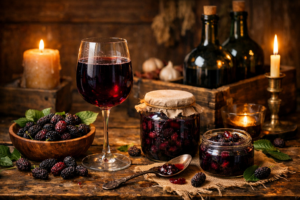
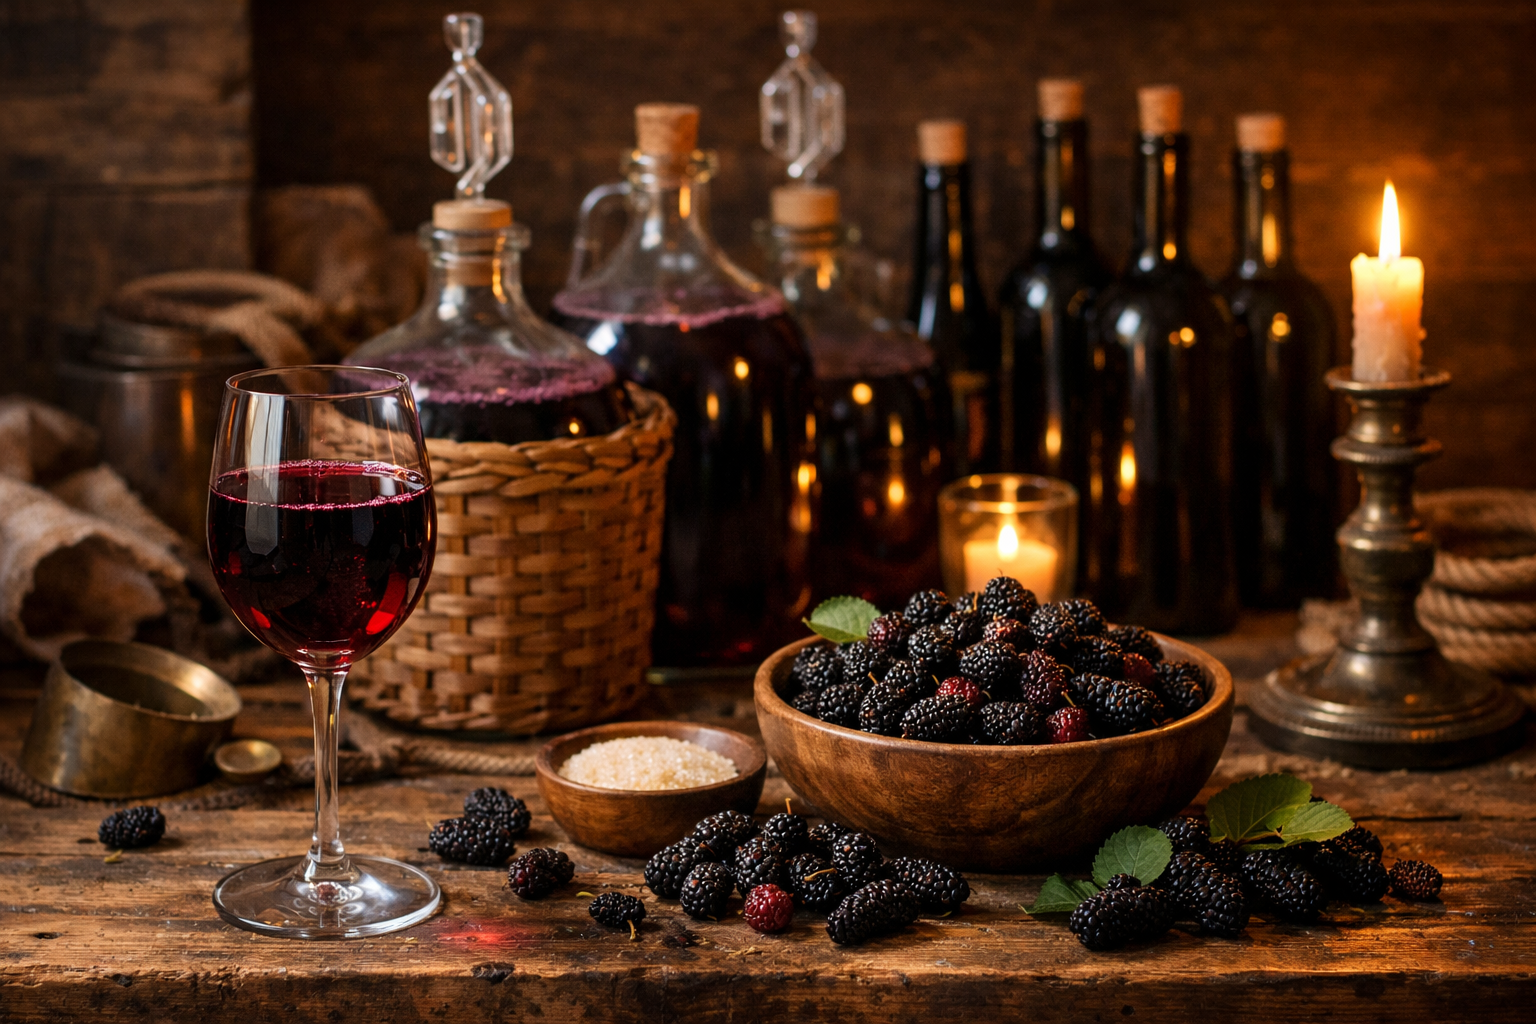
My goal every summer is to get at least twelve months of mulberry products into the pantry — jams, syrups, dried fruit, wine, and vinegar — from a single tree. It sounds ambitious until you realize how much one mature mulberry produces and how many different preservation methods each batch of fruit can support. Wine is where I always start, partly because it locks in the largest volume of fruit during that narrow harvest window when the berries are dropping faster than any family can eat them fresh, and partly because a good mulberry wine feels like the most complete expression of everything the tree gave you that season — the sweetness, the earthiness, the faint tartness that you only really notice once it’s fermented out. After six batches ranging from quietly embarrassing to genuinely competition-worthy, I’ve mapped out exactly where things go wrong and how to avoid them, and this guide covers every step with the kind of specificity I wish I’d had when I was starting out. If you’re growing your own mulberries and serious about wasting none of the harvest, this is the fermentation method that earned its place in my preservation rotation.
The One-Gallon Kit That Actually Scales for a Single Tree’s Harvest
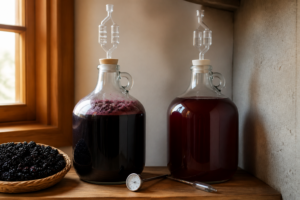
When you’re staring down 30+ pounds of mulberries in a two-week window, you need a fermentation setup that doesn’t require you to commit to five gallons or jury-rig equipment in your basement. A purpose-built one-gallon wine kit gives you the containment, airlock, and yeast you need to lock in fruit without overcomplicating the process.
What works
- The glass carboy size matches what a backyard grower can actually fill from one productive mulberry tree without needing to source secondary containers or scale the recipe mid-fermentation.
- Included airlocks let you see fermentation happening daily—I watched mine bubble for three weeks straight on batch four, and it’s oddly satisfying confirmation that the wild yeast wasn’t competing with the culture.
- The nutrient blend and yeast strain included are calibrated for fruit wines specifically, not just generic mead, so mulberry-specific gravity and tannin levels ferment cleanly without stalling mid-batch.
What doesn’t
- The rubber stoppers that come with it can dry out or crack if you’re not swapping them every few months between batches, leaving your carboy vulnerable to oxidation on the shelf.
- You’ll need to source your own sanitizer and straining bags—the kit assumes you already know basic winemaking hygiene, so if this is your first ferment, budget another $20 for support supplies.
Batch two nearly stalled halfway through fermentation because I didn’t realize my kitchen temperature had dropped below 65°F at night, and I panicked that the kit’s yeast was dead—but a move to a warmer shelf saved it. That’s when I realized the kit itself was fine; I just needed to respect fermentation basics. Home Brew Ohio Upgraded 1 Gallon Wine from Fruit Kit
Home Brew Ohio Upgraded 1 Gallon Wine from Fruit Kit
I used this kit for four batches before switching; the fruit-wine yeast strain kept my mulberry from stalling.
Check Price on Amazon →This post contains affiliate links. As an Amazon Associate, I earn from qualifying purchases at no extra cost to you.