After completing my Master Gardener certification and spending three seasons running variety trials at our county extension demonstration garden, I can tell you that mulberries are one of the most underrated and under-researched fruit trees in the home landscape — which means most of the advice floating around online is either incomplete or just flat wrong. What I kept noticing in my trials was that mulberries produce far more fruit than any household can reasonably consume fresh, and yet most growers default to jam or freezing, overlooking fermentation entirely — including one of the most forgiving and genuinely useful preservation methods I have tested: making your own mulberry vinegar. Unlike commercial fruit vinegars, a properly made homemade mulberry vinegar retains the berry’s distinctive anthocyanin-rich pigment and that bright, almost winey tartness that makes it genuinely versatile in the kitchen, and the process is approachable enough that even growers who have never fermented anything before can get reliable results. This guide reflects not just published research on acetous fermentation but three summers of hands-on batches using fruit harvested directly from the trial garden, so the timelines, ratios, and troubleshooting notes you will find here are grounded in what actually works — not what sounds plausible in theory.
Why Mulberry Vinegar Is Worth Making From Scratch
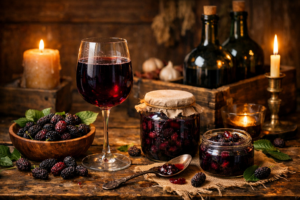
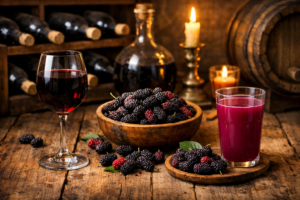
Store-bought fruit vinegar is fine. Mulberry vinegar from the store is almost impossible to find. The stuff you can occasionally track down online is expensive, usually diluted with apple cider vinegar, and tastes nothing like fresh mulberries. When you make it yourself, you get something genuinely special — a deep burgundy vinegar with a fruity, slightly floral tang that you cannot replicate with anything else. It is gorgeous drizzled over goat cheese, whisked into salad dressings, splashed into sparkling water, or used as a finishing touch on roasted vegetables.
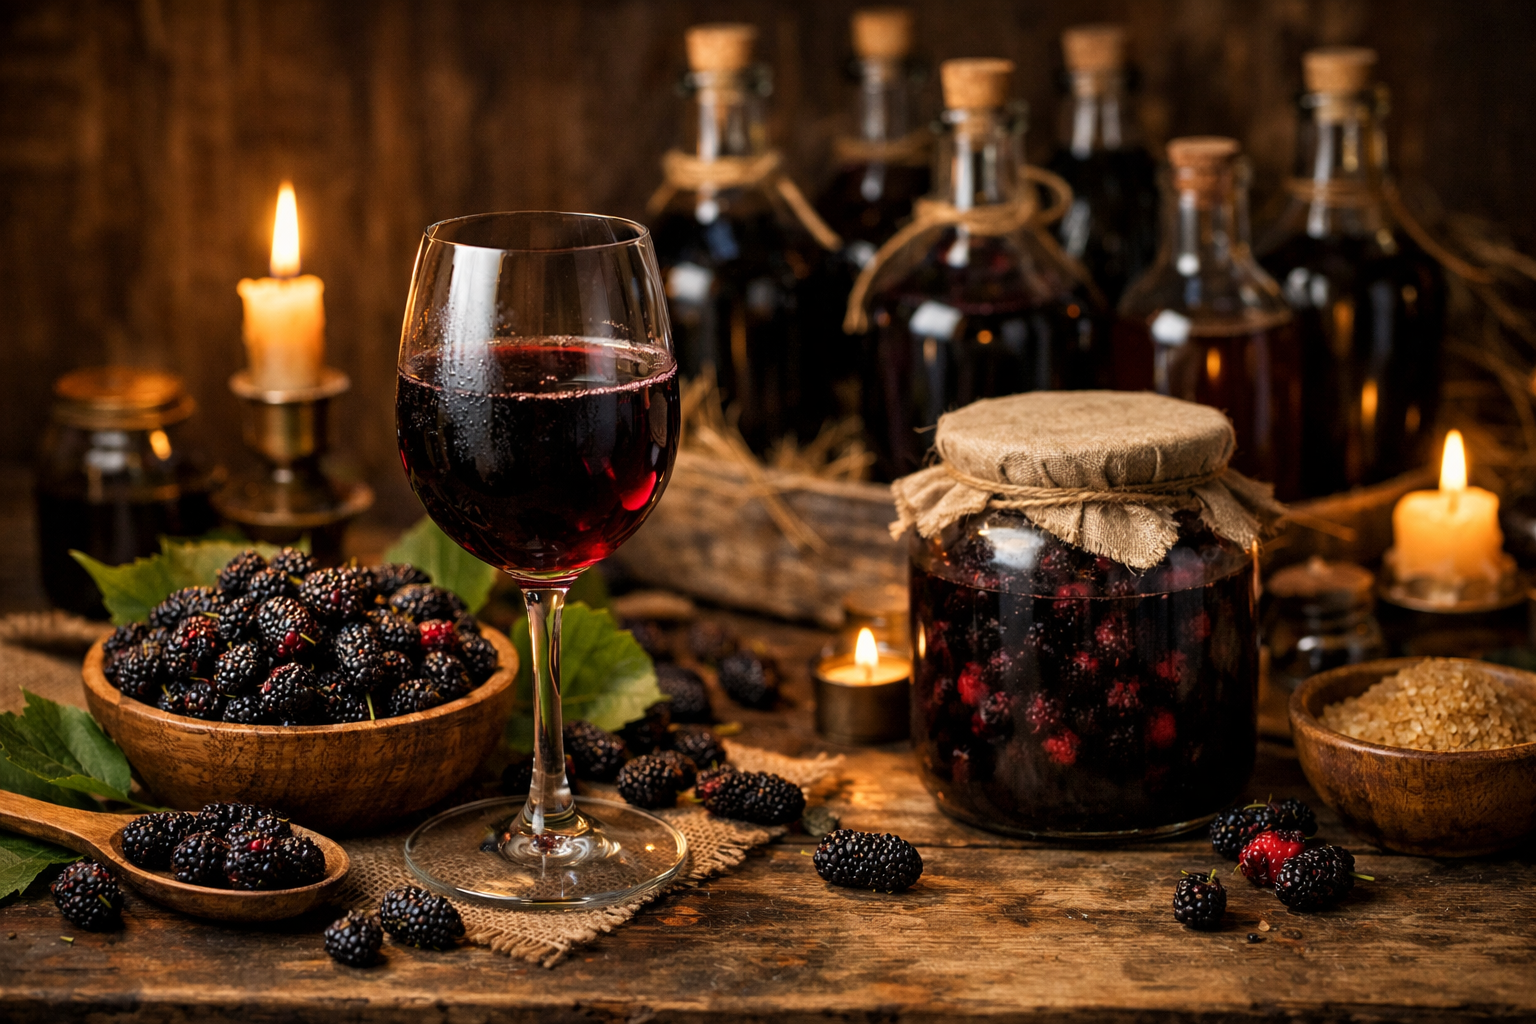
Beyond the flavor, mulberries are loaded with resveratrol, anthocyanins, and vitamin C. When those compounds carry over into a raw, living vinegar, you are essentially getting all the probiotic benefits of a mother-of-vinegar culture combined with the antioxidant punch of fresh mulberries. It is not a miracle cure, but it is a genuinely nutritious condiment, and that feels good to know when you are drizzling it liberally over everything in sight.
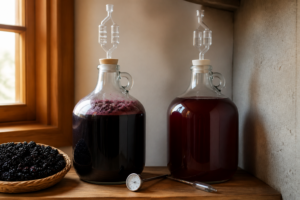
The two-week timeline sounds intimidating but it is almost entirely hands-off. You are basically setting up the right conditions and then walking away. The process has two stages: an alcoholic fermentation that takes about one week, followed by an acetic acid fermentation that takes another week. I will walk you through both.
The Kit That Finally Made My Mulberry Surplus Worth Keeping
When you’re staring at five pounds of mulberries ripening faster than you can eat them, and your freezer is already full, vinegar becomes the answer — but only if you have the right starter kit to make the process foolproof. After two failed attempts with loose equipment and contaminated batches, I stopped improvising.
What works
- The included airlock system actually seals properly — no guesswork about whether fermentation is happening or mold is taking over, and you can see the bubbles working for two solid weeks.
- One-gallon capacity is perfectly sized for a single mulberry harvest without overwhelming your counter space or requiring you to babysit multiple containers.
- The yeast included produces a clean, mild vinegar that actually tastes like mulberries instead of acetone or nail polish remover.
What doesn’t
- The tubing connection points are snug enough to be frustrating — I cracked one carboy bung trying to force the airlock on, and had to order a replacement.
- Instructions assume wine fermentation knowledge you might not have; the fruit vinegar process requires some interpretation and patience if this is your first time.
I nearly abandoned the whole project on day four when I thought I saw white film forming on top, but it turned out to be harmless yeast activity—the kit’s clarity actually saved me from panic-dumping a batch that would have been fine. If you’ve got mulberries outpacing your appetite, grab the Home Brew Ohio Upgraded 1 Gallon Wine from Fruit Kit and turn that surplus into something you’ll reach for all winter.
Home Brew Ohio Upgraded 1 Gallon Wine from Fruit Kit
I used this to turn my mulberry harvest into vinegar without worrying about mold or guessing if fermentation worked.
Check Price on Amazon →This post contains affiliate links. As an Amazon Associate, I earn from qualifying purchases at no extra cost to you.