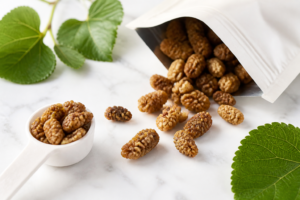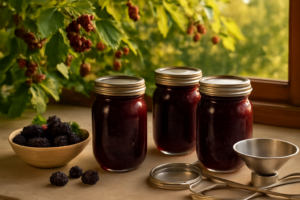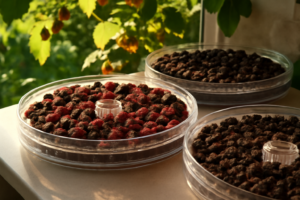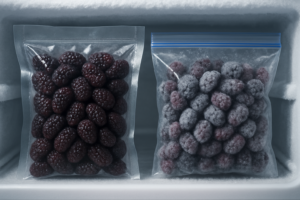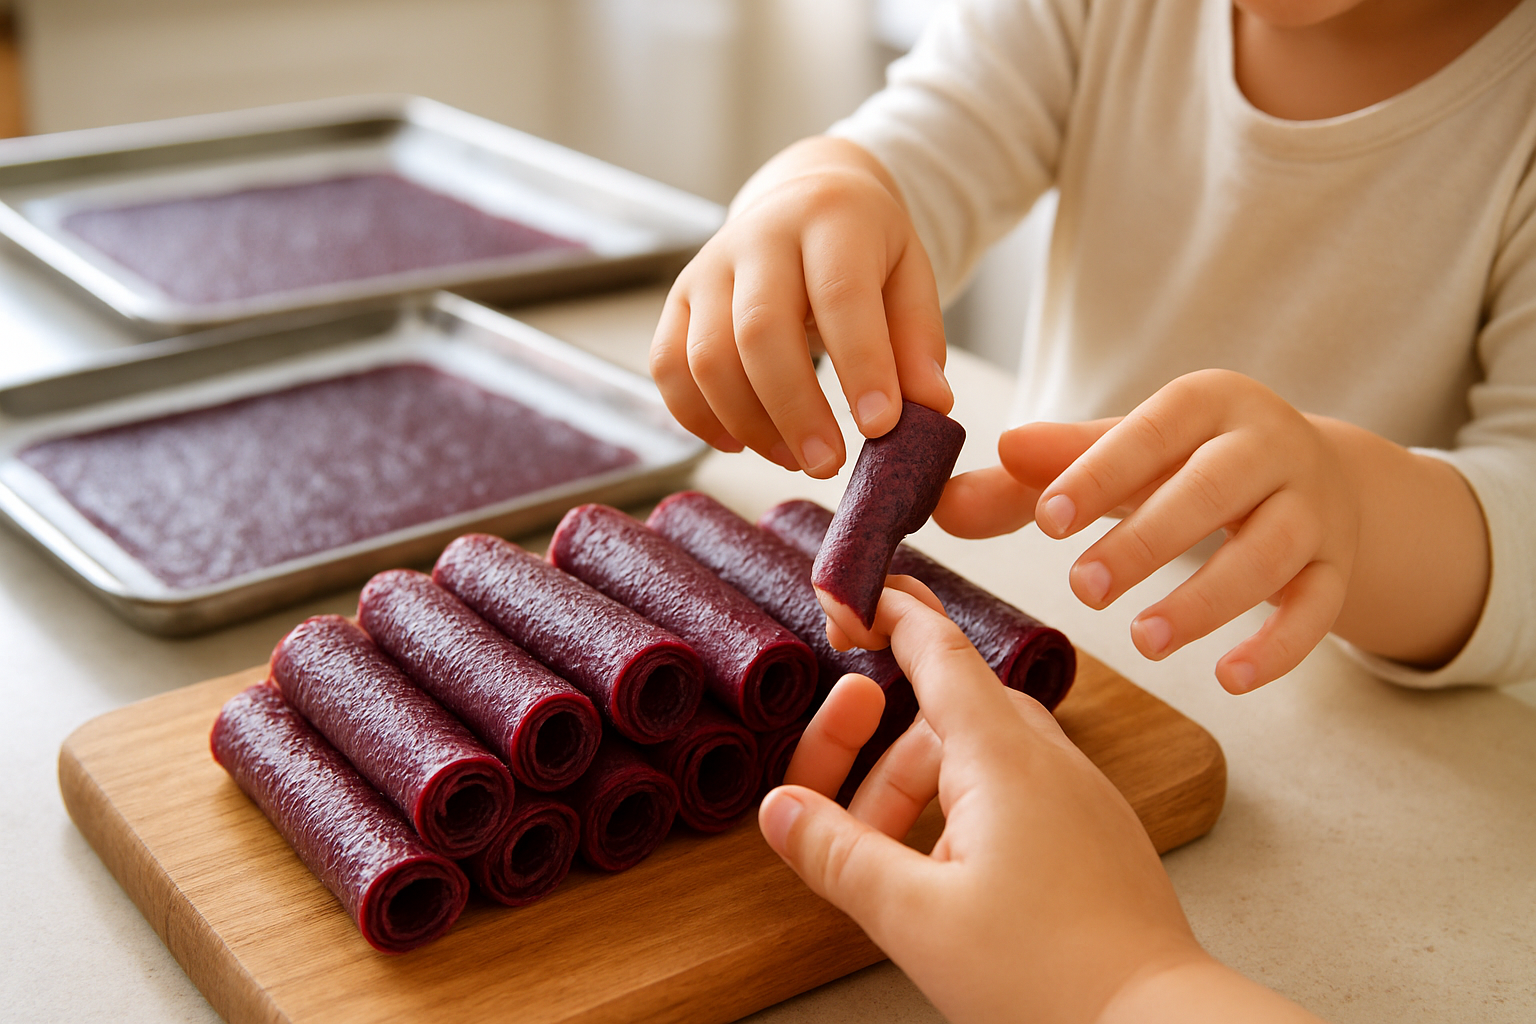
When you’re running a homestead with the goal of zero wasted harvest, a mulberry tree stops being ornamental and becomes one of your most productive assets — but only if you understand exactly how to time it, process it, and preserve it before the window closes. The fruiting window on a mulberry can be brutally short — sometimes just two to three weeks — and between what drops to the ground, what the birds take, and what the kids eat straight off the branch, you can lose a significant portion of your yield before it ever makes it to a jar or a tray. Fruit leather is one of the smartest preservation methods in your mulberry toolkit because it requires no added pectin, uses overripe fruit that would otherwise go to waste, stores for months without refrigeration, and is genuinely one of the few preservation tasks that kids can help with from start to finish. I’ve worked mulberries into ferments, wines, shrubs, and jams, but fruit leather earns its place every single season because it processes fruit fast, in volume, with almost no inputs. What I’m sharing here is the method I’ve refined across several harvests — including the mistakes that cost me batches — so you can move quickly and confidently when your tree peaks.
But here’s the thing — that disaster was two summers ago. This summer, my daughter and I made four perfect batches of mulberry fruit leather together, and she hasn’t cried once. (She has eaten approximately her body weight in it, but that’s a different problem.) If you’ve got a mulberry tree dropping fruit faster than you can use it, and kids who want to be involved in the kitchen, this is the project for you. Let me show you exactly how to do it right — starting with everything I did wrong.
Why Mulberries Are Perfect for Fruit Leather
Not all fruit is created equal when it comes to leather. Mulberries are genuinely ideal for this — and I say that as someone who has now experimented with more stone fruit than any reasonable person should. Mulberries are naturally high in pectin, which means they set up beautifully without needing added thickeners. They’re also intensely sweet when ripe, so you need far less added sugar than you would with tart fruits like rhubarb or gooseberries.
The flavor is complex and almost jammy — somewhere between blackberry and fig — and it concentrates beautifully during the drying process. One cup of fresh mulberries becomes a small but deeply flavored strip of leather that kids go absolutely feral for. The color alone is enough to get children excited: that deep, jewel-toned purple-red is genuinely gorgeous, and it comes entirely from the fruit itself. No food coloring required.
You can use red, white, or black mulberries for this, though black mulberries will give you the most intense flavor and color. If you’re working with white mulberries, add a squeeze of lemon juice to brighten things up and help with color.
The Easy Mulberry Fruit Leather Recipe (With Tips From My Mistakes)
This recipe is genuinely simple. The technique is where most people — including past me, standing in a smoke-filled kitchen — go sideways. Here’s the full process.
The Dehydrator Sheets That Finally Stopped Sticking to Fruit Leather
If you’ve ever peeled a half-dried mulberry leather off parchment paper only to leave half of it behind, you know the frustration of the wrong surface. Silicone sheets transform the entire drying process — no sticking, no waste, and zero cleanup headache when you’re processing pounds of fruit before the harvest window closes.
What works
- Fruit leather peels off cleanly in one piece, even when only half-dried — I can flip and finish drying the second side without tearing.
- They’re sized for standard dehydrator trays (14×14 fits most home units), so I’m not cutting and fussing with oversized parchment.
- Reusable across dozens of batches — I’ve run these through an entire season of mulberry, apple, and plum leathers and they still release perfectly.
What doesn’t
- The set of 12 can feel like overkill if you’re only running one or two trays — you’ll have extras sitting around waiting for your next harvest push.
- They’re thicker than parchment, so they sit slightly higher in the tray and can affect airflow if your dehydrator has tight spacing between shelves.
I almost switched back to parchment in week two when I thought the silicone was warping at high heat, but it was just the normal flex of quality silicone — no actual damage. Grab a set of Lova Silicone Dehydrator Sheets (14×14, 12-Pack) and you’ll stop losing fruit to sticking.
This post contains affiliate links. As an Amazon Associate, I earn from qualifying purchases at no extra cost to you.