What’s that fine, powdery material collecting near the base of your branches — and why is the wood just above it dying even though the rest of the tree looks perfectly fine? You’re probably looking at the work of mulberry borers, one of the nastiest internal tree pests you’ll ever encounter. Unlike the insects that chew on leaves or drain sap from the outside, borers tunnel invisibly through the wood itself, which makes them especially dangerous — months of hidden damage happen before you even realize the tree is in trouble.
This post walks through the specifics of spotting mulberry borers, keeping them out in the first place, and actually stopping an active infestation. (If you’re seeing sticky white waxy patches or honeydew oozing from the bark instead of tunnel holes, you’re dealing with scale insects or mealybugs, not borers — that’s a completely different problem covered in our separate guide to scale and mealybug control.)
The Mulberry Borer: A Hidden Destroyer
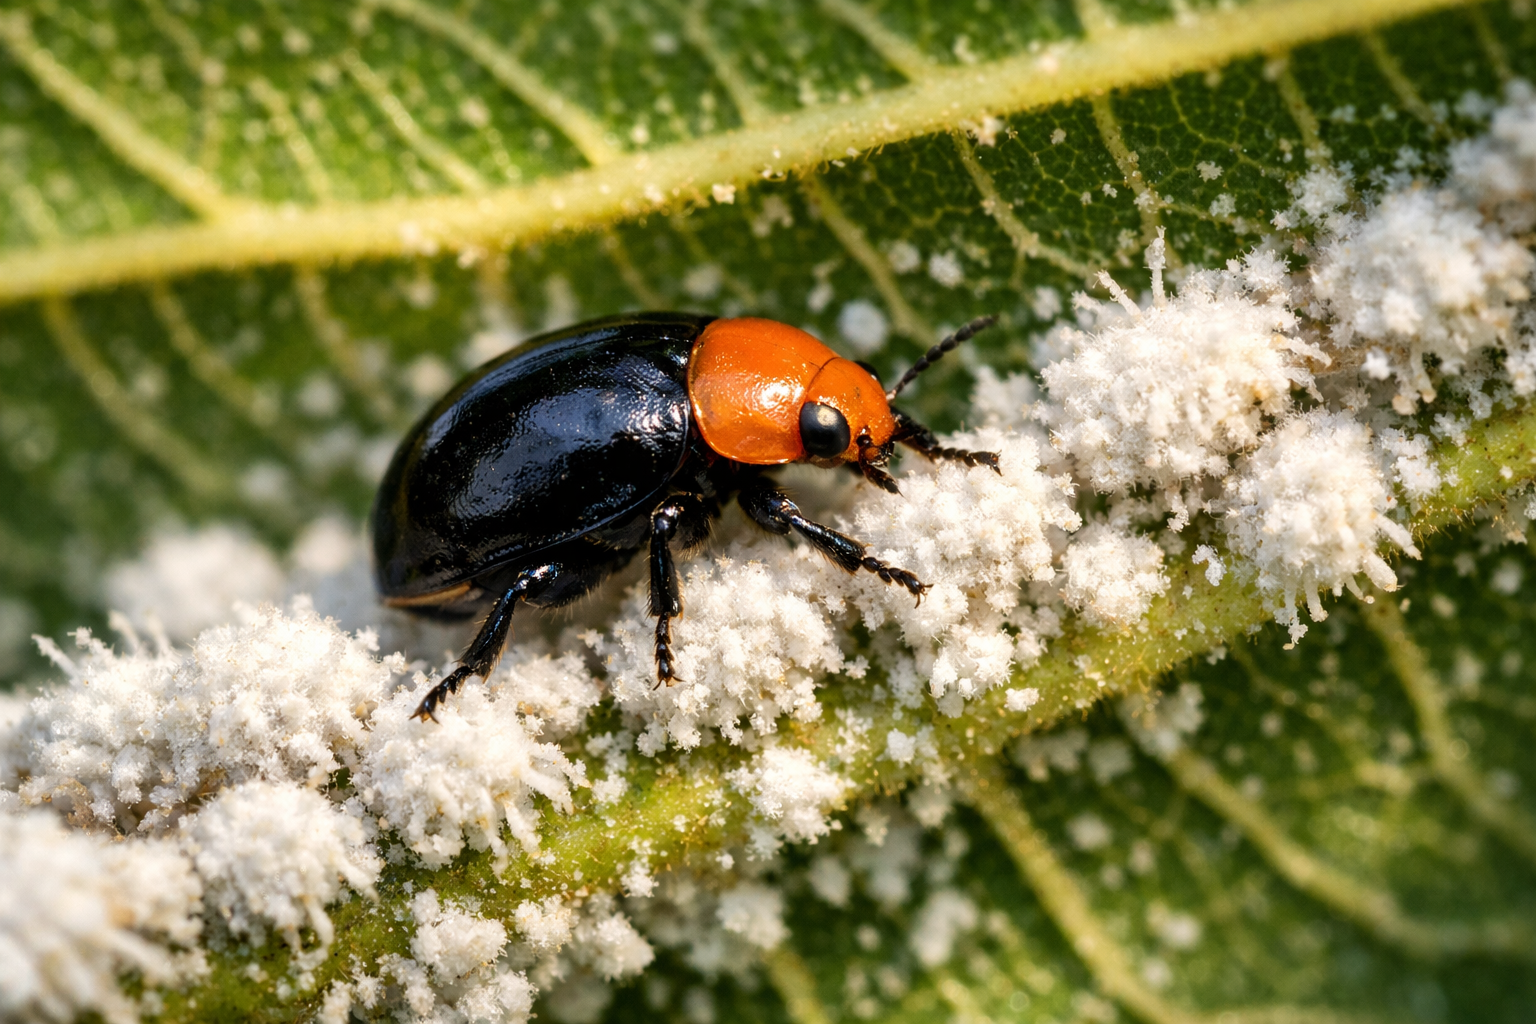
The culprit is Dorcaschema wildii, a beetle that ranks right at the top of the most damaging insects your mulberry will face. Source You’ll recognize adult beetles by their jet-black bodies covered in distinctive white spots. They show up in the early warm months and immediately start searching for crevices in the bark where they can lay eggs.
One thing worth keeping in mind: other longhorn beetles with black bodies and white markings exist, including the Asian longhorned beetle — an invasive species with serious federal restrictions because it damages a broad range of hardwoods. If you spot a beetle matching this general look outside an established mulberry borer territory, or if the damage pattern seems unusually extensive, snap a photo and reach out to your local agricultural extension office first. That way you can rule out a regulated pest before treating it as routine mulberry borer activity.
What Happens Inside the Wood During the Borer Life Cycle
When the eggs hatch, the young larvae immediately bore straight into the bark and start tunneling through the cambium — that critical living layer right underneath the bark that moves water and nutrients up and down the tree. As they tunnel, they choke off the tree’s ability to transport what it needs. This goes on for twelve to twenty-four months before the adults finally emerge. All the while, the tree is dying from the inside, and you might not know anything’s wrong until it’s too late.
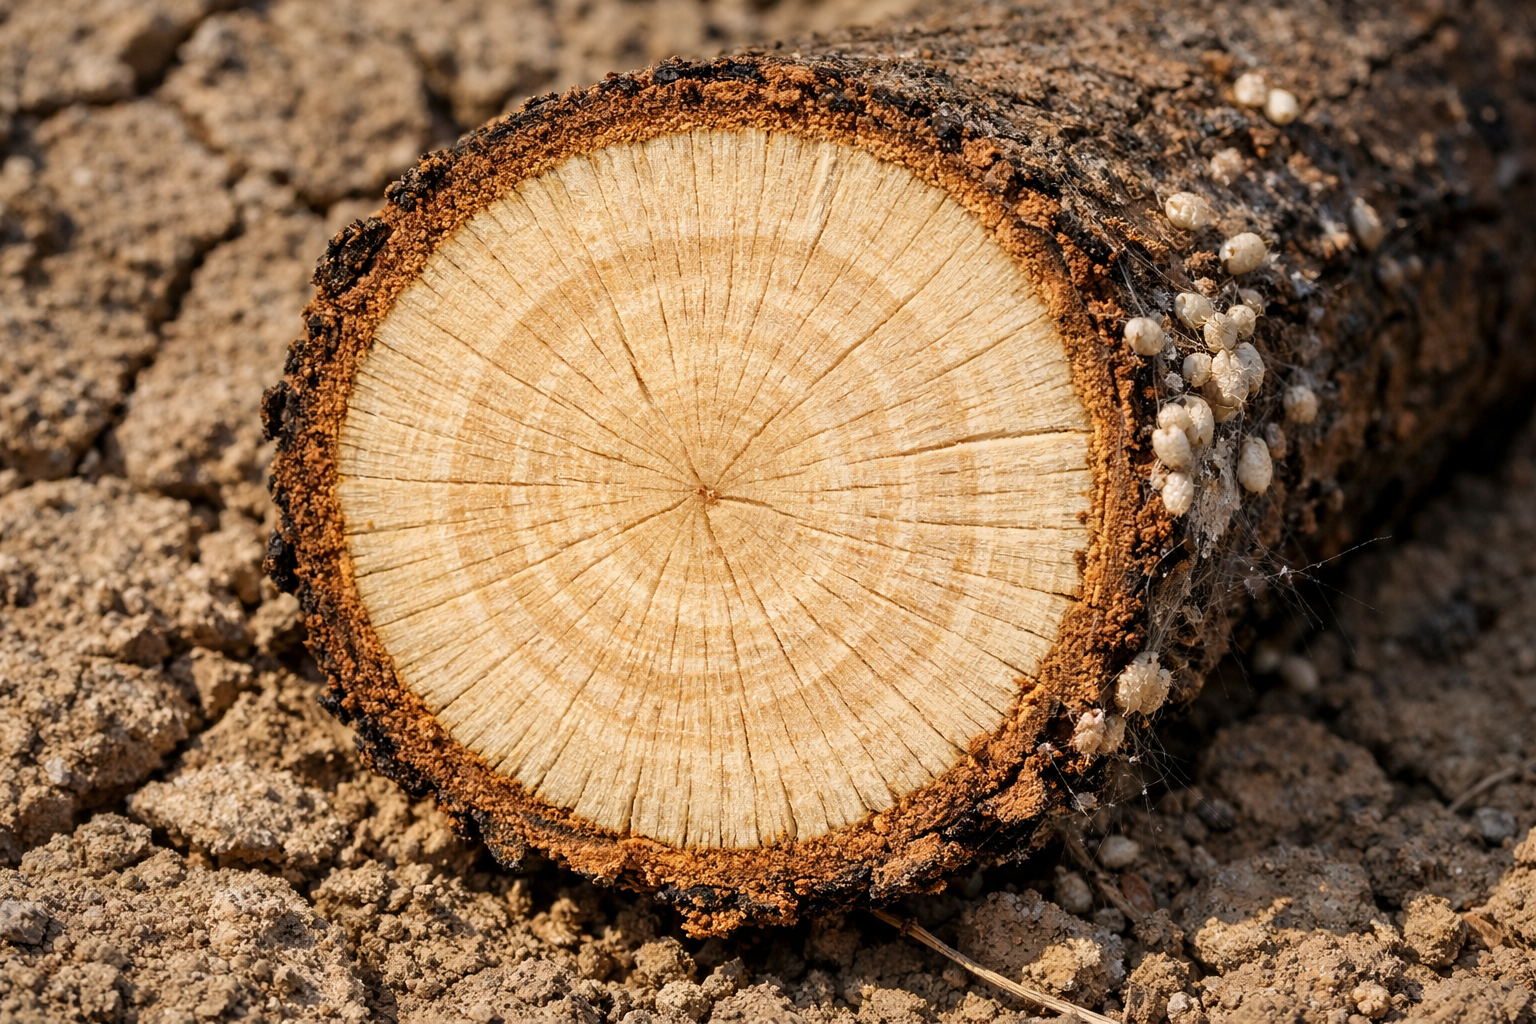
The red flags to watch for are that sawdust-like substance (called frass) scattered around the base of affected branches, tiny holes punched into the bark where larvae entered, and branches that suddenly go limp and brown even though everything around them is thriving. You might also spot D-shaped holes where mature borers have chewed their way back out — and if you see those, it means the infestation has already been happening for months.
Defense and Treatment Strategies for Mulberry Borers
The best offense is keeping your tree in peak condition. Stressed, neglected mulberries are magnets for borers, while vigorous trees resist them far more effectively. Deep watering during dry stretches and taking care to avoid scraping or tearing bark during pruning both make a real difference.
If you’ve already got active borers tunneling around, you have two main options. One is to inject a borer-killing insecticide (imidacloprid or permethrin work well) directly into the entry holes using a small syringe or applicator. The other is more low-tech: push a thin stiff wire or probe into the hole to kill the larva inside the tunnel. Whichever you choose, cut off and remove any branch that’s heavily infested right away — and critically, don’t toss it in your compost pile. Larvae inside that cut wood will happily finish developing and re-infest your tree next season. Bag it and put it in the trash instead.
Distinguishing Borer Damage From Other Tree Problems
When a tree is struggling from borers, it’s often in rough shape overall, so it’s easy to blame every problem on the same pest. A couple of things that get mixed up with borer damage are worth separating out quickly:
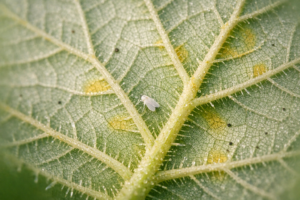
Whiteflies create yellowing and sticky honeydew on the leaf surfaces, not internal tunneling — you’ll see a cloud of tiny white bugs scatter when you brush the leaves, and there won’t be any frass or holes anywhere on the wood itself. Mealybugs and scale insects show up as cottony or waxy crusts stuck to the outside of the bark, not damage working from the inside. Both feed on sap from the outside rather than tunneling, and neither responds to the trunk-injection method you’d use for borers. If that’s what you’re actually seeing, our guide to mealybugs and scale has the right identification and treatment steps for those.
Pruning Schedules and Techniques to Keep Borers at Bay
When you prune matters enormously for borer prevention — fresh wounds during the growing season are literally what attracts borers to come lay eggs in the first place. The sweet spot is late winter, roughly February into early March, when borers are inactive. Wounds also seal up faster before the spring growth explosion kicks in. Cut during the active growing season, though, and you’re practically sending out an invitation to egg-laying beetles.
Knowing Which Branches to Cut
Direct your attention toward these specific problem spots:
- Branches that are already dead — weakened wood is exactly what borers go after first
- Limbs rubbing together — they create open wounds in the bark that borers home in on
- The tangled interior canopy — poor air circulation stresses the whole tree and creates borer-friendly conditions
- Branches that split at weak angles — they’re prone to cracking and exposing raw, vulnerable wood underneath
Sterilizing Your Tools Between Every Single Cut Is Essential
Stop after each cut and wipe your pruning tools clean using one of these:
- A 1:9 bleach and water mix
- Straight 70% isopropyl alcohol
- Purpose-made garden tool disinfectants
I watched my neighbor skip this step one year and lose two established trees because borers spread from one branch to another in a single season without anything stopping them.
Wound Care Following Pruning
Once you’ve finished cutting, coat any wounds larger than an inch across with a commercial pruning sealant. It directly blocks the entry points borers look for. Then, over the next several weeks, swing by frequently to inspect those pruned spots for the warning signs listed earlier:
- Frass accumulating at branch bases
- Tiny round holes in the bark
- D-shaped exit holes where adults have already emerged
Just as important: take all the cut branches away and dispose of them immediately. Never let cuttings sit underneath the tree. Larvae overwinter inside dead wood and can complete their development right there in the pile, then reinfest your tree the moment they emerge. Removing debris completely stops that cycle cold.
Regular Inspection and Catching Problems Early
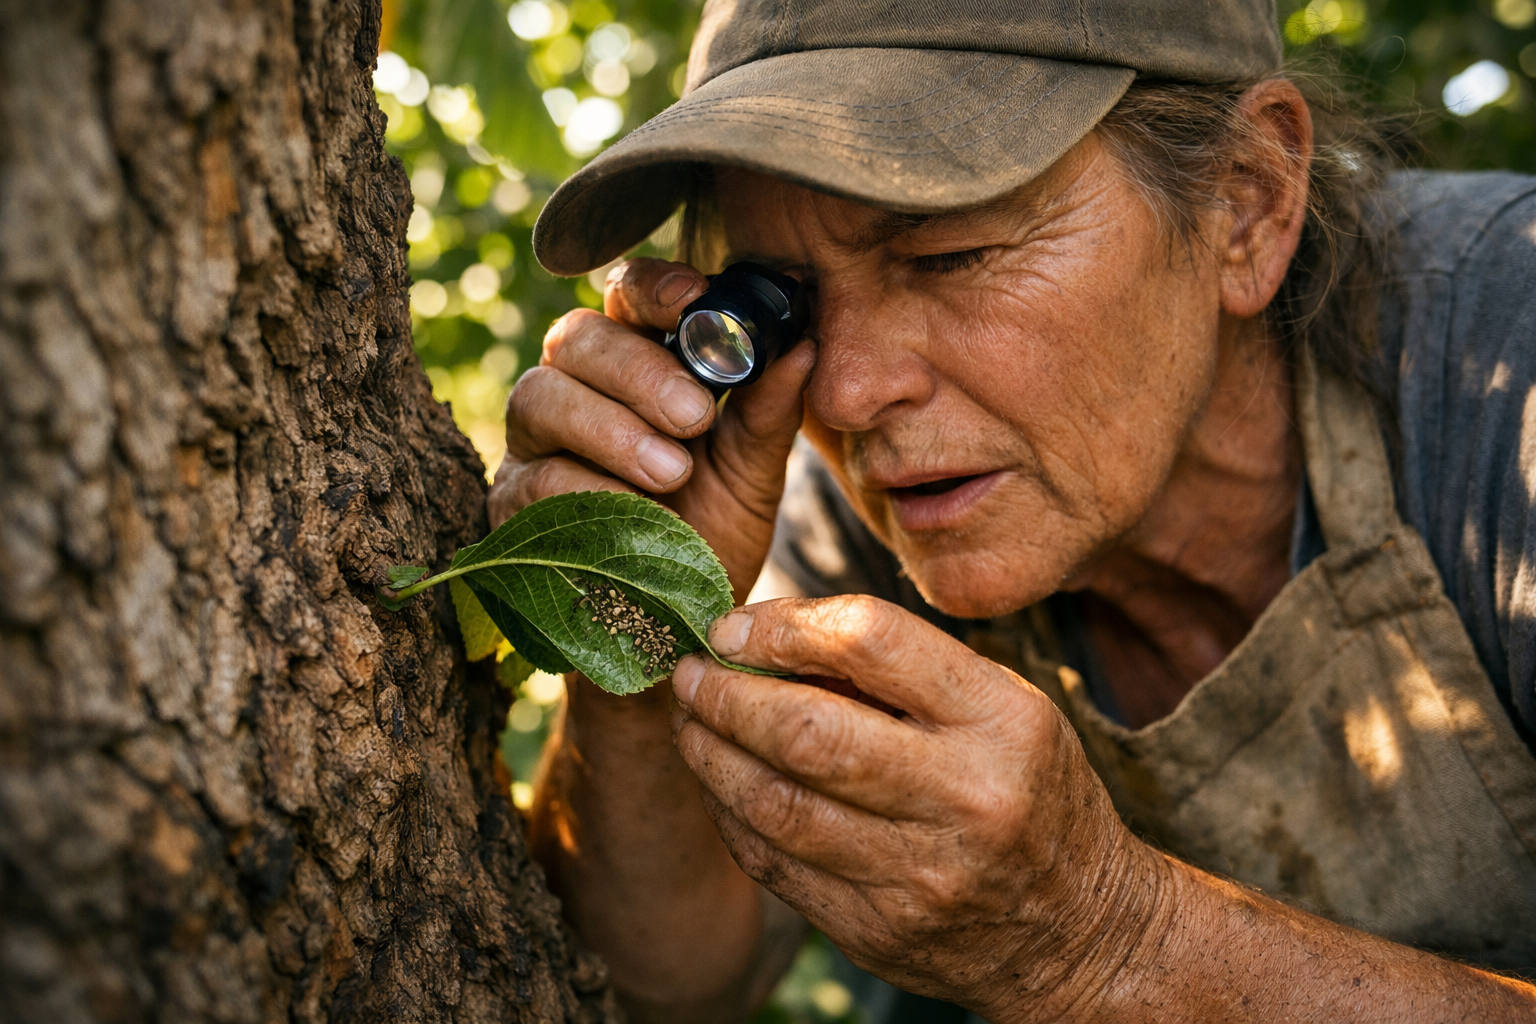
Walk around your mulberry every couple of weeks throughout the growing season. Source Scan the trunk base and every single branch fork for frass, entry holes, or unexplained limb die-off on otherwise healthy-looking wood. The earlier you spot borers — ideally while they’re still in just one branch — the easier and cheaper the fix becomes.
Keep basic notes in a garden log about what you’re seeing and when. Over seasons, you’ll start to notice a pattern about peak borer activity in your specific area and which branches seem most vulnerable. That knowledge lets you schedule preventive action before egg-laying happens rather than scrambling to fix tunnels that have already been dug.
Selecting and Using the Right Control Method
Surface sprays won’t work against borers because they’re living inside the wood where a spray can’t reach them — this is genuinely one of the few mulberry pest situations where a systemic insecticide injected directly into the trunk or borer holes is the right tool, not an overreaction. Only use it when you’ve actually confirmed an active infestation, not as a preventive spray, and always stick to the label instructions precisely.
Read the label thoroughly, and make sure you’re not spraying or injecting while flowers are open and pollinators are working. For a borer problem that’s caught early or is still pretty light, the wire-probe method works genuinely well and requires no chemicals at all — try that first before moving to anything systemic.
Wrapping Up
Mulberry borers have a real chance of killing a mature tree precisely because their destruction stays hidden until it’s massive. Your core strategy is simple but requires attention: maintain a healthy, unstressed tree; prune only in late winter using sterilized tools; seal large cut surfaces; and check regularly for the sawdust and holes that signal trouble. Catch an infestation in its first year and nail it with a hole injection or physical larvae removal, and you’ll likely save the branch. Let it run undetected for two or three seasons, and you risk losing that branch — or worse, the entire tree.
The Spray Oil That Finally Stopped My Scale Crawlers Mid-Season
Once mealybugs and scale insects settle into your mulberry’s bark, they’re relentless sap thieves that topical sprays alone often can’t penetrate. Horticultural spray oils work by suffocating the insects and disrupting their waxy protective coating—but only if you apply them at the right time and cover every infested branch.
What works
- Visible die-off of scale clusters within 5–7 days when sprayed directly on the white waxy crusts; you’ll see them blacken and drop off the branches.
- No chemical residue smell like synthetic insecticides, and my mulberries resumed normal green foliage within two weeks of treatment starting.
- Safe to use throughout the growing season without waiting for harvest; I’ve sprayed in late spring and early summer without harming fruit or beneficial insects.
What doesn’t
- Requires thorough coverage on every infested branch—I missed a few hidden clusters the first time and watched them bounce back two weeks later.
- Can’t be applied in full sun or temps above 85°F without risking leaf burn; early morning or evening spraying is non-negotiable, which limits your window.
I almost gave up on horticultural oils after my first half-hearted spray job failed to eradicate the infestation, but a thorough second application with proper coverage changed everything. horticultural spray oils
Frequently Asked Questions
Can I put borer-infested branches in my compost pile?
No, never compost them. Larvae inside that cut wood will happily finish developing and re-infest your tree next season. I bag heavily infested branches and put them in the trash instead. The same rule applies to ordinary prunings left lying under the tree, so remove all cuttings immediately rather than letting them sit.
Could the black beetle with white spots be an Asian longhorned beetle?
It could be, so check before you treat. Other longhorn beetles with black bodies and white markings exist, including the Asian longhorned beetle, an invasive species with serious federal restrictions. If you spot one outside established mulberry borer territory, or the damage seems unusually extensive, snap a photo and contact your local agricultural extension office first.
Should I inject insecticide before I actually see borer damage?
No. A systemic insecticide is only the right tool once you have confirmed an active infestation, not as a preventive spray, and you should follow the label instructions precisely. Don’t spray or inject while flowers are open and pollinators are working. For light or early-caught problems, try the chemical-free wire-probe method first.
How long do mulberry borer larvae stay inside the wood?
Twelve to twenty-four months pass before the adults finally emerge. After hatching, larvae bore straight through the bark and tunnel into the cambium, the living layer that moves water and nutrients up and down the tree, choking off that transport the whole time. The tree dies from the inside long before anything looks wrong outside.
Keep Reading
About This Article

Written by Ruth Nakamura. Ruth Nakamura is a backyard orchardist in the Pacific Northwest who has grown mulberries for fifteen years, cultivating twelve different varieties in her own backyard. Not a horticulturist by formal training - she shares what she has learned through hands-on growing, workshops, and connecting with nurseries and growers across the country. More about this site.
Scope and limits. Ruth is a backyard orchardist without formal horticultural training. Growing conditions vary enormously by region, so confirm variety, timing, and pest guidance with your local extension service.
Verify this against a primary source
Specifics change, and your situation may differ from the one described here. These are the authorities worth checking directly:
- USDA Plant Hardiness Zone Map — zone verification for your location
- Oregon State University Extension — fruit growing and pruning research
- USDA PLANTS Database — species range and identification