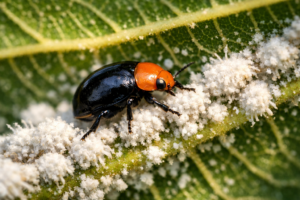
When the Leaves Start Whispering: Recognizing Spider Mite Damage Early
That afternoon walking through my grandmother’s backyard left an impression I couldn’t shake. Mulberry trees are deceptively tough — but that toughness masks problems hiding in plain sight. From a distance, the canopy looked completely normal. Up close was another story: leaves had a washed-out, powdery film, fine threads of webbing nestled where leaves met branches, and a bronze-tinged discoloration across the foliage that I’d written off as sun exposure or end-of-season wear. Easy enough to overlook. Except it wasn’t sun damage or seasonal decline. Spider mites had been feeding there for weeks, maybe longer, and I’d missed it entirely.
Spider mites operate with remarkable stealth. They flourish when temperatures climb and humidity drops, multiplying explosively during late spring into early summer. Their feeding signature — stippled, faded, slightly bronze-cast leaves — looks almost identical to drought stress, which creates a dangerous window where misidentification keeps you from treating the problem exactly when populations are rocketing upward fastest.
—
How to Tell If This Is Actually Spider Mites
Mulberry attracts a range of different pests, and distinguishing between them matters because treatments don’t work across all of them. Spider mites belong to the arachnid family rather than the insect class, and their signature damage differs noticeably from everything else:
- Spider mites (covered in this post) — threadlike webbing tucked into leaf joints, dry dull or bronze leaf patches, worse during hot rainless stretches
- Mealybugs, scale, and whiteflies — glossy sticky residue underneath, dark fungal coating on leaf surfaces, waxy or bumpy protrusions along stems and leaf undersides; find more in our sap-sucking pest guide
- Mulberry borers — granular material leaking from small round or D-shaped openings in the bark, wilting concentrated on individual limbs; our borer guide digs into this
Threadlike webbing combined with a dusty, stippled surface on the leaf undersides — not sticky residue or tunneling — means you’re looking at spider mites.

Understanding Integrated Pest Management (IPM) as Your Framework
IPM isn’t a single tactic — it’s an overarching mindset. Source Instead of jumping straight to pesticides when trouble starts, IPM centers observation, prevention, and keeping the ecosystem in balance. This approach works especially well against spider mites because blunt-force chemical spraying often backfires spectacularly — those treatments eliminate the predatory mites and other beneficial arthropods that naturally keep populations suppressed, while the spider mites bounce back faster since they reproduce at lightning speed, leaving you with even worse infestations than before.
For a mulberry, this translates into routine scouting of your tree, building up populations of natural predators, shifting how you water and prune, and saving heavy-duty pesticides for only the worst-case moments. This safeguards both your tree and the broader garden community while cutting down your long-term spending on treatments you might not actually need.
What follows walks you through spider mite management month by month — because unlike other mulberry pests, mites follow such a clear pattern tied to temperature and moisture that knowing when to look and what to do becomes your sharpest tool.
Spring: Laying Prevention Groundwork Before Trouble Arrives
Scout Aggressively in the Early Growing Season
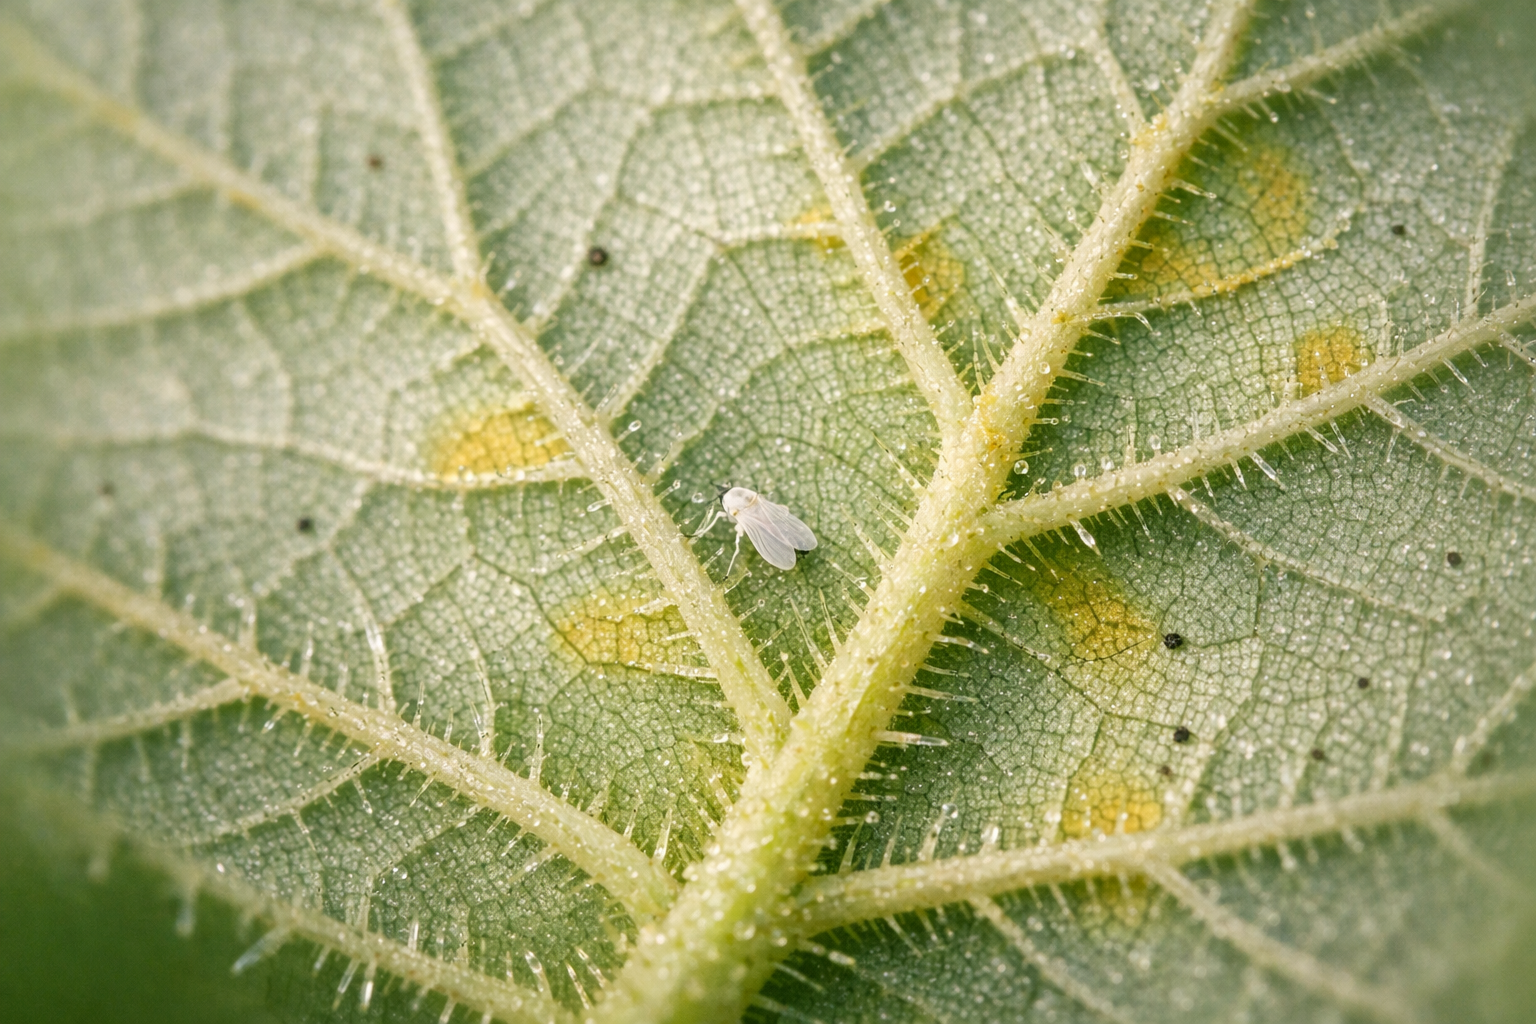
Spring is the window where your mite prevention strategy either succeeds or fails, even though population explosions won’t peak until the heat of summer arrives. As days lengthen and temperatures climb, dormant mite eggs stashed in bark crevices begin hatching out. Begin looking underneath newly unfurling leaves in early spring, hunting for the thinnest traces of webbing in the leaf axils and along the central vein — don’t wait for visible stippling to become obvious.
Competing Spring Pests Worth Ruling Out
Spring simultaneously activates aphids, scale insects, and whiteflies on mulberry — all of which drink sap rather than chewing leaf tissue, leaving sticky droplets and dark mold instead of webbing or bronzing. If that’s what appears under your magnifying lens, turn to our sap-sucking pest guide for specifics on those. Equally important: a tree with rich, well-balanced soil resists all types of pests far better than one struggling with malnutrition or dehydration.
Hands-On Spring Management Tactics
Trimming out dead wood and frost-damaged branches in early spring immediately eliminates hiding spots for overwintered mite populations. Gathering and disposing of leaves from underneath the tree — rather than tossing them into compost — destroys overwintered mite eggs before they get a chance to hatch. Spread a new 2–3 inch layer of compost or composted bark around the root zone, keeping mulch a few inches back from the trunk, to help the soil hold water more consistently through heat waves.
Release beneficial insects like ladybugs and lacewings while populations of mites are still climbing but not yet out of control. Source These predatory insects feast on enormous numbers of mite eggs and first-stage juveniles, essentially getting a jump on what’s coming before summer temperatures make mite populations explode.
Summer: The Season Spider Mites Dominate
Understanding Why Summer Triggers the Outbreak
Spider mites own the summer months completely. When temperatures soar and rainfall disappears, their reproduction cycle compresses dramatically — a single female generates an entire fresh generation in fewer than 14 days when conditions align perfectly. An infestation that looked small and manageable in mid-June can blanket entire branches by late August. Shift your inspections to weekly during July and August, focusing on brand-new webbing and expanding areas of stippled leaf tissue — you won’t reliably spot the mites themselves without magnification.
The webbing they lay down coats leaf undersides and clusters, and the leaves themselves turn a characteristic dull stippled bronze. Source Heavy populations create visible silk webbing even to the naked eye across leaf bunches and branch tips.
Non-Chemical Responses That Work
Turning a garden hose on leaf undersides — cranking the nozzle to a forceful jet — physically dislodges mite colonies and shreds their webbing structures. Do this every 2–3 days while an infestation is actively spreading, and many moderate outbreaks get shut down completely without any other intervention. For a living solution, deploy predatory mites, specifically Phytoseiulus persimilis, which hunt and consume spider mites voraciously without damaging tree tissue or other helpful insects. Release them sooner rather than later — their effectiveness drops dramatically once spider mite populations have already swollen into the millions.
Japanese beetles occasionally show up on mulberry in the same summer window and eat visible holes through leaf tissue — a distinctly different damage signature from the dusty discoloration that mites cause. You can distinguish them instantly: look for actual chewed-away leaf sections rather than stippled fading. Picking them by hand during cool mornings, when they move slowly, handles small populations fast.
Moving to Targeted Chemical Tools When Necessary
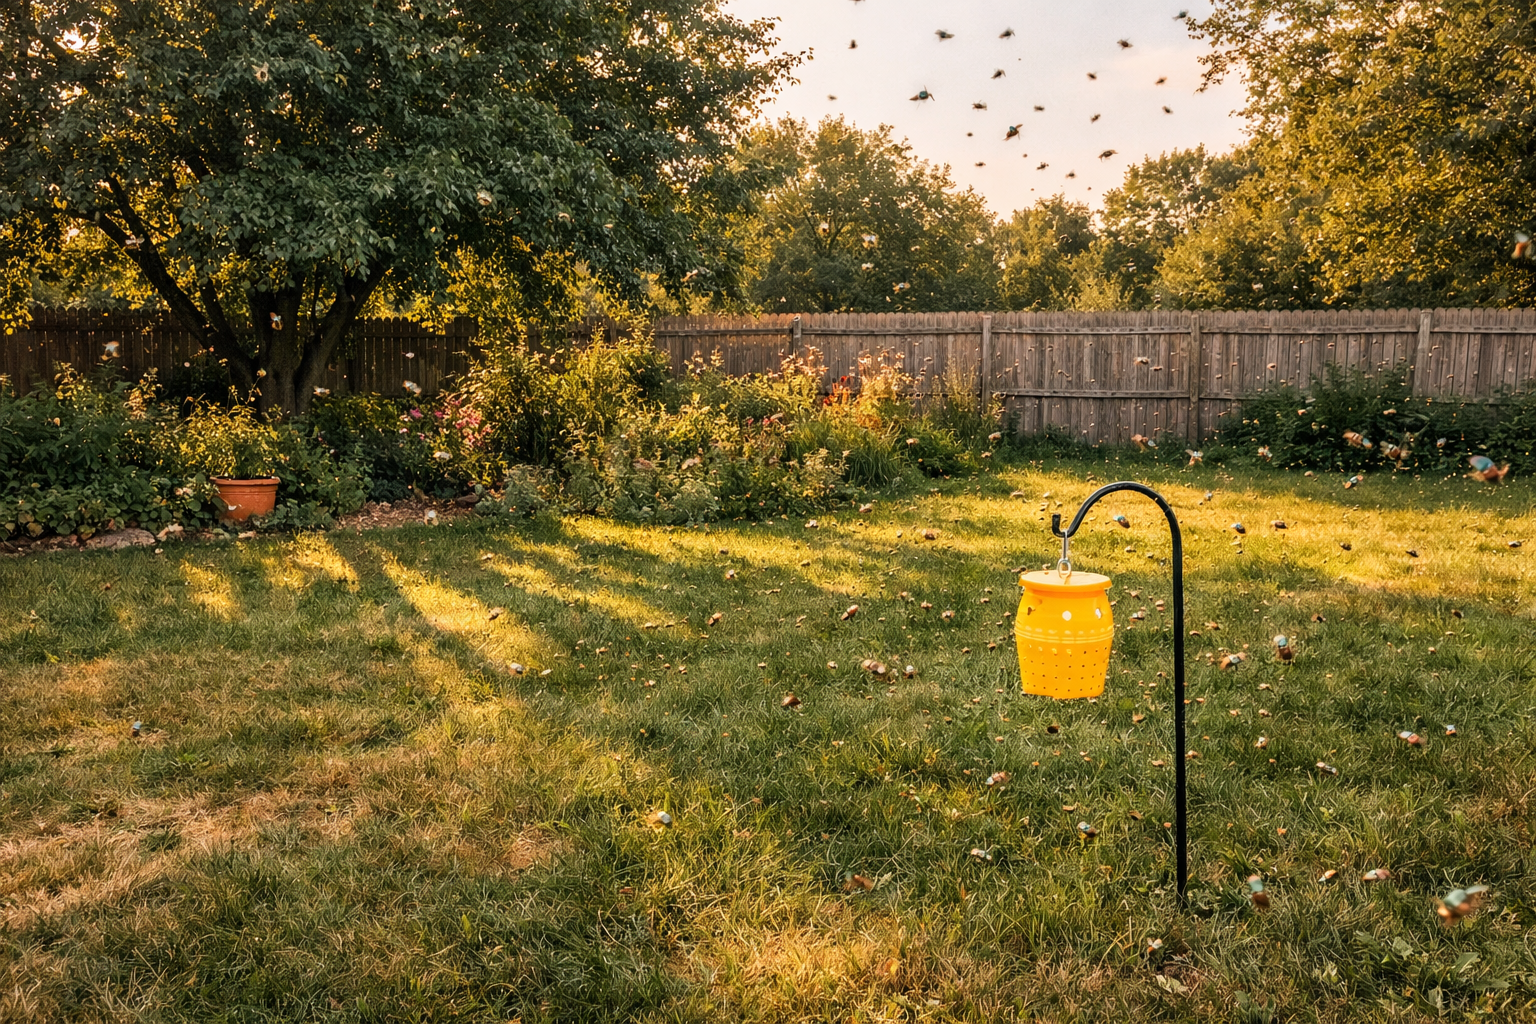
Chemical applications should remain your backup plan for spider mites, not your first instinct, because broad-spectrum insecticides create exactly the opposite of what you want — they decimate predatory mite and insect populations far more thoroughly than they control pest mites, which rebound and breed back to massive numbers while their predators are still recovering. When water sprays and predatory mite releases can’t keep pace with a runaway infestation, insecticidal soap becomes your next reasonable step: it degrades the protective waxy layer on soft-bodied creatures like spider mites, causing them to dry out and die, and it requires actual contact to work.
Neem oil offers another solid option — the compound azadirachtin disrupts how mites consume food and reproduce, and when mixed and applied according to label instructions it leaves beneficial insects relatively untouched. Whichever product you select, time applications for early morning or dusk to keep from harming pollinating insects or scorching foliage, and always follow the label’s mite-specific mixing instructions.
30-Day Field Test: BioAdvanced Neem Oil Ready-to-Use Spray
If you’ve landed on neem oil as your chemical option of choice — a reasonable call given its botanical sourcing and relatively low impact on beneficial insects — the formulation you reach for makes a real practical difference. I ran a 30-day field test with BioAdvanced Organics Brand Neem Oil, Ready-to-Use, 24 oz against an aggressive whitefly infestation on a Pakistan mulberry variety that had been established for three seasons. The infestation was severe enough that flipping a single leaf revealed dense groups of pale flat-bodied nymphs fastened along the midvein and lateral veins, with adults erupting in thick clouds whenever I moved through the branches. Here’s what the month of testing taught me.
What works
- Observable mortality showed up in fewer than two days following the initial application — dead insects littered the undersides of the lower canopy, marking the shift from watching populations climb to finally seeing them drop.
- The spray-and-go convenience meant actually hitting a seven-day cycle without fail; grabbing a trigger bottle off the shelf beat dragging out the whole concentrate apparatus, and that consistency is what finally tipped the balance.
- Emerging foliage hardened up and kept its natural color rather than that drooping, faded tone whitefly damage leaves behind, and through the hot stretch of June there were zero burn marks or residue damage on the leaf surface itself.
What doesn’t
- The 24 oz container empties quickly when you’re treating anything beyond a single young tree — the 30-day run burned through two bottles, and the per-ounce expense stacks up faster than it does with concentrate.
- Timing matters more than anticipated; one afternoon spray when temperatures were climbing combined with skipping the leaf bottoms let pests reclaim those untreated zones within days. Early morning or dusk applications, with thorough coverage of leaf undersides, are non-negotiable.
- By day 18, the infestation looked nearly gone — skipping a spray brought it roaring back within days. The full 30-day schedule is what finally delivered clean leaves. Consistency matters more than the product itself.
A Summer Side Problem: Fruit Flies During Harvest Season
Spider mites aren’t the only pest pressure that peaks in July and August. Once you’re pulling in multiple pounds of ripe mulberries across several days in succession, fruit flies move into the kitchen with the speed and persistence of an occupying army. One slightly soft mulberry left sitting for half a day sends out a chemical beacon that reaches fruit flies living blocks away — and when you’re in the thick of harvest season, picking every morning, running batches of jam, and eating fresh berries by the handful, your kitchen transforms into an insect breeding ground that sanitation alone can’t solve.
The RESCUE! Reusable Indoor Fruit Fly Traps with Non-Toxic Liquid Attractant – 2 Traps, 2-Pack (4 Traps) handled this better than anything else I’ve tried. The attractant formula cut the flying insect population dramatically within a single day of deploying traps across the kitchen counter, even with fresh mulberries still sitting right there nearby. The refillable construction means using the same traps from July straight through September rather than purchasing replacements weekly. And unlike sticky paper traps, they don’t become magnets for lint, hair, and debris — what accumulates in the chamber is actually insects you can count and monitor.
Positioning and maintenance details that matter
- Station traps at opposite corners of your main food-prep surface — the zone where you’re sorting, stemming, and storing the daily harvest. A trap on a higher shelf across the kitchen helps too, since fruit flies congregate at different elevations and hug room perimeters.
- Keep traps out of direct afternoon sun and away from warm appliances; heat breaks down the attractant liquid and shortens how long it stays potent.
- Distance traps away from the actual mulberry stockpile — the trap’s job is to intercept flies before they reach the fruit, not to compete with your harvest for their attention. Placing one trap directly adjacent to a full colander of fresh-picked mulberries meant flies bypassed the trap entirely and went straight for the berries.
- Empty the chamber within seven days — dead flies left longer than that create decomposition odor that undermines the attractant’s appeal to living flies.
- Attractant cartridges need refreshing roughly every three to four weeks through the peak July–August window. Budget for replacement cartridges if you’re running multiple traps through a full season.
The weekly reset routine — tip out accumulated dead insects, rinse the chamber, pour in fresh attractant — takes roughly ninety seconds per trap. Without the reusable format, the cost of disposable replacements across a full mulberry season adds up considerably.
Fall: Breaking the Mite Cycle Through Deliberate Cleanup
Why Post-Summer Work Determines Next Summer’s Problems
The temptation to back off on pest management once Labor Day passes is strong — and it’s a mistake that costs you dearly the following season. Spider mites lay down their overwintering eggs in fall, tucking them into bark crevices and among fallen leaves, and what you do in September and October directly shapes how terrible July is going to be next year.
Rake and bag fallen leaves from underneath your tree within a day or two rather than leaving them to compost in place — that’s where dormant mite eggs cluster. Inspect cracks and peeling bark along branches and the trunk carefully, since those sheltered spots are where adult mites and eggs hide out during the cold months.
Dormant-Season Tree Care
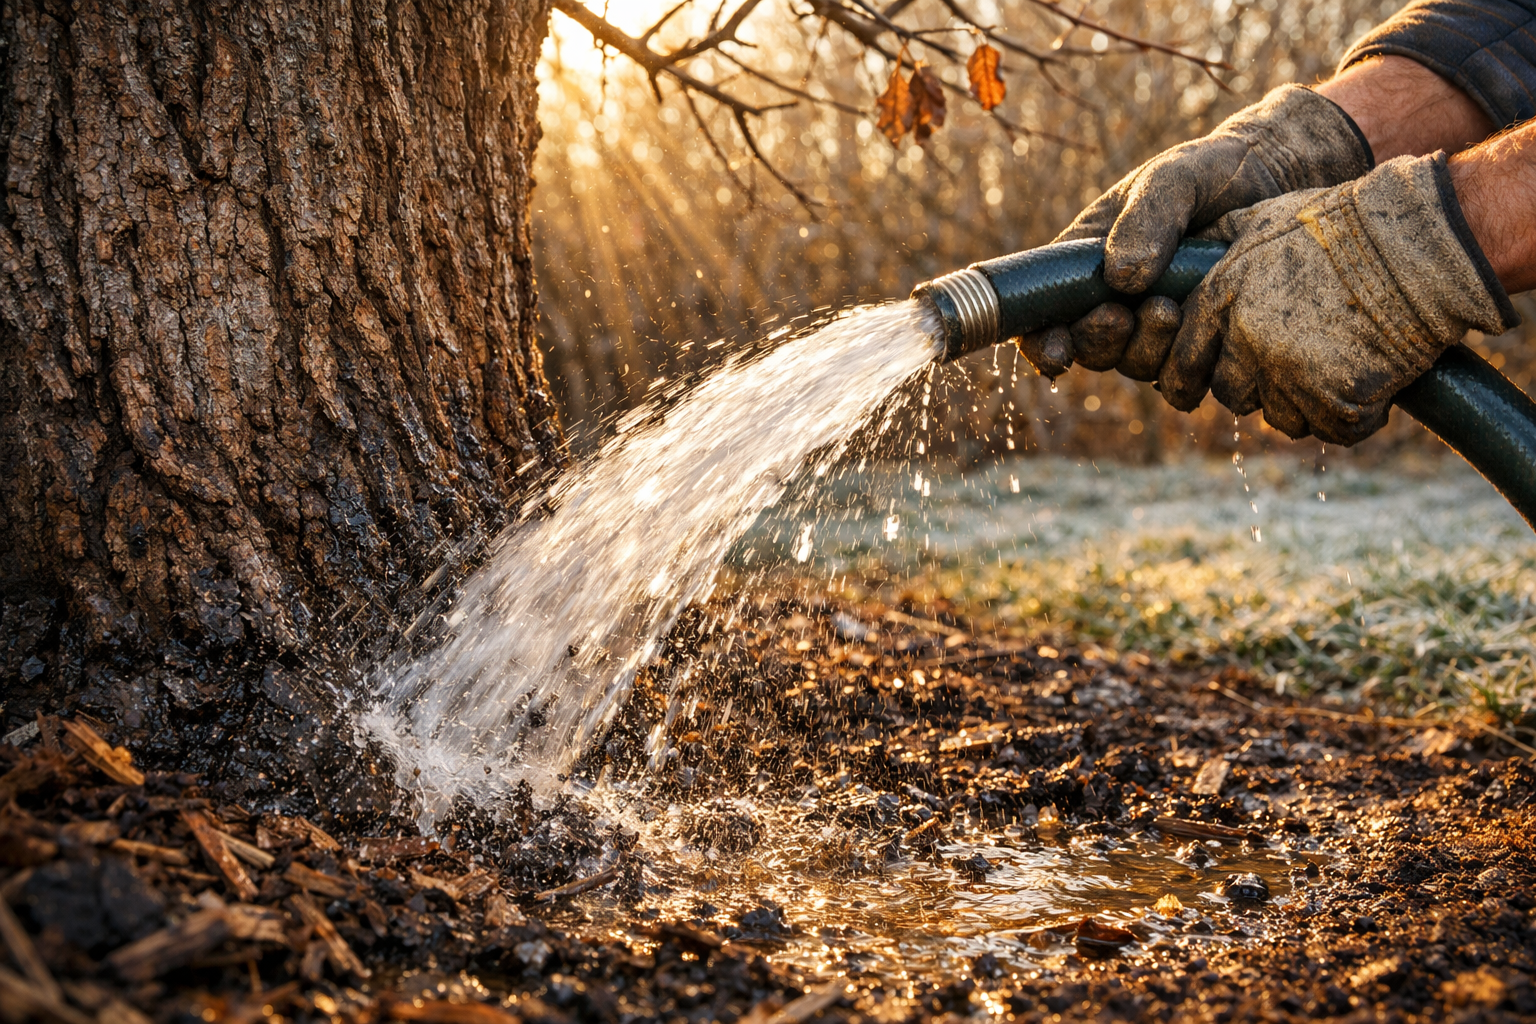
Dormant oil spray applied after your tree has dropped all its leaves suffocates mite eggs embedded in bark before the following spring’s hatch — this single action ranks among the highest-impact things you can do to prevent next year’s outbreak. Water thoroughly down to the root zone before the temperature drops below freezing, since entering dormancy in a hydrated state helps your tree bounce back stronger when spring arrives and mites start waking up.
Winter: Planning and Preparing for the Coming Year
Turning the Off-Season Into Strategic Planning Time
Winter gives both your mulberry and yourself breathing room, making it the perfect season to reflect on what happened and design better strategies ahead. Look back over the past summer: did mites show up earlier than they did the year before? Did any particular section of the tree — maybe a branch that gets blazing afternoon sun — take a worse beating than others? Write these patterns down now, while your memory is clear.
Winter is also when to research and order predatory mites and beneficial insects for spring introduction. Having stock on hand before mite populations establish themselves gives your biocontrols a head start and prevents the scramble of trying to source them in June or July when you realize you need them.
Structural Pruning Before Bud Break
Late winter — right before leaf buds swell open — is ideal for removing crossing branches and dense interior growth. Source Improved air circulation through the canopy disrupts the still, humid microenvironment spider mites prefer. Light reaching into the canopy more thoroughly encourages vigorous, healthy leaf tissue that tolerates mite feeding far better than stressed, shaded growth.
Creating Your Personal Mite Defense System Long-Term
Winning against spider mites requires sustained vigilance, because no single strategy permanently eliminates them and they breed faster than almost any other garden pest. Real success comes from stacking layers — nourished soil, established populations of mite predators, attention during the vulnerable months, garden practices that reduce ideal mite habitat, and judicious applications of targeted sprays only when other approaches fall short.
Document, Observe, and Stay Ahead of Mite Cycles
Why Keeping Records Changes Everything
A cheap spiral notebook or a weathered garden journal is where it all begins. For me, keeping meticulous records of pest activity, weather patterns, and mulberry performance has been invaluable. I jot down the first signs of spider mites, noting the date and detailing any treatments I applied. Over the years, I’ve learned that patterns emerge — for instance, if I see a rise in spider mite activity in early June, I can anticipate a challenging summer. This proactive approach allows me to prepare, adjust my management strategies, and ultimately protect my beloved mulberries.
Frequently Asked Questions
Can I put fallen mulberry leaves in my compost pile?
I bag and dispose of them instead of composting them. Spider mites tuck their overwintering eggs into fallen leaves and bark crevices, so composting leaves in place keeps those eggs alive right where they can hatch. In fall I rake and bag leaves from under the tree within a day or two.
How often should I hose off leaf undersides for spider mites?
Every 2–3 days while an infestation is actively spreading works well. Using a forceful water jet aimed at leaf undersides physically dislodges mite colonies and shreds their webbing. Many moderate outbreaks can be shut down completely this way. Skipping days allows them to rebuild, since one female produces a fresh generation in fewer than 14 days.
Are chewed holes in mulberry leaves a sign of spider mites?
No, actual chewed-away leaf sections point to Japanese beetles, which show up on mulberry in the same summer window. Spider mite feeding leaves stippled, dull bronze fading plus threadlike webbing in the leaf joints, not holes. I pick beetles by hand during cool mornings, when they move slowly, and that handles small populations fast.
When should I order predatory mites for spring release?
Winter is when I research and order predatory mites and beneficial insects, so they are on hand before mite populations establish themselves rather than scrambling to source them in June or July. Phytoseiulus persimilis works best released early, because its effectiveness drops dramatically once spider mite populations have already swollen into the millions.
Keep Reading
About This Article

Written by Ruth Nakamura. Ruth Nakamura is a backyard orchardist in the Pacific Northwest who has grown mulberries for fifteen years, cultivating twelve different varieties in her own backyard. Not a horticulturist by formal training - she shares what she has learned through hands-on growing, workshops, and connecting with nurseries and growers across the country. More about this site.
Scope and limits. Ruth is a backyard orchardist without formal horticultural training. Growing conditions vary enormously by region, so confirm variety, timing, and pest guidance with your local extension service.
Verify this against a primary source
Specifics change, and your situation may differ from the one described here. These are the authorities worth checking directly:
- USDA Plant Hardiness Zone Map — zone verification for your location
- Oregon State University Extension — fruit growing and pruning research
- USDA PLANTS Database — species range and identification