I went down a mulberry rabbit hole on YouTube that led me to three forum threads, two conflicting blog posts, and a lot of contradictory advice. Eventually I just started testing things myself and documenting what actually worked in my yard, in my climate, with my soil. That hands-on trial-and-error is what this guide is built on — and the jelly vs. jam question is one I kept bumping into every single harvest season, because mulberries are just different from other fruits: they’re lower in natural pectin, they ripen fast and all at once, and what you decide to do with them in those first few hours after picking genuinely determines whether your end result is something you’re proud of or something you quietly compost. If you’ve ever stood at your kitchen counter with a colander full of fresh-picked mulberries trying to figure out which direction to go, this guide is the honest, field-tested answer I wish someone had handed me three summers ago.
Mulberry Jelly vs Jam: What Is Actually the Difference?
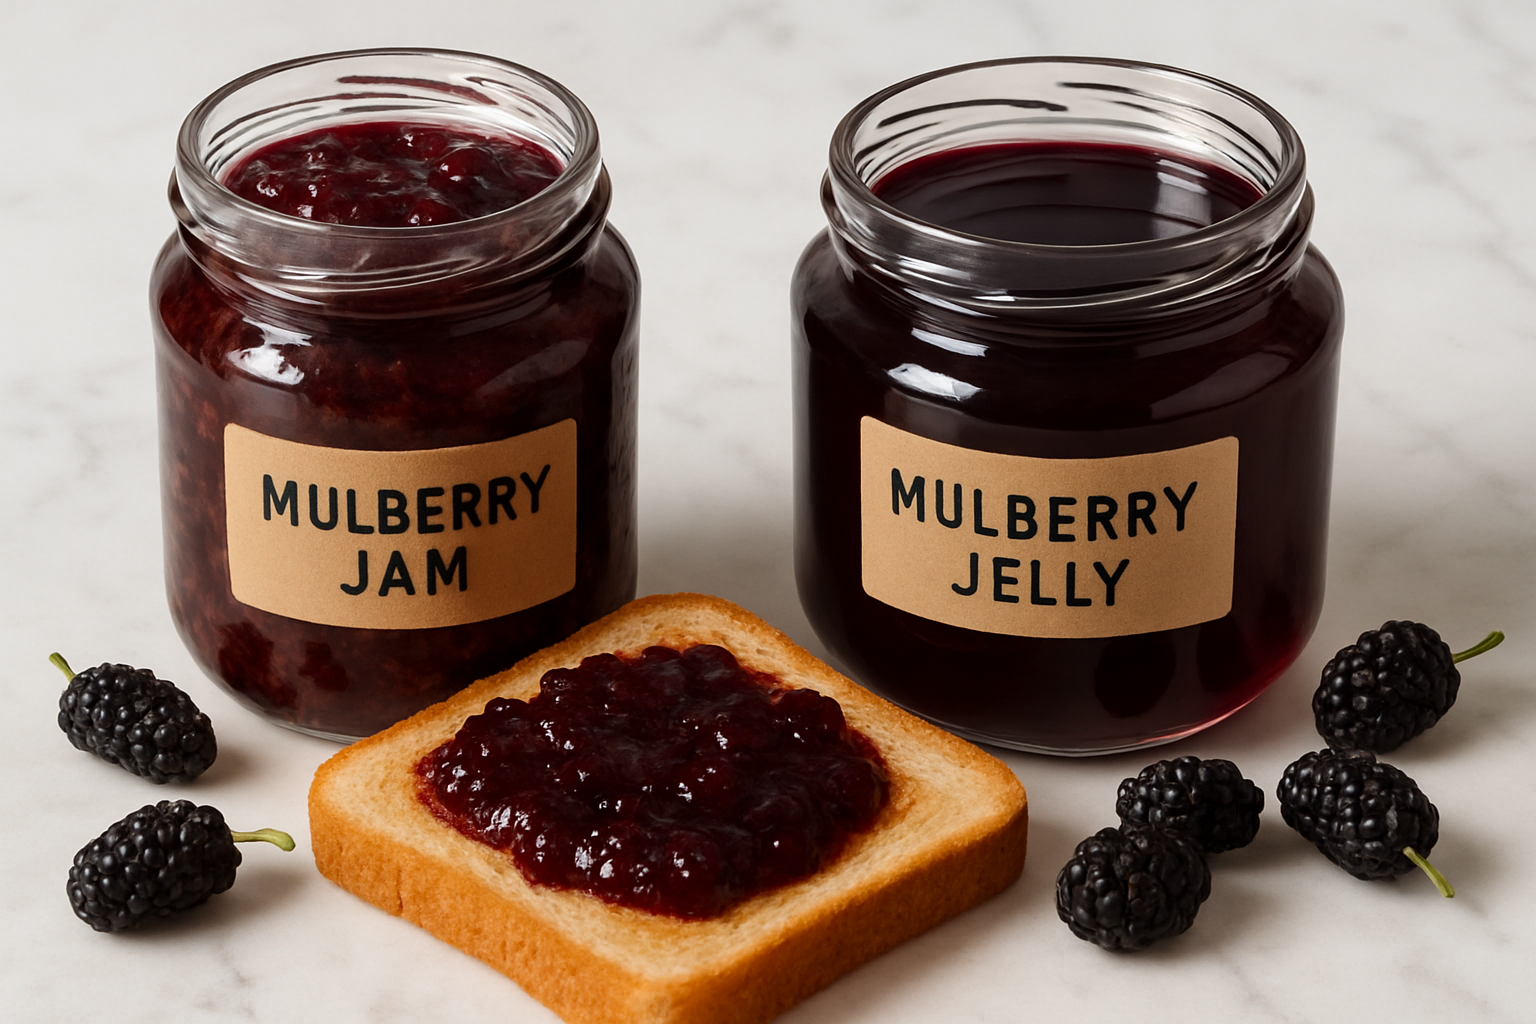
Let’s clear this up simply, because I spent way too long being fuzzy on it. Jam is made from crushed or pureed whole fruit — seeds, pulp, and all. It has a thick, spreadable texture with some body and visible fruit pieces. Jelly is made exclusively from strained fruit juice. No pulp, no seeds, no chunks. The result is a smooth, jewel-clear spread that is absolutely stunning in a jar when done right.
With mulberries specifically, this distinction matters more than it does with most fruits. Mulberries have tiny, soft seeds throughout the berry that are completely harmless but do create a slightly gritty texture in jam. For most people, that texture is totally fine — even pleasant. But if you or someone in your family is sensitive to seeds, or if you just want that gorgeous, translucent purple jelly wobbling on your toast, going the jelly route is absolutely worth the extra straining step.
When to Choose Jam (and Why It Is My Personal Favorite)
Mulberry jam is faster, more forgiving, and honestly delivers a deeper, more complex mulberry flavor because you are keeping all of the fruit’s natural body in the mix. Here is when I recommend going the jam route:
- You have a big harvest and want to process it quickly without an overnight straining step
- You love a rustic, full-flavored spread with visible fruit texture
- You are new to preserving and want a more forgiving first project
- You plan to use it in baked goods, smoothies, or sauces where texture doesn’t matter
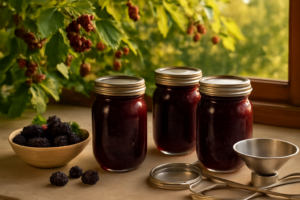
For a basic mulberry jam, crush about four cups of ripe mulberries, add three cups of sugar and a tablespoon of lemon juice, and cook it down until it reaches 220°F on a candy thermometer. Skim the foam, ladle into sterilized jars, and process in a water bath for ten minutes. Simple, beautiful, and deeply satisfying.
When to Choose Jelly (and How to Actually Nail the Straining Step)
Here is where things get a little more involved — and where I made my spectacular mistake. Mulberry jelly requires you to extract just the juice from the berries, which means proper straining is non-negotiable. This is the step I rushed past on my infamous Saturday, and it is the step that makes or breaks your jelly.
The right approach: simmer your mulberries gently with a small amount of water until they completely break down, then let the juice drip through a cheesecloth or jelly bag for several hours — ideally overnight. Do not squeeze the bag. I know it is tempting. I know you want to speed things up. But squeezing forces the pulp through and clouds your jelly. Patience is the ingredient that actually makes jelly work.
Once you have your clear juice, the ratio is approximately three-quarters cup of sugar per cup of juice, plus lemon juice for acidity and pectin if your mulberries are on the ripe side (very ripe mulberries are lower in natural pectin). Cook to 220°F, skim well, and jar it up.
The Straining Setup That Actually Handles Mulberry Pulp Without Clogging
Mulberry juice runs thin and seedy compared to apples or grapes, which means standard cheesecloth clogs halfway through straining and turns what should be a 20-minute job into a two-hour mess. I learned this the hard way my first year trying to make jelly — I was pressing and re-pressing the same soggy cloth over and over, losing juice and patience in equal measure.
What works
- The ultra-dense weave actually lets mulberry juice flow through without the cloth turning into a wet wall after the first batch — I can strain a full harvest without swapping it out mid-way.
- The oversized 14×14 inch dimensions mean I can line a regular colander or bowl without the edges constantly slipping, and I have enough fabric to gather and hang if I want hands-free draining overnight.
- It rinses clean and dries fast enough to reuse the same day between batches, which saves money compared to burning through disposable cheesecloth.
What doesn’t
- The fabric is stiff and a little finicky to arrange evenly the first time, especially if you’re used to flimsy single-use cheesecloth that settles into any shape you want.
- Seeds and tiny pulp particles still get through if you’re not careful, so if you want crystal-clear jelly you’ll need a secondary fine-mesh straining step — the cloth alone won’t give you that.
I nearly gave up on this after the first use when it took me three tries to get it hung evenly over my bowl without bunching, but I stuck with it and now it’s the one tool I reach for every single harvest. You can grab the Cotton Farm Nut Milk Bag & Cheese Cloth Bag (Ultra Dense), XL 14×14 Inch on Amazon.
This post contains affiliate links. As an Amazon Associate, I earn from qualifying purchases at no extra cost to you.