This post contains affiliate links. As an Amazon Associate I earn from qualifying purchases at no extra cost to you.
It was a Saturday morning in June when my neighbor knocked on the door with a smile that said everything. A mulberry branch the thickness of my forearm was draped across her fence, and below it, her pristine white car looked like it had been tie-dyed in deep purple. She wasn’t angry—mulberry people are patient people—but the message was clear: my beautiful, overgrown mulberry tree had gotten entirely out of hand.
I stood in my yard that afternoon, staring up at those massive 20-foot branches stretching in every direction, and I felt a familiar panic wash over me. I’d heard the stories. I’d read the warnings online. Prune a mulberry tree wrong and you could kill it. Or worse, create a twisted, unproductive mess that would haunt your garden for years. So I did what I always do when I’m terrified: I procrastinated.
But this year, I finally committed to learning pruning mulberry trees properly. After two seasons of careful, methodical cutting—plus one season of accidentally being way too aggressive (don’t ask)—I’ve figured out what actually works. And I’m here to share everything I learned so you don’t have to repeat my mistakes.
When to Prune Your Mulberry Tree
The single biggest factor in successful mulberry pruning is timing, and I wish I’d understood this from the start. The best time to prune mulberry trees is late winter to early spring—after the coldest temperatures have passed but before those first tender leaves start unfurling. In most climates, that means February through March, though you’ll want to adjust for your specific zone.
Why does timing matter so much? Two reasons. First, dormant pruning minimizes sap bleed and stress on the tree. Yes, mulberries bleed heavily when pruned—that creamy white latex sap can look absolutely alarming the first time you see it. I genuinely thought I’d mortally wounded my tree. But here’s the thing: that sap loss is much more dramatic in the growing season. When you prune during dormancy, the bleeding is significantly reduced, and the tree experiences far less stress overall.
Second, late winter is when you can actually see your tree’s skeleton clearly. All the leaves are gone, so you can spot crossing branches, dead wood, and overcrowded growth without guessing. I cannot overstate how helpful this is.
One thing I learned the hard way: avoid fall pruning. Cutting in autumn stimulates tender new growth that will inevitably get frost-killed, leaving your tree vulnerable and wasting its energy. Trust me on this one.
How to Prune Your Mulberry Tree: The Step-by-Step Process
Okay, let’s talk actual pruning technique. The good news is that mulberries are genuinely forgiving trees—they can bounce back from pretty aggressive cutting. The better news is that you don’t need to be aggressive at all to get excellent results.
Step 1: Remove the Low-Hanging Fruit (Literally)
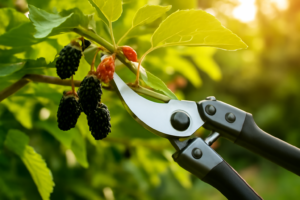
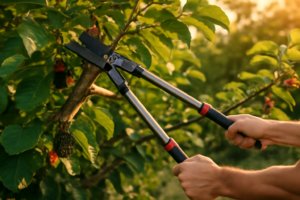
Start by removing any branches that are rubbing on structures, hanging over fences (hello, neighbor car), or growing downward into your walking space. These are your “problem branches,” and they’re safe, easy wins. I use my Fiskars PowerGear2 Bypass Lopper with its 2-inch cut capacity for anything thicker than a pencil. For smaller growth, the Fiskars 91095935J Steel Bypass Pruning Shears work beautifully and are honestly a joy to use.
Step 2: Remove Dead, Diseased, and Crossing Wood
Now look for the obvious problem areas: anything that’s clearly dead (it’ll be gray and brittle), any branches showing signs of disease or pest damage, and branches that cross over each other or grow inward toward the center of the tree. These crossing branches create congestion that reduces air circulation and makes harvesting harder.
Step 3: Shorten Long Shoots by One-Third
Here’s where light annual pruning comes into play. Take those long, vigorous shoots and cut them back by about one-third of their length. This might sound counterintuitive, but here’s the magic: mulberries fruit on spurs of one-year-old wood and also on new growth from the current season. When you cut back your long shoots, you’re not sacrificing fruit production—you’re actually encouraging it. Those shortened branches will push out multiple new shoots, each with fruiting potential.
I made the mistake in year two of cutting back too aggressively—like, half the length—because I got overzealous. The tree survived beautifully, but I lost a season of fruit. One-third is your magic number. Stay disciplined.
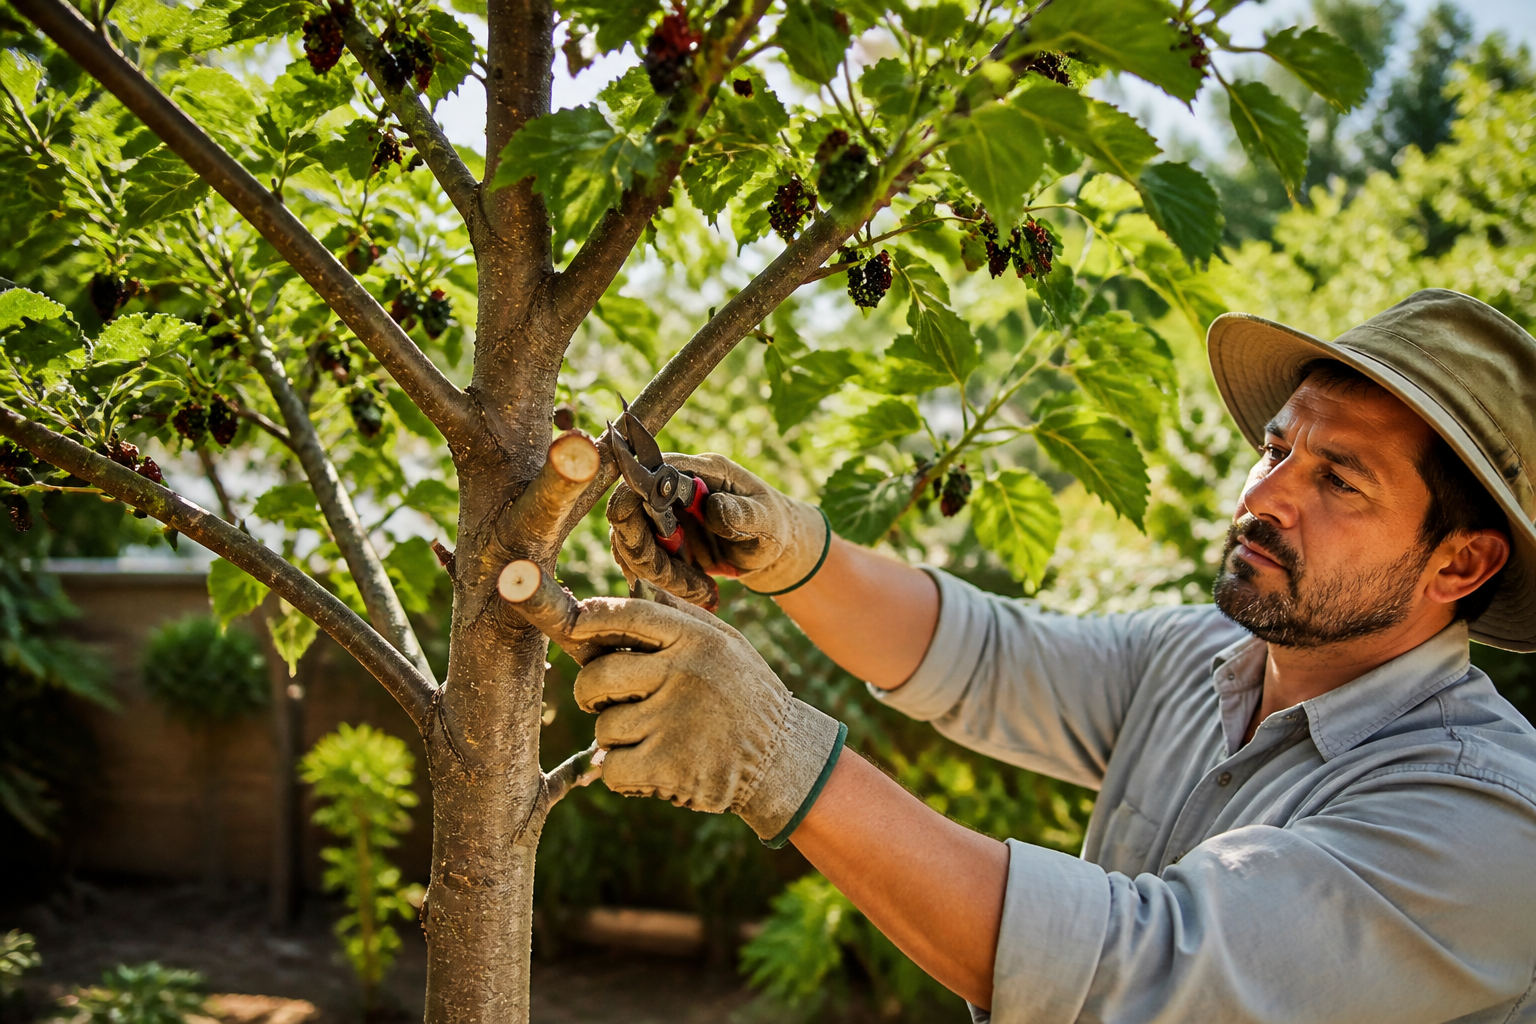
Step 4: Make Clean Cuts at 45-Degree Angles
Always cut just outside the branch collar (that little swollen ring where the branch meets the trunk), at a 45-degree angle sloping away from the main branch. This angle helps water run off rather than sitting on the cut. Clean cuts heal faster than ragged ones, so keep your tools sharp. Your mulberry tree will thank you.
Should You Use a Pruning Sealer?
This is something I debated for my first two seasons. Do you really need to seal the cuts on a mulberry tree?
Short answer: for large cuts (anything over 1 inch in diameter), yes. Applying a pruning sealer to bigger wounds helps reduce desiccation and creates a barrier against disease entry points. I use Tanglefoot Tree Wound Pruning Sealer and Grafting Compound, which goes on smoothly and actually reduces the dramatic sap bleed that looks so alarming. For smaller cuts under 1 inch, the tree’s own wound-healing ability is usually sufficient, especially if you’re pruning during dormancy.
The sealer is a small investment that gives me peace of mind, and honestly, it makes the whole process feel less stressful. That psychological benefit is worth something too.
What to Do After Pruning Mulberry Trees
Here’s the part nobody talks about: what you do after pruning matters almost as much as the pruning itself. Your mulberry tree is essentially in recovery mode after you’ve removed branches, and it needs support to bounce back strong.
Feed Your Tree
Within a week or two of pruning, apply a balanced fertilizer—I use a 10-10-10 formula, or an organic equivalent if that’s your preference. Your tree is about to experience a flush of vigorous new spring growth, and it needs nutrients to fuel that expansion. This is especially important if you’ve done significant pruning. Mulberries are generally not heavy feeders, but this post-pruning application makes a noticeable difference in the vigor and productivity of the new growth.
Water Deeply
Water your tree deeply within a week of pruning. Think of it like transplant shock—even though you haven’t moved the tree, you’ve removed part of its branch structure, and the root system needs reassurance that it’s still connected to a thriving whole. Deep watering reduces stress and helps the tree mobilize energy toward healing and new growth. A good soaking at the drip line (not right against the trunk) is what you’re after.
The Pollarding Option for Serious Control
I want to mention one advanced technique that I’ve been reading about and considering for my own situation: pollarding. This is a traditional European method where you cut all the branches back to the main scaffold (or nearly back to the trunk) every single winter. It’s radical, but it absolutely works for mulberries.
Pollarded mulberries stay incredibly compact and manageable—perfect if you’re dealing with a space issue or if you want to make harvesting easier. The new growth that emerges is vigorous and heavily fruiting. But here’s the catch: it requires absolute commitment. Every single year. If you miss a year or get lazy, the tree becomes a tangled, unpruned mess that’s hard to salvage.
I’m not quite ready for pollarding with my tree—I like having some of those mature branches—but if you’re planting a new mulberry and want maximum fruit production in a small footprint, it’s worth considering from the start.
What I Use for Pruning Mulberry Trees
Since you asked, here’s my actual toolkit for the job. I’ve tested a lot of options, and these are the tools that have made the biggest difference in my pruning experience:
- Fiskars 91095935J Steel Bypass Pruning Shears (5/8″ capacity) — My everyday choice for small branches and twigs. The cutting action is smooth, the handles are comfortable, and they’re honestly a pleasure to use.
- Fiskars PowerGear2 Bypass Lopper (28″ with 2″ cut capacity) — For anything thicker than a pencil, this is my go-to. The leverage handles make cutting thick branches feel almost effortless, even for someone like me who doesn’t have huge upper body strength.
- Tanglefoot Tree Wound Pruning Sealer and Grafting Compound — For large cuts, this sealer reduces that alarming sap bleed and helps protect against disease.
Final Thoughts: You’ve Got This
I’m going to be honest: the first time I pruned my mulberry tree, I was genuinely terrified. I kept thinking about all the ways I could accidentally kill it, and my hands were practically shaking on the lopper handles. But mulberry trees are so much tougher and more forgiving than I gave them credit for.
The key to success with pruning mulberry trees is really just three things: prune at the right time (late winter to early spring), use light, annual pruning rather than rare, dramatic cutting, and support your tree afterward with fertilizer and water. That’s it. That’s the entire formula.
My neighbor hasn’t knocked on my door about purple-stained cars in two seasons now. My tree is more manageable, more productive, and honestly more beautiful with better air circulation and shape. And I? I actually look forward to winter pruning now instead of dreading it.
Your mulberry tree is waiting for you to give it the care it deserves. Grab your pruning shears, pick your late winter window, and go for it. Trust me, you’re going to do great.