
This post contains affiliate links. As an Amazon Associate, I earn from qualifying purchases at no extra cost to you.
Every mulberry season, I end up with the same messy problem. Buckets of stems, overripe fruit, and spent leaves pile up faster than I can deal with them. I’d been searching for a real solution to my compost tumbler mulberry garden waste challenge for two full growing seasons before I finally did something about it. The pile behind my shed was becoming embarrassing — and honestly, wasteful.
My mulberry trees are generous. Beautifully, overwhelmingly generous. Between the fruit drops, the pruning debris, and the kitchen scraps I generate while processing berries, I was producing more organic material than my old open bin could handle. Fruit flies loved it. My neighbors probably didn’t. Something had to change.
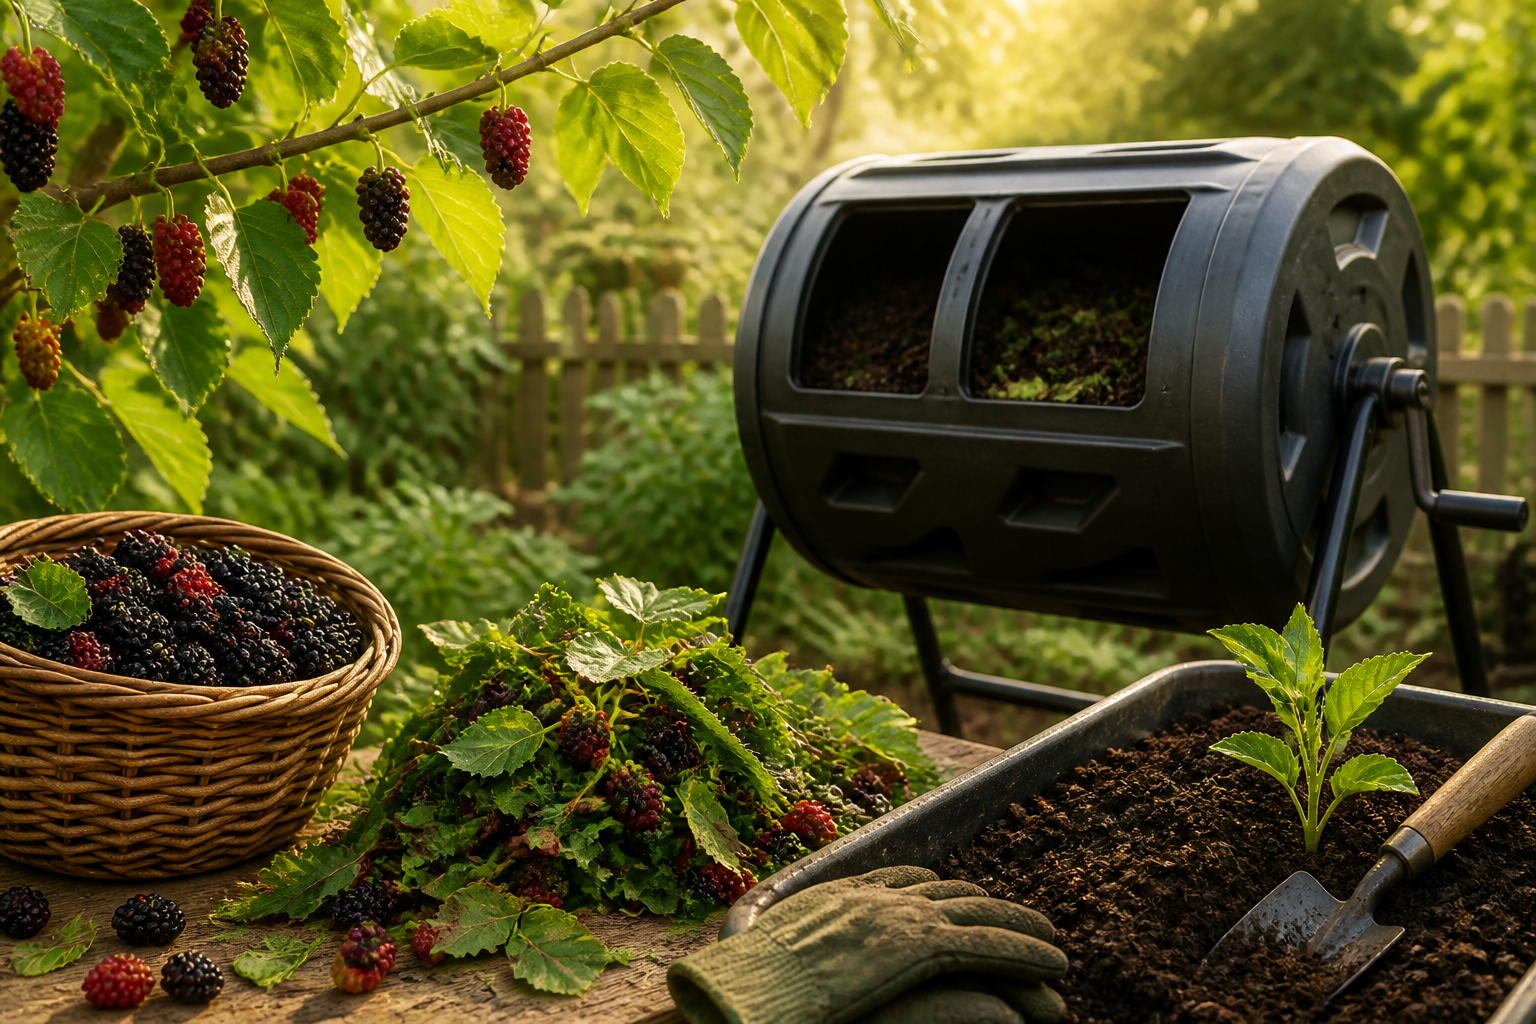
That’s when I started seriously researching tumbling composters. I wanted something that could process high-moisture fruit waste quickly, keep pests out, and actually fit into my weekly routine. After several weeks of comparing options, I landed on the Compost Tumbler Bin Composter Dual Chamber 43 Gallon (Bundled with Pearson’s Gardening Gloves). Here’s exactly what happened.
Why I Chose This Compost Tumbler Over the Others
My research started on gardening forums. I specifically needed something that handled wet, sticky fruit waste well. Mulberries are not clean compostable material. They’re juicy, they clump, and they attract every flying insect within a half-mile radius when left in an open pile.
The dual-chamber design was the feature that kept coming up in positive reviews. The idea is straightforward. You fill one chamber while the other finishes composting. That means you never have to stop adding fresh material just because a batch is mid-process. For someone with continuous mulberry output from late spring through summer, this mattered a lot.
I also liked that the 43-gallon capacity split across two chambers felt manageable. Some tumblers I looked at were enormous — great for big operations, but overkill for a home gardener. Others were so small that a single week of mulberry waste would fill them completely. This felt like the right middle ground.
The bundled Pearson’s Gardening Gloves were a small but genuinely useful bonus. I go through gloves quickly when processing mulberry waste — the juice stains everything. Having a fresh pair included made the deal feel more complete. It wasn’t the deciding factor, but it didn’t hurt.
First Impressions: Unboxing and Build Quality
The box arrived in good condition, which I always appreciate with larger items. Assembly was required, and I’ll be honest — the instructions weren’t the clearest I’ve ever followed. There were moments where I had to look at the diagram twice before a step made sense. Plan for about 45 minutes to an hour if you’re assembling alone.
Once assembled, though, the unit felt solid. The frame is galvanized steel, and it doesn’t flex or wobble when you give the drum a spin. That stability matters because I knew I’d be loading this with dense, wet fruit material. Flimsy legs would have been a dealbreaker.
The drum itself is made from recycled polypropylene. It has a slightly textured surface that gives it a sturdy feel. The access doors on each chamber latch securely, which immediately eased my concerns about pests. Racoons are a real issue in my yard, and an unsecured composter would be raided within a day.
The Pearson’s Gardening Gloves in the bundle were a nice quality — thicker than the cheap pairs I usually buy in bulk. They fit true to size and held up through several weeks of mulberry processing without tearing. A small detail, but worth noting.
My Testing Protocol: How I Put It to Work
I started using the Compost Tumbler Bin Composter Dual Chamber 43 Gallon (Bundled with Pearson’s Gardening Gloves) at the start of mulberry season in late May. My testing ran through the end of September — roughly four months of regular use.
My routine was simple but consistent:
- Every other day, I added fresh mulberry waste — fallen fruit, processing stems, and the occasional batch of leaves.
- I balanced the wet fruit material with dry browns — shredded cardboard, dried leaves, and wood chip mulch from my pruning pile.
- Each time I added material, I gave the drum 8 to 10 full rotations.
- Once a week, I checked internal temperature with a compost thermometer and noted moisture levels.
I loaded Chamber A first and kept it active for six weeks before switching my additions to Chamber B. That let Chamber A start its finishing phase while I kept feeding fresh material into Chamber B. The dual-chamber system worked exactly as advertised in this regard.
I did have one moment of real doubt around week three. The material in Chamber A looked wet and compacted. It wasn’t heating up the way I expected, and there was a faint unpleasant odor coming from the vent holes. I genuinely wondered if I’d made a mistake. More on that below.
What Actually Changed: Honest Results With a Timeline
Let me walk through what happened over those four months, because the timeline matters.
Weeks 1–3: Slow Start
The first few weeks were underwhelming. The material was breaking down, but slowly. I was adding too much fruit and not enough dry material, which caused the clumping and odor issue I mentioned. Once I corrected the carbon-to-nitrogen ratio — adding more shredded cardboard — things improved noticeably within about five days.
Weeks 4–6: The System Found Its Rhythm
By week four, Chamber A was consistently hitting 130–145°F internally. That’s a healthy active composting temperature. The fruit material was breaking down into a dark, earthy-smelling mass. Fruit flies, which had been my nemesis with the open bin, were essentially gone. The sealed drum design genuinely solved that problem.
Spinning became easier as the material broke down, too. Early on, a full drum of wet fruit was heavy and took effort to rotate. By week five, it spun freely and the contents tumbled satisfyingly.
Weeks 7–16: First Finished Compost
At week eight, I opened Chamber A to check progress. The material had reduced dramatically in volume — easily by half. It wasn’t fully finished compost yet, but it was clearly on its way. By week twelve, Chamber A produced genuinely usable compost. It was dark, crumbly, and had that clean earthy smell that tells you the process worked.
I worked that compost into my mulberry tree beds and into two raised vegetable planters. I can’t make a scientific claim about specific yield improvements, but the soil structure in those beds visibly improved. The beds held moisture better and the mulberry trees looked vigorous going into late season.
Chamber B followed a similar timeline, with the benefit of everything I’d learned from Chamber A. It ran more smoothly from the start because I managed the moisture balance better from day one.
The Downsides: What I Wish I’d Known
No review is honest without covering the negatives. Here’s what I found genuinely frustrating.
Assembly instructions need improvement. The diagrams were small and not always intuitive. A couple of steps required me to backtrack. This isn’t a dealbreaker, but set aside extra time and don’t start assembly in poor light.
High-moisture fruit waste needs careful management. The tumbler doesn’t magically fix a bad input ratio. Mulberries are extremely wet. If you don’t balance them with enough dry material, you’ll get a soggy, smelly mess. This is true of all composters, but the enclosed drum makes it harder to spot and correct quickly.
The drum openings are relatively small. Adding large volumes of material requires some effort. Thick mulberry branches needed breaking down before they’d go in comfortably. A wider loading door would have been more convenient.
It requires a level surface. The unit needs to be placed on reasonably flat ground. My yard has some slope, and I had to spend time leveling the spot before the stand sat securely. This is a minor point, but worth planning for.
None of these issues were deal-breakers for me. However, they’re real, and you should factor them into your decision.
Final Verdict: The Best Compost Tumbler for Mulberry Garden Waste?
After four months of consistent use, the Compost Tumbler Bin Composter Dual Chamber 43 Gallon (Bundled with Pearson’s Gardening Gloves) genuinely solved my problem. My compost tumbler mulberry garden waste management went from an embarrassing pile behind the shed to a productive, nearly odor-free system that produced usable compost within about 12 weeks.
Buy this if you:
- Produce continuous organic material throughout a long growing season
- Have issues with pests or fruit flies at your current compost setup
- Want a dual-chamber system that lets you keep adding while a batch finishes
- Have a home garden or small backyard orchard with moderate output
Skip this if you:
- Produce very large volumes of material that need a high-capacity commercial setup
- Want a plug-and-play solution with zero learning curve — there’s a brief adjustment period
- Are not willing to manage carbon-to-nitrogen ratios at all
For most home mulberry growers, this hits a practical sweet spot of size, build quality, and functionality.
A Quick Note on the Alternative Option
During my research phase, the VIVOSUN Outdoor Tumbling Composter Dual Rotating Batch Compost Bin, 43 Gallon Black Door was the other unit I seriously considered. It has a strong reputation and a similarly solid build. The black panels are designed to absorb more solar heat, which can accelerate composting in cooler climates.
If you live somewhere with shorter, cooler growing seasons, the VIVOSUN’s heat-absorption design might give it a practical edge. For my purposes — composting through a warm, long Southern growing season — the unit I chose met my needs well. Either is a reasonable choice, and I’d encourage you to compare both before deciding.