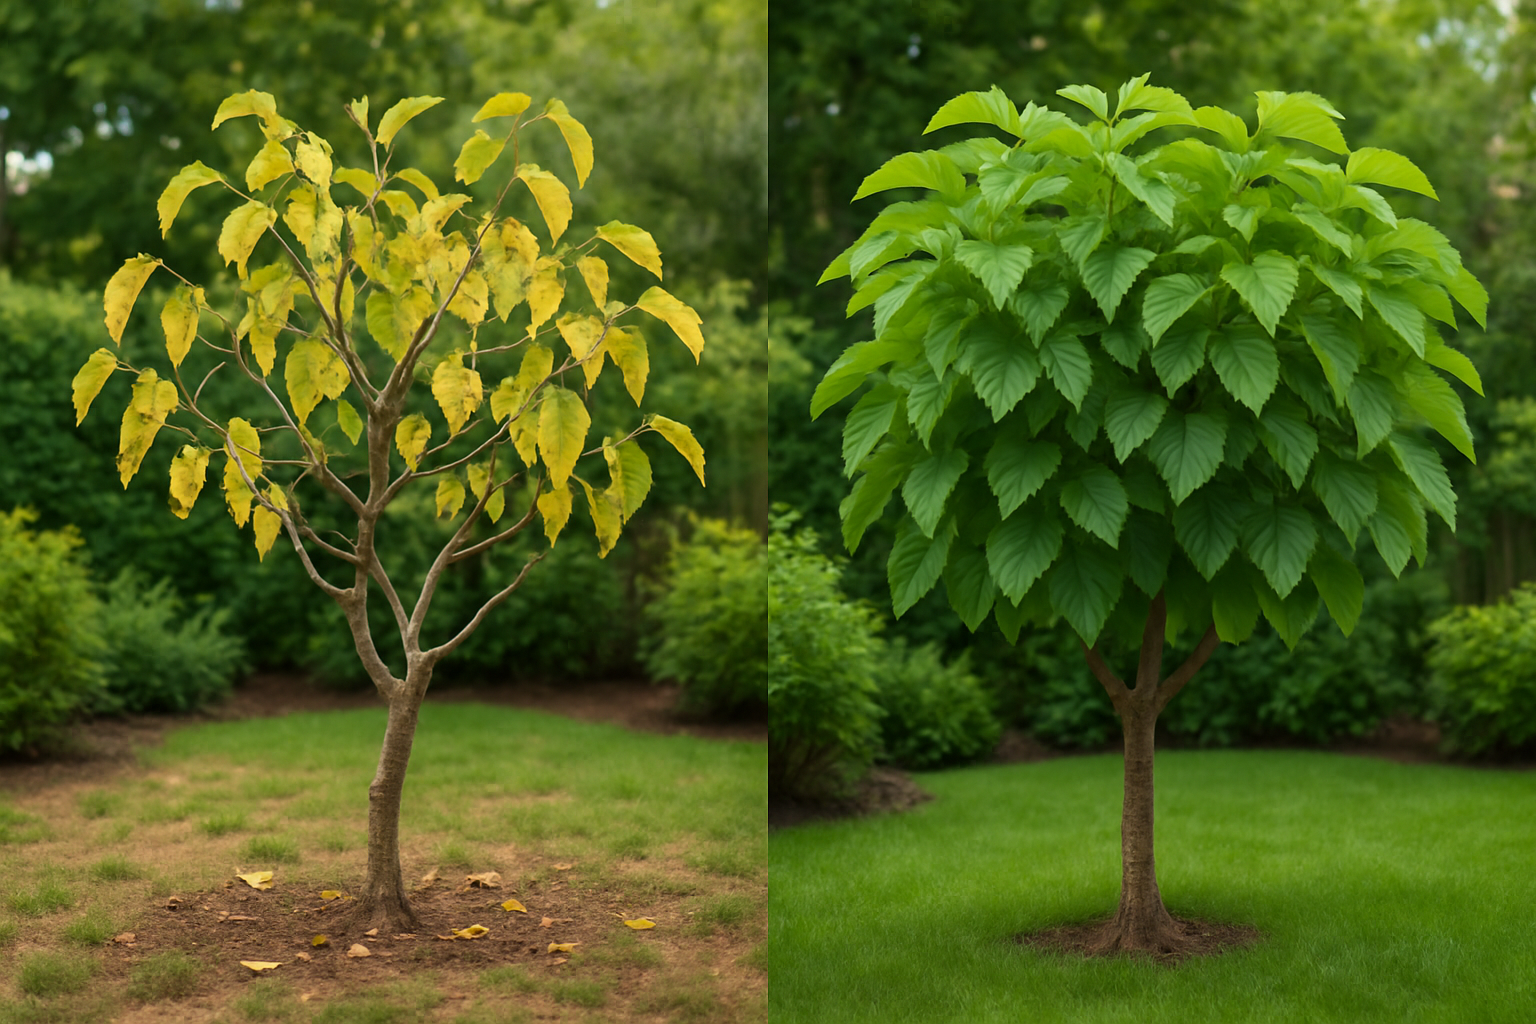
Mature mulberry trees can produce substantial fruit yields—an amount that depends heavily on what happens in the soil beneath the canopy. The understory environment—what grows at ground level and how the earth is structured—directly shapes whether a tree bounces back or continues to decline. A struggling mulberry is almost never a lost cause; it’s almost always sending signals about something fixable in its immediate growing conditions. This guide walks you through a step-by-step assessment process for troubleshooting a tree: practical, grounded in what growers commonly observe, and specific enough that you’ll know precisely what’s happening and how to address it.
What a Struggling Mulberry Tree Actually Looks Like
Let’s nail down what you’re actually dealing with before moving to solutions. A tree in decline broadcasts its distress in different ways, and catching these signals early shifts the odds considerably in your favor. Watch for these markers:
- Chlorosis (yellowing of foliage): The tissue between the leaf veins fades to yellow while the vein structure itself remains green—typically signals iron unavailability or a soil pH problem.
- Drooping foliage when soil moisture is adequate: Wet soil that doesn’t prevent wilting points to root decay or severely compacted soil where roots can’t draw up water.
- Hardened, lifeless branch tips: Run your fingernail across a section of bark to expose what’s underneath. Dead branches show brown, desiccated tissue; living wood stays pale or greenish and slightly flexible.
- Delayed or incomplete bud break: When a mulberry hesitates to leaf in spring or only breaks dormancy along certain limbs, something fundamental is constraining the roots’ ability to deliver water and nutrients.
- Flat growth trajectory across seasons: Mulberries are inherently fast-growing plants. Minimal size increase from one year to the next almost always indicates underlying stress.
My Pakistan variety showed both the yellowed foliage and the dead branch problem. I scratched test results across maybe ten different stems and found roughly one-third of them had already died back completely. The others still held moisture beneath the bark, which meant the tree hadn’t crossed into total failure yet.
Bringing a Struggling Mulberry Back: What I Actually Did
Step 1: Prune Out All Dead and Declining Limbs
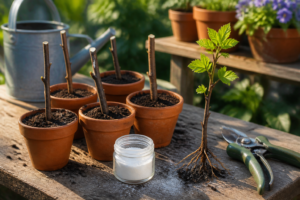
It sounds wrong to cut more when a tree is already ailing, but removing lifeless wood is genuinely crucial. Branches without sap are energy drains and open pathways for disease and insect colonization. I cut back anything that failed the scratch test, slicing through to the healthy, living tissue beyond the deadwood. Between each cut, I swabbed my pruning tools with rubbing alcohol—a straightforward move that gets skipped surprisingly often but shouldn’t be.
Step 2: Examine Root Health and Soil Drainage
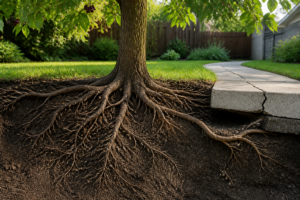
My second ailing tree sat in a topographic low where water collected whenever heavy rain fell. I didn’t make the connection until I excavated a shallow hole and discovered the ground stayed waterlogged well after the rain stopped. Mulberries handle a lot, but perpetually soggy soil is not something they tolerate. Fixing this meant working compost and sharp sand into the upper soil layer to boost permeability, and in some cases, considering a full relocation to ground with superior drainage. I worked a substantial layer of compost into the existing soil surface and ensured no surface depression was channeling water onto the root crown.
Step 3: Get a Soil pH Reading and Adjust
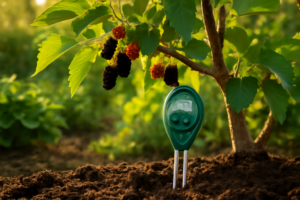
This single step changed everything for me. A basic soil test kit showed my pH was 7.8—notably on the alkaline end. Mulberries thrive in soil between 5.5 and 7.0 pH. High alkalinity blocks the tree’s access to iron and other essential minerals, even when they’re chemically present in the soil. That’s precisely what was driving the yellowing. I sourced a chelated iron product and drenched it into the soil around the root zone. Somewhere around the three-week mark, fresh shoots started emerging with visibly richer green coloration.
Step 4: Use Fertilizer Judiciously, Not Heavily
The urge to load up a weakened tree with fertilizer is strong. Resist it—aggressive feeding can burn stressed roots and intensify problems. A slow-acting fertilizer formula that trickles nutrients steadily is what works best. I prefer spikes because they deposit nutrition right into the active root zone without the risk of overdose or runoff waste.
Step 5: Commit to Deep, Regular Watering
Once drainage improved, I switched to thorough, infrequent soaking—penetrating the entire root zone once or twice weekly instead of shallow daily misting. Deep watering trains roots to expand downward where moisture is stable, creating a tree that’s less thirsty and more structurally sound long-term. I also added a 3-inch band of wood chips, positioned roughly six inches out from the trunk base, which buffered moisture swings and stabilized root zone temperature.
Fertilizer Spikes: The Tool That Halted My Mulberry’s Decline
Mulberries that shed leaves prematurely or produce shriveled fruit are screaming for nutrients—and waiting for liquid solutions to permeate down through established soil can feel interminable. Spikes bypass that lag by feeding directly into the root mass, delivering steady nutrition without any of the guesswork.
Where spikes deliver
- Fresh foliage emergence happens roughly 3–4 weeks after application; leaf pigmentation intensifies visibly even on severely yellowed trees.
- Slow-release formulation means nutrients trickle out over many weeks, eliminating the need for repeated feeding schedules—insert in spring and move on.
- Simple insertion into loose soil within the dripline zone; zero mixing, zero measuring, zero mess on hands or clothing.
Where spikes fall short
- When chlorosis is pronounced (vivid yellow leaf tissue with green vein networks), spikes work too gradually to correct the deficiency alone—chelated iron applied separately becomes essential.
- Heavy rainfall or irrigation can shift spikes out of position before they dissolve completely, particularly if they’re inserted at a shallow depth or in high-traffic areas.
I almost gave up on spikes entirely after my second-year everbearing mulberry showed zero improvement in week two, but I’d buried them too close to the trunk—moving them out to the canopy drip-line made all the difference. If your tree needs a serious nutritional boost, grab some Miracle-Gro Tree and Shrub Plant Food Spikes.
Frequently Asked Questions
How long does chelated iron take to green up mulberry leaves?
Fresh shoots with visibly richer green coloration can emerge several weeks after chelated iron is applied to the soil around the root zone. Mulberries thrive between pH 5.5 and 7.0; high alkalinity (above 7.0) blocks iron access even when the nutrient is present in the soil.
Where should I insert fertilizer spikes around a mulberry tree?
Insert them in loose soil within the dripline zone, not up against the trunk. I almost gave up on spikes after my second-year everbearing mulberry showed zero improvement in week two, but I’d buried them too close to the trunk. Moving them out to the canopy drip-line made all the difference.
Should I sterilize pruning tools when removing dead mulberry branches?
Yes, I swabbed my pruning tools with rubbing alcohol between each cut, a straightforward step that gets skipped surprisingly often. Branches without sap are energy drains and open pathways for disease and insect colonization, so I cut back anything that failed the scratch test, slicing through to the healthy living tissue beyond the deadwood.
How much mulch should I put around a stressed mulberry tree?
I added a 3-inch band of wood chips, positioned roughly six inches out from the trunk base, which buffered moisture swings and stabilized root zone temperature. I pair that with thorough, infrequent soaking once or twice weekly instead of shallow daily misting, since deep watering trains roots to expand downward where moisture stays stable.
Keep Reading
About This Article

Written by Ruth Nakamura. Ruth Nakamura is a backyard orchardist in the Pacific Northwest who has grown mulberries for fifteen years, cultivating twelve different varieties in her own backyard. Not a horticulturist by formal training - she shares what she has learned through hands-on growing, workshops, and connecting with nurseries and growers across the country. More about this site.
Scope and limits. Ruth is a backyard orchardist without formal horticultural training. Growing conditions vary enormously by region, so confirm variety, timing, and pest guidance with your local extension service.
Verify this against a primary source
Specifics change, and your situation may differ from the one described here. These are the authorities worth checking directly:
- USDA Plant Hardiness Zone Map — zone verification for your location
- Oregon State University Extension — fruit growing and pruning research
- USDA PLANTS Database — species range and identification