Stains happened to me before I understood what I was doing. I showed up at a family barbecue that summer with discolored hands, a shirt that would never come clean, and a tale that got better with each retelling. By now I’ve developed a whole approach to harvesting, processing, and storing mulberries without walking around looking like I survived a collision with a dye vat — but getting there required a few seasons of trial-and-error in an actual yard, not under controlled conditions. Grafting shows up in the conversation once you want to influence what your tree delivers: whether that’s berry dimensions, taste profile, or harvest window. The straightforward response to whether it’s sensible for someone without formal training is considerably more complicated than what most instruction manuals suggest. I’ve had plenty of failures with my own plantings — and rescued enough of them — to share what genuinely delivered results, what consumed time I’ll never get back, and what I’d tackle differently if I were attempting my initial graft from scratch.
Yet even that dramatic setback taught me more about grafting than hours of online tutorials. Once the technique finally clicked? Absolutely transformative. So let’s dig into whether grafting mulberry trees makes real sense for your situation, your resources, and your willingness to risk looking foolish.
Why Bother Grafting Mulberry Trees in the First Place?
Valid concern. Mulberries propagate with remarkable ease from dormant branches, so what’s the appeal of navigating grafting’s complexity? There are actually several compelling explanations.
To begin with, grafting enables you to replicate an exact cultivar with reliability. When you’ve secured scion material from a recognized type — perhaps ‘Illinois Everbearing,’ ‘Pakistan,’ or ‘Oscar’ — grafting represents your most trustworthy path to preserve those specific traits. Branch cuttings function effectively for many mulberry types, yet certain varieties fight you on rooting or deliver unreliable results. Grafting bypasses that obstacle.
Additionally, you’re able to pair a strong, frost-resistant rootstock with a temperamental yet flavorful variety to give it better odds in your region’s conditions. Placing a Morus nigra scion onto a hardy Morus alba base, for example, can substantially upgrade the frost tolerance of your black mulberry — a meaningful advantage if you inhabit a zone where that species would normally struggle.
And then there’s the exciting part — you’re able to combine several cultivars on a single tree framework. One plant, multiple varieties on offer. Think of it as creating your personal mulberry flavor assortment on a branch.
Grafting Mulberry Trees: What Actually Delivers Results
Allow me to shield you from repeating my rootstock mishap. Here’s what you ought to understand before making that first incision.
Techniques That Tend to Succeed
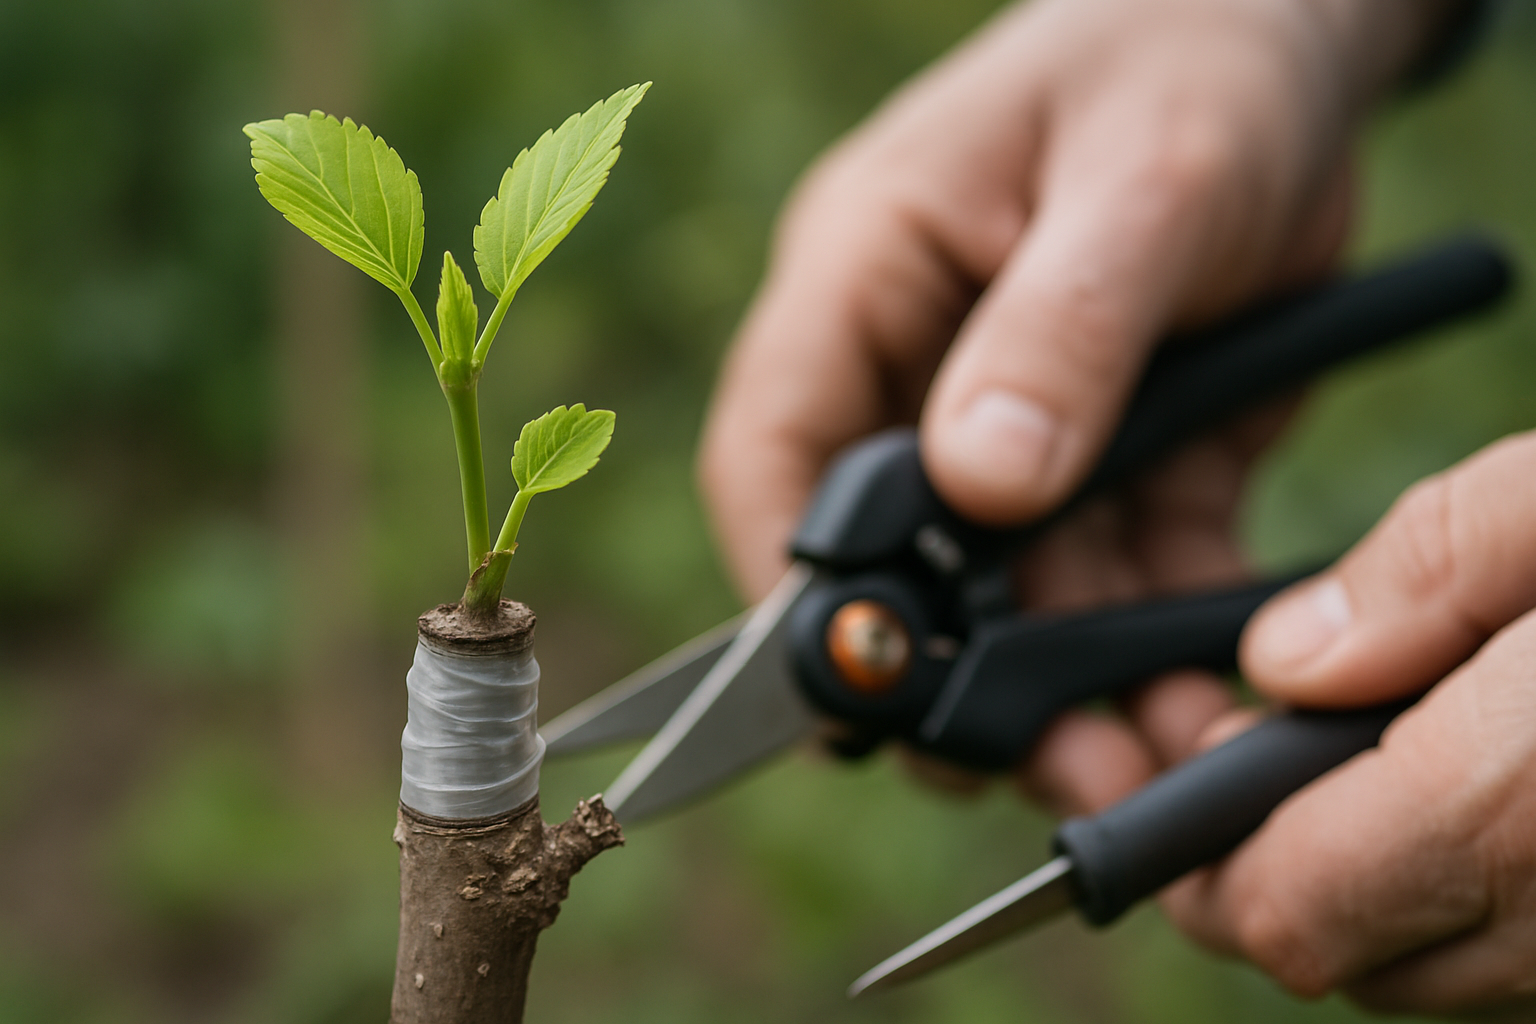
For gardeners without prior grafting experience, cleft grafting and whip-and-tongue grafting tend to produce the strongest outcomes. Cleft grafting demands less expertise — you cleave the base material, position two scions into the gap, and secure everything in place. Whip-and-tongue produces a denser connection yet calls for equal-sized wood and sharper blade control. In both scenarios, the living growth layer of your base and your scion need to establish direct contact. This requirement is absolute. That thin living layer beneath the outer bark — the cambium — is where success or collapse occurs.
Seasonal Coordination
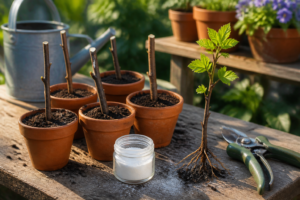
Perform your grafting in late winter through earliest spring, at the moment when your rootstock’s buds start moving but haven’t yet unfolded completely. Mulberries discharge sap with intensity once they begin growing, so arriving just before that awakening gives your graft the greatest window before the tree overwhelms your union with flowing sap. Gather your scion wood in late winter when dormancy still holds it, wrap it within damp cloth, place it in a sealed container, and store it cold until you’re prepared to graft.
The Error I Overlooked (And You Shouldn’t)
After your graft sits secured and healing, monitor it every seven days and eliminate any growth sprouting from above the graft point originating on the base plant. Those are base-plant shoots, and they multiply aggressively with determination to hijack your specimen if attention lapses. I let my focus slip. For six weeks. This is what occurs when you don’t. Prune them out instantly and thoroughly.
The Blade That Transformed My Grafting from Mangled to Precise
For successful mulberry grafting, you require an edge capable of slicing scion material without hesitation—never crushing or splintering the tender cambium underneath the bark. A blade that’s lost its edge or unsuitable for the task sabotages your graft before callusing even begins.
Where it excels
- Two separate blade surfaces mean you can execute both whip grafts and cleft grafts without changing equipment between cuts, reducing hassle when you’re processing multiple scions during warm afternoon sessions.
- The edges maintain their slicing capability across approximately 30–40 grafting tasks before stropping becomes necessary, and they’re straightforward to resharpen with a whetstone, though the process requires some care and practice.
- The accompanying grafting wrap enables you to seal your union immediately post-cut without searching for additional materials, plus it conforms readily to irregular branch contours.
Its limitations
- The grip feels noticeably compact relative to how it appears online, and those with larger palms will experience muscle fatigue beyond 20 grafts, tempting you to grip harder, which paradoxically ruins your cutting technique.
- The included wrapping material performs acceptably but falls short of ideal—I reach for Parafilm when my work really matters because the supplied material can migrate across damp branches, as I learned during a critical graft session.
I almost gave up on the whole grafting project after my first three attempts failed because I was using a regular pruning knife that crushed more wood than it cut. Grafting Gardening Knife with Double Blades and Repair Tapes changed that.
Frequently Asked Questions
How do I store mulberry scion wood before grafting?
I collect scion wood in late winter while dormancy still holds it, wrap it in damp cloth, put it in a sealed container, and keep it cold until I’m ready to graft. That keeps the buds from moving too early. Timing the collection matters as much as the storage itself, since dormant wood grafts better.
Can you graft several mulberry cultivars onto one tree?
Yes, you can combine several cultivars on a single tree framework, which is honestly the most fun part of grafting for me. One plant, multiple varieties on offer, like a personal mulberry flavor assortment on a branch. It’s a good use of space in a backyard where you can’t fit a separate tree per cultivar.
Does grafting black mulberry onto white mulberry improve cold hardiness?
Placing a Morus nigra scion onto a hardy Morus alba base can substantially upgrade the frost tolerance of your black mulberry. That’s a meaningful advantage if you live in a zone where Morus nigra would normally struggle. Pairing a tough rootstock with a temperamental but flavorful variety gives that variety better odds in your conditions.
How often should I check a fresh graft for rootstock shoots?
I check mine every seven days and remove any growth sprouting from below the graft point on the base plant. Those base-plant shoots multiply aggressively and will hijack the tree if your attention lapses — I let mine slip for six weeks once and paid for it. Prune them out instantly and thoroughly.
Keep Reading
About This Article

Written by Ruth Nakamura. Ruth Nakamura is a backyard orchardist in the Pacific Northwest who has grown mulberries for fifteen years, cultivating twelve different varieties in her own backyard. Not a horticulturist by formal training - she shares what she has learned through hands-on growing, workshops, and connecting with nurseries and growers across the country. More about this site.
Scope and limits. Ruth is a backyard orchardist without formal horticultural training. Growing conditions vary enormously by region, so confirm variety, timing, and pest guidance with your local extension service.
Verify this against a primary source
Specifics change, and your situation may differ from the one described here. These are the authorities worth checking directly:
- USDA Plant Hardiness Zone Map — zone verification for your location
- Oregon State University Extension — fruit growing and pruning research
- USDA PLANTS Database — species range and identification