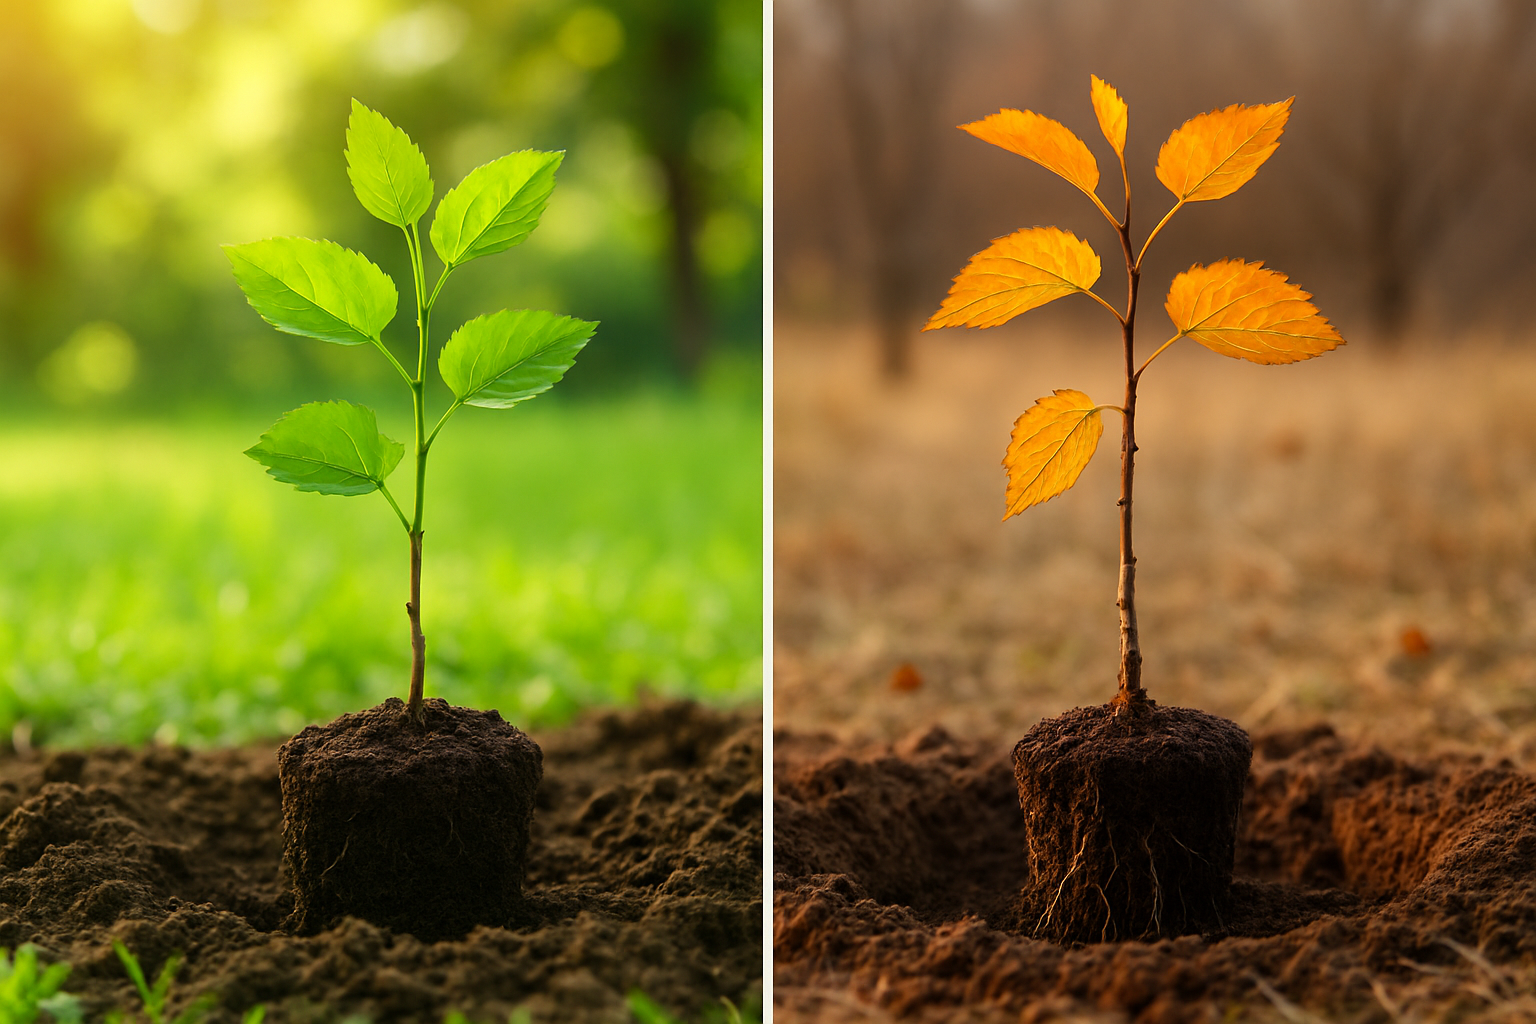
Are you wondering why your mulberry seems to struggle through its first year when you’ve done everything the internet tells you to do? I missed my peak harvest window during my first two growing seasons because I treated mulberry ripening like a fixed date instead of what it actually is—a weather-dependent window that compresses and shifts with temperature swings, differs across each variety, and closes in days, not weeks. Now I’m checking trees every other day once the season kicks in, and I haven’t squandered a single batch since. That painful education connects to something much larger that gets glossed over in standard planting advice: the timing of when you actually get your mulberry into the ground directly determines whether—and how soon—you’ll harvest fruit worth eating. Put a mulberry in at the wrong moment, and it burns resources just trying to endure instead of building out the root structure that feeds those first real harvests. You end up fighting that setback for seasons afterward. This post exists because I wish I’d stumbled across something like it before I planted, from someone living in a backyard where timing matters and the only qualification behind this information is years of actual growing experience, not a textbook or a certification.
Growing mulberries successfully means understanding the timing and techniques that make the difference between a thriving orchard and preventable setbacks. Cultivars like Black Beauty, Chinook, Illini Star, and Ozark Premier each have their own requirements and ripening windows. This guide shares practical best practices for planting and nurturing mulberry trees so you can avoid common mistakes and work toward a productive harvest.
The frustrating part? I’d actually read something on this topic. Just one source. It told me “mulberries are tough and adaptable,” and I somehow convinced myself that translated into “you cannot make a mistake with mulberries and they’ll grow anywhere you put them.” That was spectacularly wrong.
| Planting Season | Best For | Timing | Key Advantage |
|---|---|---|---|
| Spring | Zones 4–6 | After final frost, soil warmer than 50°F | Months of favorable growing conditions before winter |
| Fall | Zones 7–10 | Six to eight weeks before frost | Roots establish while canopy stress stays low |
Why Most Guides Get the “When to Plant Mulberry Tree” Question Wrong
Most planting guides throw out a blanket statement like “plant in spring or fall” and then move on to the next topic. Technically speaking, they’re not lying. But that approach sidesteps the actual mechanics—the reasoning behind those windows, and the fact that your exact circumstances might not align with the standard answer. The difference between a stick that sits there and a tree that thrives comes down to understanding what’s actually happening.
The underlying principle is stress reduction whenever you transplant. Uprooting a mulberry from a nursery container and putting it in the ground triggers real trauma in the root network. Your role is to engineer the best recovery environment possible—conditions that let roots spread before the tree faces major challenges like intense heat, drought stretches, or killing frosts.
Spring Planting: When It Makes Sense
Spring earned its reputation as the standard choice for solid reasons. As the soil warms through the season, root activity accelerates naturally. You’re gifting the tree months and months of favorable growing conditions before it has to weather winter. If your region sits in USDA zones 4 through 6—places where winters really bite—waiting for spring after the final frost, then planting while soil sits consistently warmer than 50°F, gives you the strongest foothold. The catch is timing it so summer’s worst heat doesn’t immediately wallop a young tree.
Fall Planting: The Overlooked Option
Fall doesn’t get nearly enough attention, and in warmer regions it can actually outshine spring by miles. Planting roughly six to eight weeks before frost arrives means the tree directs its energy downward into roots rather than upward into new foliage. The cooler air takes stress off the canopy, and fall and winter moisture usually means less of the hand-watering burden falls on you. For zones 7 through 10, fall often beats spring because you dodge summer heat’s worst days while the root system gets established.
Which pulls me back to my personal disaster that August. I was in Florida. Zone 9b. The absolute peak of summer. I had somehow chosen the single worst month possible for transplanting. The tree wasn’t displaying “toughness and adaptability”—it was clawing for survival in triple-digit heat with damaged roots and zero understanding from an owner who thought one drink of water was plenty. I learned the hard way that timing is everything.
The Actual Steps That Matter When You Put That Tree in the Ground
So you’ve settled on your timing—whether that’s later spring after the last freeze or early-to-mid fall before hard freezes roll in. Once you’re ready to plant, these specifics are what actually shift outcomes:
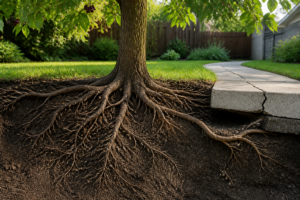
- Make the planting hole wider, not just deeper. Your hole needs to measure two to three times wider than the root ball you’re setting in. Roots spread sideways first, not down. Loosened soil around the perimeter gives them space to branch out into.
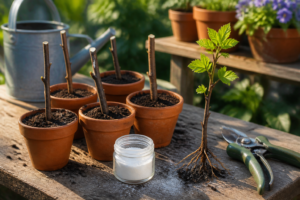
- Add a root activator product at planting. This is precisely what I left out, and I regretted it enormously. A solid root activator jumpstarts establishment and buffers transplant shock significantly.
- Water thoroughly and on a regular schedule for the opening weeks. This isn’t a quick sprinkle followed by neglect. Slow, deep watering that reaches into the root zone. Young trees demand steady moisture for root establishment—once daily if it’s blistering out, every couple days if temperatures are mild.
- Apply mulch in a ring around the trunk area. A three-to-four inch layer of mulch surrounding the tree (staying clear of the trunk itself) moderates soil temperature, holds water longer, and keeps grass and weeds at bay. This single move delivers outsized returns on a recently transplanted tree.
- Skip heavy feeding right out of the gate. Lean toward a root-building starter blend instead of loading up nitrogen in those first weeks. Pushing the canopy to grow too fast strains a tree that’s simultaneously rebuilding its underground foundation.
What’s in My Toolkit Now
Following that August fiasco in Florida, I spent time reading and testing, and eventually getting a lot of things right. These are the items and products I reach for without fail whenever any tree—mulberry included—goes in the ground.
Root Activators: The Difference Between Establishment and Stagnation in Spring Plantings
If you’re committing to a spring planting, your mulberry might only have five or six weeks to push out a meaningful root system before heat stress becomes the dominant threat—and a stumbling start means stunted growth and disappointing harvests far into the future. This is where root activators stop being nice-to-have and become absolutely essential. It’s what separates a tree ready to produce from one that spends the whole season just persisting.
Where it delivers results
- By week three, fresh feeder roots are visibly emerging—I’ve dug down next to treated transplants and watched root development compared to untreated neighbors on the same property, and the treated ones always showed more activity.
- Trees planted in spring and treated this way displayed minimal foliar damage from the shift, keeping photosynthesis running stronger and redirecting that energy into roots rather than leaf recovery.
- Worked into the planting hole, it concentrates right where the root system is forming—you’re not gambling on whether regular watering will eventually deliver enough to the right depth.
The limitations are real
- It’s not a fix for poor soil structure or compaction—I once applied it to a tight clay planting hole and the tree still languished until I actually fractured and loosened the surrounding earth.
- It only works if applied during planting, not as a rescue weeks afterward, so there’s no safety net if a bare-root purchase gets delayed or forgotten.
I almost skipped it on my third mulberry because the price seemed high for “just a starter solution,” but that tree sat in marginal growth for an entire summer—it’s worth the cost upfront. Get the Fertilome and use it at planting.
Frequently Asked Questions
How wide should I dig the hole for a mulberry tree?
Make the hole two to three times wider than the root ball you’re setting in, and focus on width rather than depth. Roots spread sideways first, not down, so loosened soil around the perimeter gives them room to branch out. That single adjustment does more for establishment than digging deeper ever will.
How often should I water a newly planted mulberry tree?
Water thoroughly and on a regular schedule through the opening weeks, not a quick sprinkle followed by neglect. I use slow, deep watering that reaches into the root zone, going once daily if it’s blistering out and every couple days when temperatures are mild. Young trees need steady moisture to establish roots.
Should I fertilize a mulberry tree right after planting it?
Skip heavy feeding right out of the gate. I lean toward a root-building starter blend instead of loading up nitrogen in those first weeks. Pushing the canopy to grow too fast strains a tree that’s simultaneously rebuilding its underground foundation, and that trade-off shows up later as a weaker, slower-establishing tree.
Can I use a root activator weeks after the tree is planted?
No, it only works if applied during planting, worked into the planting hole where the root system is forming, so there’s no safety net if a bare-root purchase gets delayed or forgotten. It also won’t fix poor soil structure or compaction. I once used it in a tight clay hole and the tree languished until I loosened the surrounding earth.
Keep Reading
About This Article

Written by Ruth Nakamura. Ruth Nakamura is a backyard orchardist in the Pacific Northwest who has grown mulberries for fifteen years, cultivating twelve different varieties in her own backyard. Not a horticulturist by formal training - she shares what she has learned through hands-on growing, workshops, and connecting with nurseries and growers across the country. More about this site.
Scope and limits. Ruth is a backyard orchardist without formal horticultural training. Growing conditions vary enormously by region, so confirm variety, timing, and pest guidance with your local extension service.
Verify this against a primary source
Specifics change, and your situation may differ from the one described here. These are the authorities worth checking directly:
- USDA Plant Hardiness Zone Map — zone verification for your location
- Oregon State University Extension — fruit growing and pruning research
- USDA PLANTS Database — species range and identification