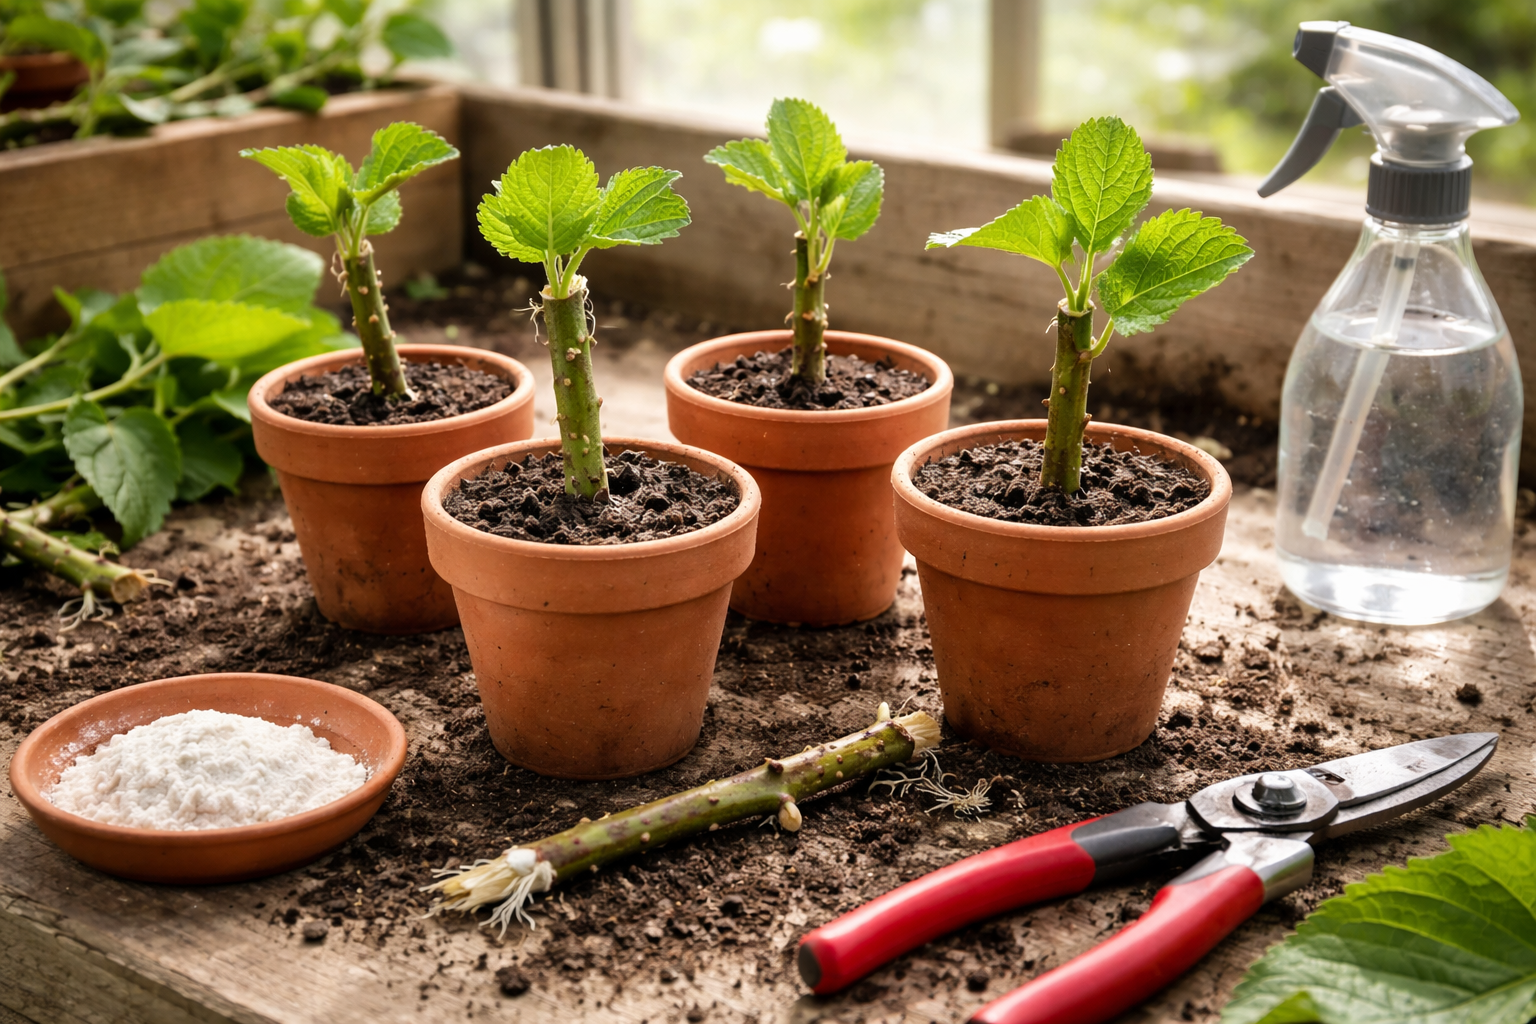
Most people stepping into mulberry propagation assume you need fancy equipment, a greenhouse setup, or maybe even some kind of formal training to pull it off successfully. That assumption trips up more growers than anything else, because the truth is almost laughably simple — I’ve rooted more mulberry cuttings in my back shed using a plastic storage tub than I ever did trying to be methodical about it. The barrier isn’t expertise or expensive gear. It’s knowing what actually matters and what doesn’t.
My early attempts were disasters, but not because I lacked talent. I just had the steps in the wrong order and didn’t understand which variables truly controlled success versus which ones were window dressing. Once I stripped away the noise and focused on what actually moves the needle — timing, hormone chemistry, moisture management — everything clicked. That’s the exact path I’m laying out for you here, complete with the specific mistakes that wasted my time so yours won’t be wasted the same way.
Why I Was So Determined to Grow Mulberry from Cuttings
A neighbor’s Illinois Everbearing mulberry sprawls over the fence line between our properties, loaded every July with berries so extraordinary I couldn’t resist asking for propagation material. She snapped off a few branches, handed them over, and I walked inside convinced I’d just acquired a free tree through the simplest possible method.
Turned out I couldn’t have been more wrong. My first effort involved leaving cuttings standing in tap water on an indoor windowsill for six weeks while I waited for roots. They didn’t root — they rotted, turning mushy and dark. Attempt two landed cuttings directly into dry potting soil with nothing else added: no rooting powder, no protective covering, no heat source beneath the tray. They lasted eight days before shriveling into sticks. The third round used rooting hormone but in proportions I’d guessed at, combined with soil I’d kept perpetually soggy. Fungal rot got them all within ten days.
What frustrated me most was how straightforward everyone else made it sound. Every article I found promised that rooting mulberry cuttings was foolproof, which made my failures feel like personal incompetence rather than missing information. In retrospect I just needed someone to say exactly what goes wrong, when, and why — and what specific adjustments actually prevent it. Once I reverse-engineered those details and started applying them methodically, my cutting success transformed from a coin flip into something I could actually rely on season after season.
Selecting Material That Will Actually Root
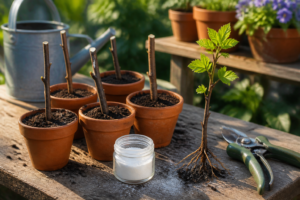
The cuttings themselves matter far more than most guides suggest. Mulberry responds best to hardwood material harvested in late winter or early spring when the plant is still dormant, though softwood gathered during late spring also performs well — I’ve just found hardwood considerably more forgiving when you’re learning. What to hunt for on the actual branch:
- Harvest segments that are roughly the thickness of a pencil and demonstrate vigorous growth from the previous growing season — avoid thin, wimpy sections or anything showing signs of disease or damage
- Target lengths between 6 and 10 inches with a minimum of two or three nodes present along the cutting
- Execute your basal cut on an angle positioned just beneath the lowest node; make your upper cut straight and positioned just above the topmost node
- When gathering softwood cuttings in spring, source your material from the branch tips, keeping length to 4 to 6 inches, then strip away any foliage from the lower section immediately
- Speed matters significantly — mulberry tissue doesn’t tolerate prolonged exposure to air, and that whitish sap leaking from your fresh cut will actually suppress root development if you allow it to harden and seal the wound before the cutting enters the soil
That final detail cost me countless failed batches. I’d harvest cuttings, then get distracted tidying my work area or organizing my supplies, not planting for another hour or two. During that wait, the sap oxidized and formed a protective layer sealing the cut surface. Once I made the shift to planting within minutes of cutting — or at the very least, dunking the fresh cut end into a bucket of clean water immediately — my strike rates climbed substantially.
Why the Rooting Hormone Choice Transforms Everything
Success rates with mulberry cuttings often stay low—around 20% or so—until hormone selection receives careful attention. The key difference is recognizing that dormant hardwood cuttings, typically taken in winter, require different treatment than softwood cuttings taken during the growing season.
Where it performs exceptionally
- Visible callus tissue emerges within a 10–14 day window rather than sitting stalled for an entire month, even on hardwood severed in February conditions
- Application stays uniform across the wound without forming sticky clumps, and emerging roots show zero signs of chemical damage or burn tissue once they break through
- One jar carries you through fifty-plus individual cuttings before depleting, bringing the per-cutting expense down to practically nothing weighed against the return of propagated trees
Where it falls short
- The powder formula attracts moisture in high-humidity spaces and will cake up inside the container; relocating it to a sealed jar with silica gel packets keeps it usable into month four and beyond
- No rooting product saves material that’s already colonized by fungus or sourced from parent trees in poor health — it only amplifies what was already there, healthy or not
I almost abandoned the whole cutting method after my third batch failed, assuming mulberries just needed to be air-layered or grafted instead. That’s when I pulled out Garden Safe TakeRoot Rooting Hormone and actually followed the directions—wet the cut, dip in powder, don’t shake off excess—and the results flipped immediately.
Frequently Asked Questions
Do I need a greenhouse to root mulberry cuttings?
No. I’ve rooted more mulberry cuttings in my back shed using a plastic storage tub than I ever did trying to be methodical about it. The barrier isn’t expertise or expensive gear. What actually moves the needle is timing, hormone chemistry, and moisture management, not fancy equipment or formal training.
Why did my mulberry cuttings rot in a glass of water?
Mulberry cuttings left standing in tap water rot rather than root. My first attempt sat on an indoor windowsill for six weeks and turned mushy and dark instead of producing roots. Perpetually soggy soil caused the same failure later — fungal rot took an entire batch of mine within ten days.
How soon should I plant mulberry cuttings after taking them?
Within minutes of cutting. Mulberry tissue doesn’t tolerate prolonged exposure to air, and the whitish sap leaking from a fresh cut will suppress root development if it hardens and seals the wound first. When I can’t plant right away, I dunk the fresh cut end in a bucket of clean water immediately.
How do I keep rooting hormone powder from caking up?
Move it into a sealed jar with silica gel packets. The powder formula attracts moisture in high-humidity spaces and will cake up inside the container, but stored that way it stays usable into month four and beyond. One jar carries me through fifty-plus individual cuttings before depleting.
Keep Reading
About This Article

Written by Ruth Nakamura. Ruth Nakamura is a backyard orchardist in the Pacific Northwest who has grown mulberries for fifteen years, cultivating twelve different varieties in her own backyard. Not a horticulturist by formal training - she shares what she has learned through hands-on growing, workshops, and connecting with nurseries and growers across the country. More about this site.
Scope and limits. Ruth is a backyard orchardist without formal horticultural training. Growing conditions vary enormously by region, so confirm variety, timing, and pest guidance with your local extension service.
Verify this against a primary source
Specifics change, and your situation may differ from the one described here. These are the authorities worth checking directly:
- USDA Plant Hardiness Zone Map — zone verification for your location
- Oregon State University Extension — fruit growing and pruning research
- USDA PLANTS Database — species range and identification