Growing mulberry trees can be rewarding. Popular cultivars include Black Beauty, Chinook, Illini Star, and Ozark Premier. With the right soil conditions and care, backyard growers can cultivate mulberry trees with confidence.
Mulberry trees are fantastic additions to any yard, but they come with unique soil requirements that many growers overlook. I’ve found that the biggest challenge for most of us isn’t about watering frequency or choosing the right variety; it’s often the composition and chemistry of the soil. When I first started, I didn’t fully understand how vital good soil was, and let me tell you, I learned that lesson the hard way! The right soil conditions can mean the difference between a thriving tree that produces an abundance of fruit and one that struggles to survive.
What I discovered over the years is that mulberries are surprisingly responsive to soil correction once you grasp what they truly need. I had this enlightening moment after realizing my soil was too compacted and had poor drainage. After making some changes, I noticed a dramatic improvement in my trees almost overnight! I hope to help you skip some of the trial-and-error phases I went through.
Understanding Mulberry Tree Soil Requirements: The Basics First
Here’s where things can get a bit confusing. Mulberry trees are often labeled as “adaptable,” “resilient,” and “low-maintenance.” While these labels aren’t entirely inaccurate, they can be misleading. Just because a mulberry can survive in less-than-ideal soil doesn’t mean it will thrive or produce a bountiful harvest. I learned this lesson when I planted my Black Beauty without fully assessing my soil. It survived, but the yields were disappointing until I made the necessary amendments.
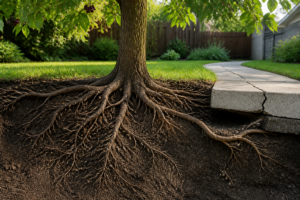
Mulberries truly flourish in loamy soil that drains well, with a pH level between 5.5 and 7.0—this is slightly acidic to neutral. The key word here is freely-draining. These trees absolutely detest having their roots in waterlogged conditions. If you give them too much moisture, it can be like suffocating them. I made the mistake of using some free fill dirt that seemed like a good deal at the time, but it ended up turning into a moisture trap, slowly killing root function. Free soil can sometimes come with a hefty price tag in lessons learned!
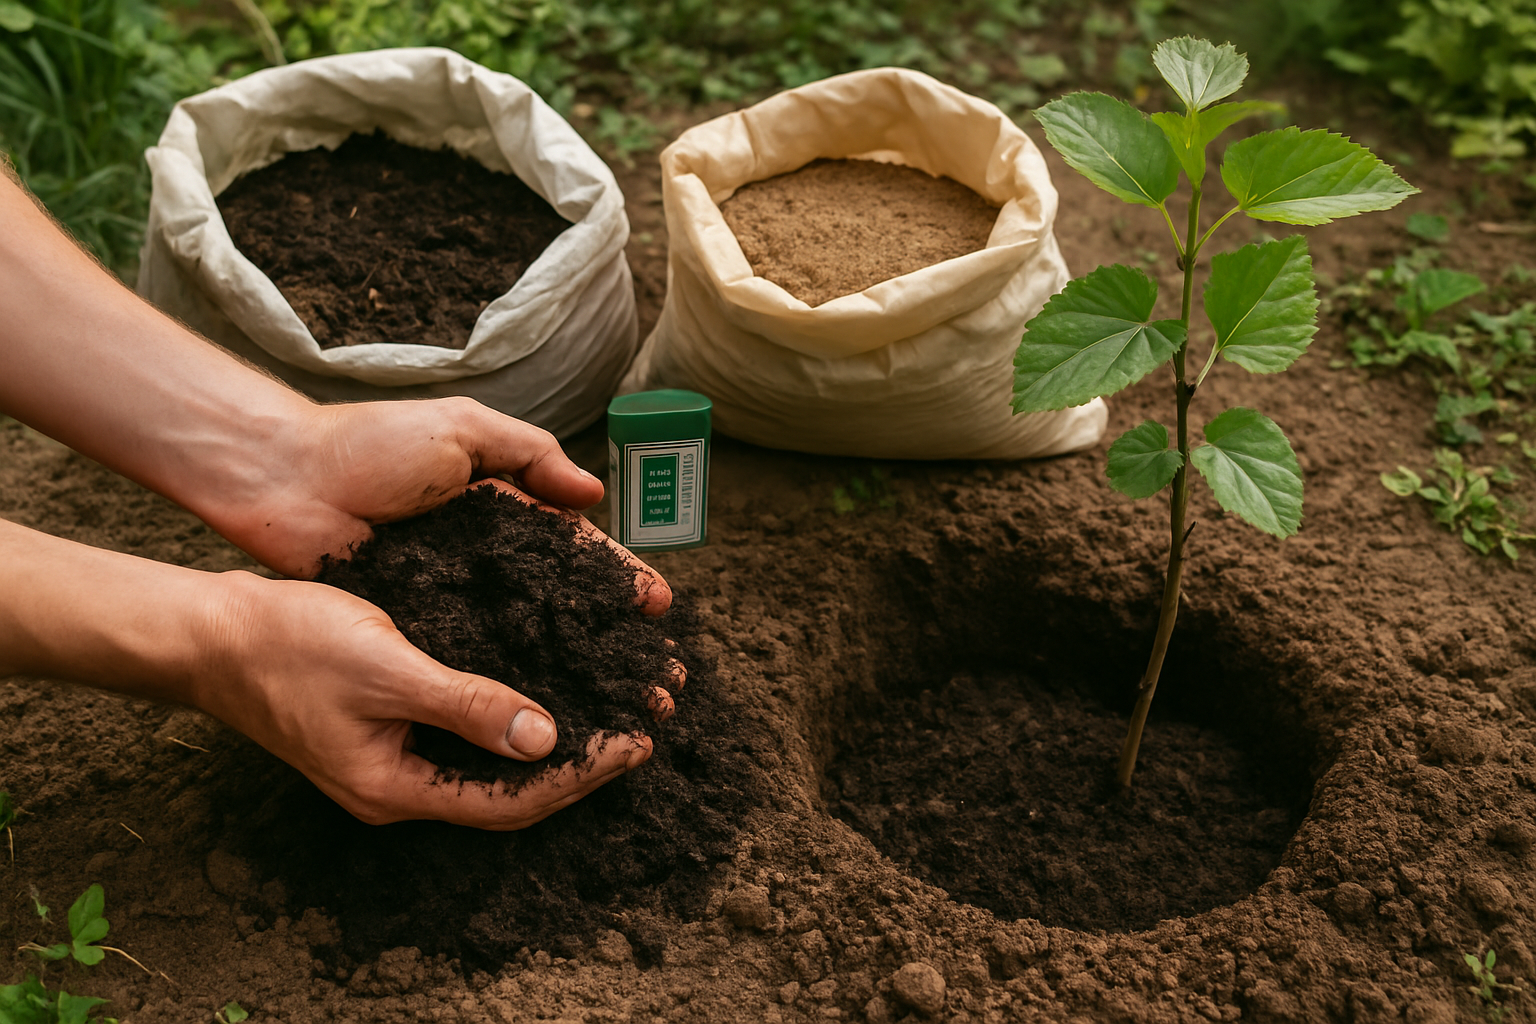
In addition to good drainage, your mulberry soil needs to be rich in nutrients and organic matter. These aren’t light feeders! If you want your mulberries to consistently produce generous harvests of sweet berries, they need a solid foundation of nutrients available in the soil. Incorporating compost and well-rotted manure can boost the nutrient density in orchard beds.
Finding Your Actual Soil pH Before You Plant or Amend
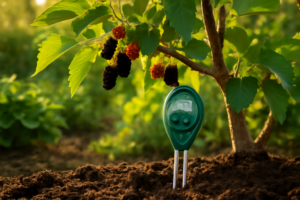
I spent two entire seasons guessing at my soil conditions, making amendments without truly knowing if I was correcting for acidity or alkalinity. When I finally tested the pH directly, I was shocked to find out that my mulberry bed had drifted toward the alkaline side—high enough to lock up certain micronutrients, even when I thought I was adding the right ones. A straightforward pH testing tool can eliminate that uncertainty and provide clarity on what’s happening beneath the surface.
Where this approach delivers
- Results appear almost instantaneously when the probe contacts moist soil; you can sample different zones of your yard and catch actual pH variation (my northern section read 6.8, while the south-facing area hit 7.4).
- A three-parameter meter—showing pH alongside moisture and light intensity—helps you separate watering issues from nutrient lockup problems; no need to purchase three separate instruments.
- Once your baseline numbers are in front of you, targeted amendments stop being a guessing game. I managed to bring my pH down by 0.6 points using sulfur, and I could see the results in my trees’ leaf color recovering noticeably within just five and a half weeks.
Where it falls short
- The sensor requires genuine soil contact and reasonable moisture levels; if you try pushing it into hard-packed or desiccated earth, you might get muddled numbers that leave you second-guessing.
- This is a point-in-time measurement rather than continuous tracking—you have to remember to test before applying your spring amendments and again after adding compost layers, or you might miss the important shifts.
At one point, I almost returned my pH meter after a week of confusing readings. It wasn’t until I realized I was testing in the same spot every time, rather than sampling across the bed, that I saw the light! I highly recommend picking up a SONKIR Soil pH Meter (MS02 3-in-1) and testing in at least three different locations before making any assumptions about your soil.
Frequently Asked Questions
Why is my mulberry tree alive but barely producing fruit?
Survival and productivity are two different things with mulberries. My Black Beauty went in before I properly assessed my soil, and it lived, but the yields were disappointing until I made amendments. These trees are not light feeders, so I work in compost and well-rotted manure to build nutrient density, which made a real difference in my beds.
Is free fill dirt safe to use around mulberry trees?
I would avoid it. I took some free fill dirt that seemed like a great deal, and it turned into a moisture trap that slowly killed root function. Mulberries want freely-draining loamy soil and truly detest waterlogged roots. Free soil can come with a hefty price tag in lessons learned, and mine certainly did.
How many spots should I test for soil pH before amending?
Test at least three different locations before assuming anything about your soil. I almost returned my pH meter after a week of confusing readings, until I realized I was probing the same spot every time. My northern section read 6.8 while the south-facing area hit 7.4, which is real variation within one yard.
How long did sulfur take to fix my alkaline mulberry bed?
I brought my pH down by 0.6 points using sulfur, and my trees’ leaf color recovered noticeably within just five and a half weeks. That only worked because I had tested first and knew I was correcting alkalinity rather than guessing. Mulberries flourish between 5.5 and 7.0, so knowing your starting number matters.
Keep Reading
About This Article

Written by Ruth Nakamura. Ruth Nakamura is a backyard orchardist in the Pacific Northwest who has grown mulberries for fifteen years, cultivating twelve different varieties in her own backyard. Not a horticulturist by formal training - she shares what she has learned through hands-on growing, workshops, and connecting with nurseries and growers across the country. More about this site.
Scope and limits. Ruth is a backyard orchardist without formal horticultural training. Growing conditions vary enormously by region, so confirm variety, timing, and pest guidance with your local extension service.
Verify this against a primary source
Specifics change, and your situation may differ from the one described here. These are the authorities worth checking directly:
- USDA Plant Hardiness Zone Map — zone verification for your location
- Oregon State University Extension — fruit growing and pruning research
- USDA PLANTS Database — species range and identification