Almost every new mulberry grower makes the same wrong assumption: that because the tree is famously tough once established, the planting itself doesn’t need much thought. I made exactly that mistake with my first tree — wrong depth, no drainage check, no stake in a spot that caught wind off the fence line — and spent its whole second year nursing sparse leaves and fruit that dropped before it ripened instead of picking armloads of berries. The fix, once I understood what the tree was actually telling me, turned out to be simple. But that first year or two after planting really is the vulnerable window, and getting the spacing, depth, and drainage right from day one is what separates a tree that struggles from one that takes off. This is what I wish I’d known before that first tree went in the ground.
Why Mulberry Planting Goes Wrong (And How to Make Sure It Doesn’t)
Mulberries really are forgiving, adaptable, and vigorous — but only once they’re established, and that qualifier does a lot of work. In those first few weeks, the tree is genuinely fragile. The mistakes that kill young mulberries aren’t dramatic, either. They’re quiet: a hole dug too shallow, drainage that looked fine until the first heavy rain, no support in a windy spot, or spacing guessed at instead of measured because the fence line was right there. Any one of those, left unaddressed, can end a tree before it ever gets a real start.
So let’s walk through spacing, depth, drainage, and staking properly, so your tree gets every advantage from day one instead of the slow struggle mine went through.
Spacing: Give Your Mulberry Room to Become What It Actually Is
A common mistake is underestimating how large mulberries get. Even dwarf varieties spread more than expected, and standard varieties like Illinois Everbearing or Pakistan Mulberry can reach 30 feet wide at full maturity. When starting with a skinny bare-root whip, thirty feet sounds absurd. It isn’t.
- Standard varieties: Space at least 25–30 feet from structures, other trees, and underground utilities.
- Dwarf or semi-dwarf varieties: A minimum of 10–15 feet is realistic, and 15 is always the safer number.
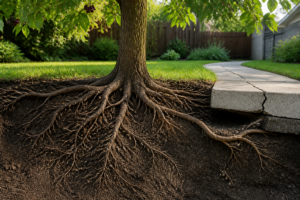
- Sidewalks and driveways: Keep at least 10 feet of clearance — mulberry roots are enthusiastic, and surface roots can heave pavement over time.
- Fruiting-season cleanup zones: Think ahead about where berries will land. Skip planting directly over a patio or parking spot unless purple stains don’t bother you.
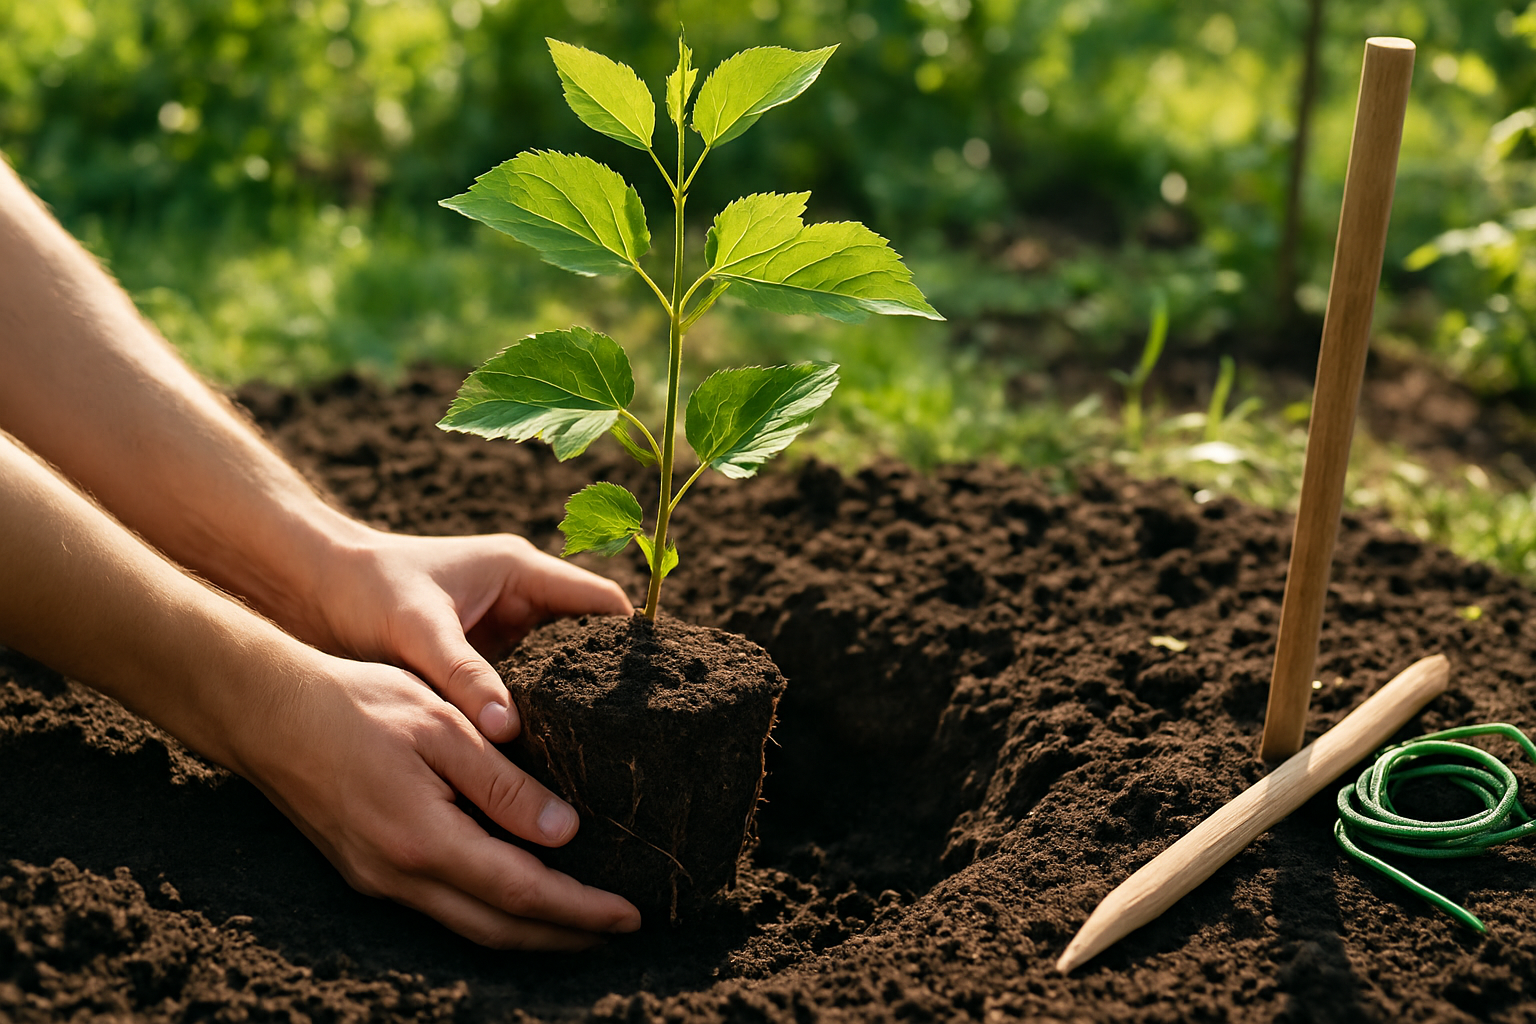
When I planted the replacement tree after losing the first one, I flagged out my spacing with stakes before the shovel ever touched dirt. It felt like overkill at the time. Three years later, watching how wide that canopy has spread, I’m glad I did.
Staking Young Mulberries So They Don’t Topple in Year One
A newly planted mulberry, with its soft wood and shallow roots, is genuinely at risk from wind rock and storm damage in those first critical months. I learned this the hard way when an early-summer thunderstorm nearly snapped one of my young trees sideways — another day of delay and it would have been a total loss.
What works
- Double-stake setups let the tree move slightly in the wind, which actually strengthens the wood instead of locking it rigid and creating stress points.
- Heavy-duty kits skip the flimsy zip ties that cut into expanding bark — the wider straps distribute pressure enough that I’ve never had girdling on a staked tree.
- Removal by year two is easy; the tree is already stable, and there’s no corroded hardware or bark overgrowth to fight with.
What doesn’t
- Getting stakes deep enough in packed soil takes real effort — water the area first and use a mallet, which adds around 20 minutes to the install.
- It’s easy to overtighten the straps thinking it’s the safer move, but too much tension actually stops the trunk from strengthening and can leave permanent marks.
I doubted whether a “tough” tree like mulberry even needed staking until that storm hit — I won’t plant bare-root without it now. Get the 6 Pcs 12 Inch Heavy Duty Steel Tree Stake Kits in place within a week of planting.
Frequently Asked Questions
How far from a sidewalk should I plant a mulberry tree?
Keep at least 10 feet of clearance between a mulberry and any sidewalk or driveway. Mulberry roots are enthusiastic, and surface roots can heave pavement over time. Flagging out spacing with stakes before planting helps ensure proper long-term placement.
How soon after planting should I stake a young mulberry?
Get stakes in place within a week of planting. A newly planted mulberry has soft wood and shallow roots, so it’s vulnerable to wind rock and storm damage in those first critical months. Driving stakes into packed soil takes real effort — water the area first and use a mallet, which adds around 20 minutes.
When should I remove the stakes from a mulberry tree?
I take stakes off by year two. At that point the tree is already stable, and with a heavy-duty kit there’s no corroded hardware or bark overgrowth to fight with. The flimsy zip ties people use instead tend to cut into expanding bark, which is exactly the problem you’re trying to avoid.
How tight should tree straps be on a staked mulberry?
Looser than you think. It’s easy to overtighten straps believing it’s the safer move, but too much tension stops the trunk from strengthening and can leave permanent marks. A double-stake setup should let the tree move slightly in the wind, which actually strengthens the wood instead of locking it rigid and creating stress points.
Keep Reading
About This Article

Written by Ruth Nakamura. Ruth Nakamura is a backyard orchardist in the Pacific Northwest who has grown mulberries for fifteen years, cultivating twelve different varieties in her own backyard. Not a horticulturist by formal training - she shares what she has learned through hands-on growing, workshops, and connecting with nurseries and growers across the country. More about this site.
Scope and limits. Ruth is a backyard orchardist without formal horticultural training. Growing conditions vary enormously by region, so confirm variety, timing, and pest guidance with your local extension service.
Verify this against a primary source
Specifics change, and your situation may differ from the one described here. These are the authorities worth checking directly:
- USDA Plant Hardiness Zone Map — zone verification for your location
- Oregon State University Extension — fruit growing and pruning research
- USDA PLANTS Database — species range and identification