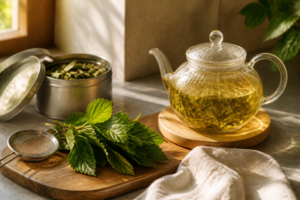
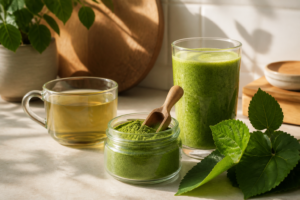
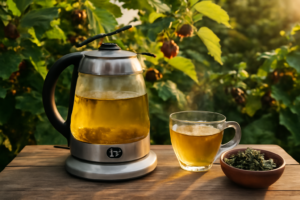
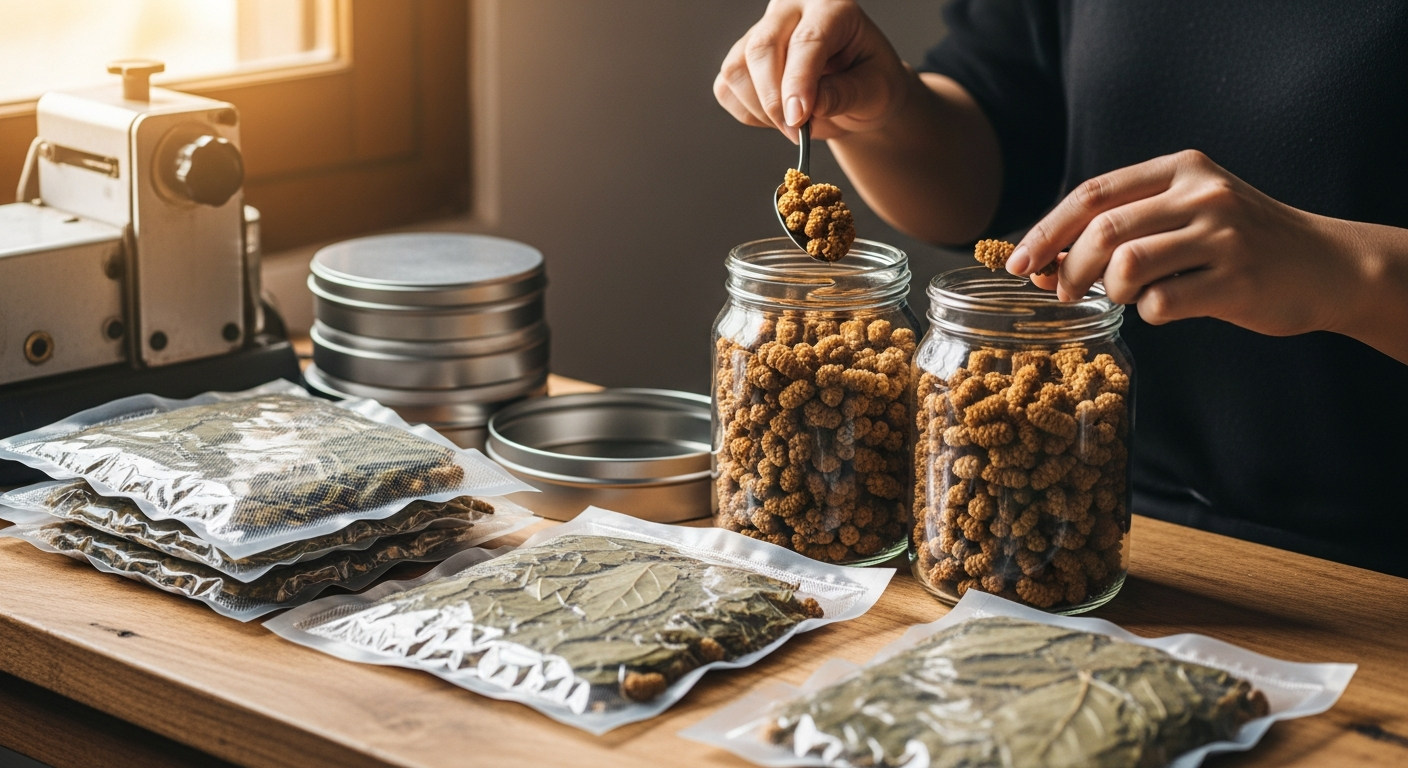
When you’re running a homestead with the goal of zero wasted harvest, a mulberry tree stops being ornamental and becomes one of your most productive assets — but only if you understand exactly how to time it, process it, and preserve it before the window closes. Most people think about the fruit, and rightfully so, but the leaves are quietly one of the most versatile and underused parts of the whole plant — I’ve been harvesting mine for teas, fodder, and culinary powders for years, and once you start, you’ll never look at a mulberry tree the same way again. The catch is that leaves are far more unforgiving than fruit when it comes to drying — get the timing or the airflow wrong and you end up with mold, lost nutrients, or that flat, haylike flavor that makes a tea nobody actually wants to drink. This guide covers the methods I’ve actually tested on my own trees, from simple air-drying setups to low-heat oven runs, so you can lock in that fresh, grassy depth and store leaves that will still be worth using six months from now.
What I Recommend
When it comes time to harvest your mulberry leaves for drying, a good pair of bypass pruning shears makes all the difference. I’ve been using quality shears for years, and they give you the clean cuts that keep your trees healthy while you’re gathering leaves. Dull or crushing shears will damage the branches and invite disease, so this is one tool worth investing in properly.
If you’re planning to preserve your leaf harvest for months, you’ll want a reliable way to keep them dry and protected from moisture. A garden kneeler pad might sound odd for storage, but I use mine to stay comfortable while I’m processing and organizing large batches of leaves for drying—trust me, your knees will thank you during those long prep sessions.
For anyone serious about harvesting mulberry leaves year-round, good garden gloves are essential protection. I wear mine every time I’m out picking and handling leaves, both to keep my hands clean and to protect against any rough stems or branches. A durable pair will last through dozens of harvests without falling apart.
As an Amazon Associate, I earn from qualifying purchases.

Selecting and Preparing Your Leaves
Success begins with choosing the right leaves. Look for fresh, vibrant green leaves that are free from blemishes, pests, or disease. Younger leaves near the tips of branches are often more tender. However, mature leaves also work well, especially for teas. The best time to harvest is mid-morning, after the dew has evaporated but before the sun becomes too intense.
Once you have gathered your leaves, preparation is key. First, you must wash them thoroughly. Place the leaves in a colander and rinse them under cool, running water. This step removes any dirt, dust, or small insects. Afterwards, gently pat the leaves dry with a clean cloth or paper towel. You can also use a salad spinner for a quicker result. Removing excess surface moisture is crucial because it helps prevent mold and speeds up the drying process.
The Simplest Method: Air-Drying
Air-drying is the most traditional and energy-efficient way to dry mulberry leaves. It requires patience but rewards you with well-preserved leaves. The method relies on good air circulation to slowly draw moisture out.
Step-by-Step Guide to Air-Drying
First, find a suitable surface. A mesh screen, a wicker basket, or even a clean cloth laid over a baking rack works perfectly. The goal is to allow air to circulate around the entire leaf. Spread the clean, patted-dry leaves in a single, even layer. Crucially, you should not overlap them, as this can trap moisture and create moldy spots.


Next, choose the right location. You need a warm, dry, and well-ventilated area that is out of direct sunlight. A covered porch, a spare room with a fan, or an airy attic are excellent choices. Direct sunlight can bleach the leaves and degrade their delicate compounds. Depending on humidity and airflow, this process can take anywhere from a few days to over a week. You should turn the leaves daily to ensure they dry evenly.
Finally, you must confirm they are completely dry. The leaves are ready when they feel brittle and crumble easily between your fingers. If they bend or feel leathery, they still contain moisture and need more time. Storing damp leaves will inevitably lead to mold, so this final check is incredibly important.
Quicker Alternatives: Dehydrators and Ovens
If you are short on time or live in a humid climate, a food dehydrator or an oven can significantly speed things up. These methods provide consistent heat and airflow for more predictable results.
Using a Food Dehydrator
A food dehydrator is arguably the most efficient tool for the job. Source Arrange the leaves in a single layer on the dehydrator trays. Set the temperature to a low setting, typically around 95-115°F (35-46°C). Higher temperatures can cook the leaves instead of drying them. The drying time can range from 4 to 10 hours. Check them periodically until they are crisp. This method preserves the color and nutritional value of the leaves very effectively.
Using a Conventional Oven
If you do not own a dehydrator, your oven is a capable substitute. First, preheat it to the lowest possible temperature, usually around 170°F (75°C). Then, arrange the leaves on a baking sheet lined with parchment paper. To ensure proper air circulation, prop the oven door open slightly with a wooden spoon. This allows moisture to escape. Check the leaves every 15-20 minutes, as they can dry out quickly. This method typically takes 1-2 hours. Be careful not to burn them.
Storing Your Dried Mulberry Leaves
Proper storage is essential to maintain the quality and extend the shelf life of your dried leaves. Once you are certain the leaves are completely brittle, you can prepare them for storage. You can store them whole or gently crush them to save space. Crushing them right before use often yields the best flavor for teas.
Place the dried leaves into an airtight container. Glass jars with tight-fitting lids are an excellent choice. You can also use vacuum-sealed bags or metal tins. The key is to protect the leaves from air, moisture, and light. Label the container with the contents and the date of storage. Store the container in a cool, dark, and dry place like a pantry or cupboard. When stored correctly, your dried mulberry leaves can last for up to a year without losing significant potency or flavor.

This post contains affiliate links. If you make a purchase through these links, I may earn a small commission at no additional cost to you.
Proper storage is essential for keeping mulberry leaves fresh and preserving their beneficial properties. Here are some of the best storage containers available on Amazon for storing mulberry leaves: