Table of Contents
- Introduction: Fertilizer Myths That Cost Me Years of Harvests
- Why Your Mulberry Tree Struggles (And What’s Actually Happening Below Ground)
- Inside This Guide: What You’ll Discover About Feeding Your Trees Right
- Reading What Your Tree’s Leaves Are Trying to Tell You
- When Your Mulberry Turns Yellow: Is It Nitrogen or Iron?
- Understanding Nitrogen Hunger in Mulberries
- The Iron Deficiency Pattern (And Why It Shows at the Branch Tips)
- All Leaves, Zero Berries: The Nitrogen Overfeed Problem
- Disappointing Harvests: When Potassium and Micronutrients Fall Short
- A Tree Stuck in Slow Motion: Addressing Stunted Growth
- Common Fertilizing Blunders That Backfire on Mulberry Growers
- When Fertilizer Burns Your Tree: Recognizing Over-Application
- Soil pH: The Silent Barrier That Blocks Nutrient Uptake
- Timing Your Fertilizer Applications for Peak Results (And What to Avoid)
- Building Your Custom Feeding Schedule for Success
- Start With Soil Testing: The Foundation of Smart Feeding
- Choosing the Right NPK Ratio for Your Goals
- Organic Options That Actually Work in the Pacific Northwest
- The Right Way to Apply Fertilizer So It Reaches the Roots
- The Big Picture: What Matters Beyond Just Feeding Your Tree
- Water, Light, and Pruning: The Supporting Cast for Fertilizer Success
- Moving Forward: From Guessing to Growing with Confidence
Introduction: Fertilizer Myths That Cost Me Years of Harvests
Many backyard growers assume that more fertilizer equals better results. A common pitfall is applying whatever the local nursery recommends without considering the tree’s actual needs, which can result in either lush foliage with no fruit or nutrient burn. The key to feeding mulberries is understanding what the specific tree actually needs and when it’s hungry. Attention to the tree’s growth signals, rather than guesswork, leads to better outcomes.
Why Your Mulberry Tree Struggles (And What’s Actually Happening Below Ground)
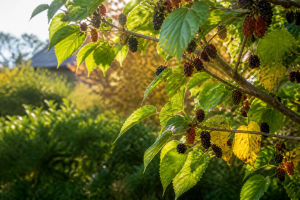
Mulberry trees are voracious feeders. They’ll grow in poor soil, sure, but they won’t thrive or produce unless the right nutrients are available. The problem compounds when you get the mix wrong—too much of one thing, not enough of another. An under-fed mulberry in depleted ground will put out weak growth and skip fruiting. But flood it with nitrogen (like homeowners often do with lawn fertilizer) and you’ll get a wall of leaves and almost no berries. The tree isn’t broken. It’s just responding to what you’re feeding it. Finding the balance is where real progress begins.
Inside This Guide: What You’ll Discover About Feeding Your Trees Right
This isn’t a textbook approach. It’s what I’ve learned watching my twelve mulberry varieties react to different feeding strategies over the years. You’ll find out how to:
- Spot nutrient shortages: Match what you’re seeing on the leaves and branches to the actual problem hiding in the soil.
- Dodge the mistakes I made: Learn which common moves backfire—over-fertilizing, bad timing, ignoring pH—so you don’t repeat them.
- Build a plan that sticks: Get a framework for testing your soil, picking the right product, and applying it in a way that actually gets absorbed.
By the time you finish reading, you’ll have the confidence to stop guessing and start making decisions based on what your trees actually need.
Reading What Your Tree’s Leaves Are Trying to Tell You
A struggling mulberry doesn’t stay quiet. It sends visible signals through leaf color, growth patterns, and fruit quality. These symptoms are like a language your tree uses to say what’s missing. The trick is learning to read them.
When Your Mulberry Turns Yellow: Is It Nitrogen or Iron?
Yellow leaves are the most common complaint I hear. But yellow isn’t one problem—it’s a symptom that points to different causes depending on where and how the yellowing shows up.
Understanding Nitrogen Hunger in Mulberries
Watch for yellowing that starts at the bottom of your tree and moves upward. The oldest leaves—the ones lowest down—pale from green to yellow, then drop. The newer foliage at the branch tips stays green. This happens because nitrogen is mobile; the tree pulls it out of older tissue and ships it upward to fuel new growth. If nitrogen is scarce, the tree essentially sacrifices the old leaves to keep expanding at the top. It’s a survival strategy, but it’s also your signal that the soil nitrogen is running low.
The Iron Deficiency Pattern (And Why It Shows at the Branch Tips)
Iron tells a different story. Yellowing appears at the branch tips—on the newest leaves bursting out right now. But here’s the crucial detail: the veins stay dark green while the tissue between them fades to yellow. This pattern is called interveinal chlorosis. Iron can’t move around inside the plant like nitrogen does. Young tissue can’t borrow it from old leaves. So when iron is locked out, the newest growth shows it first.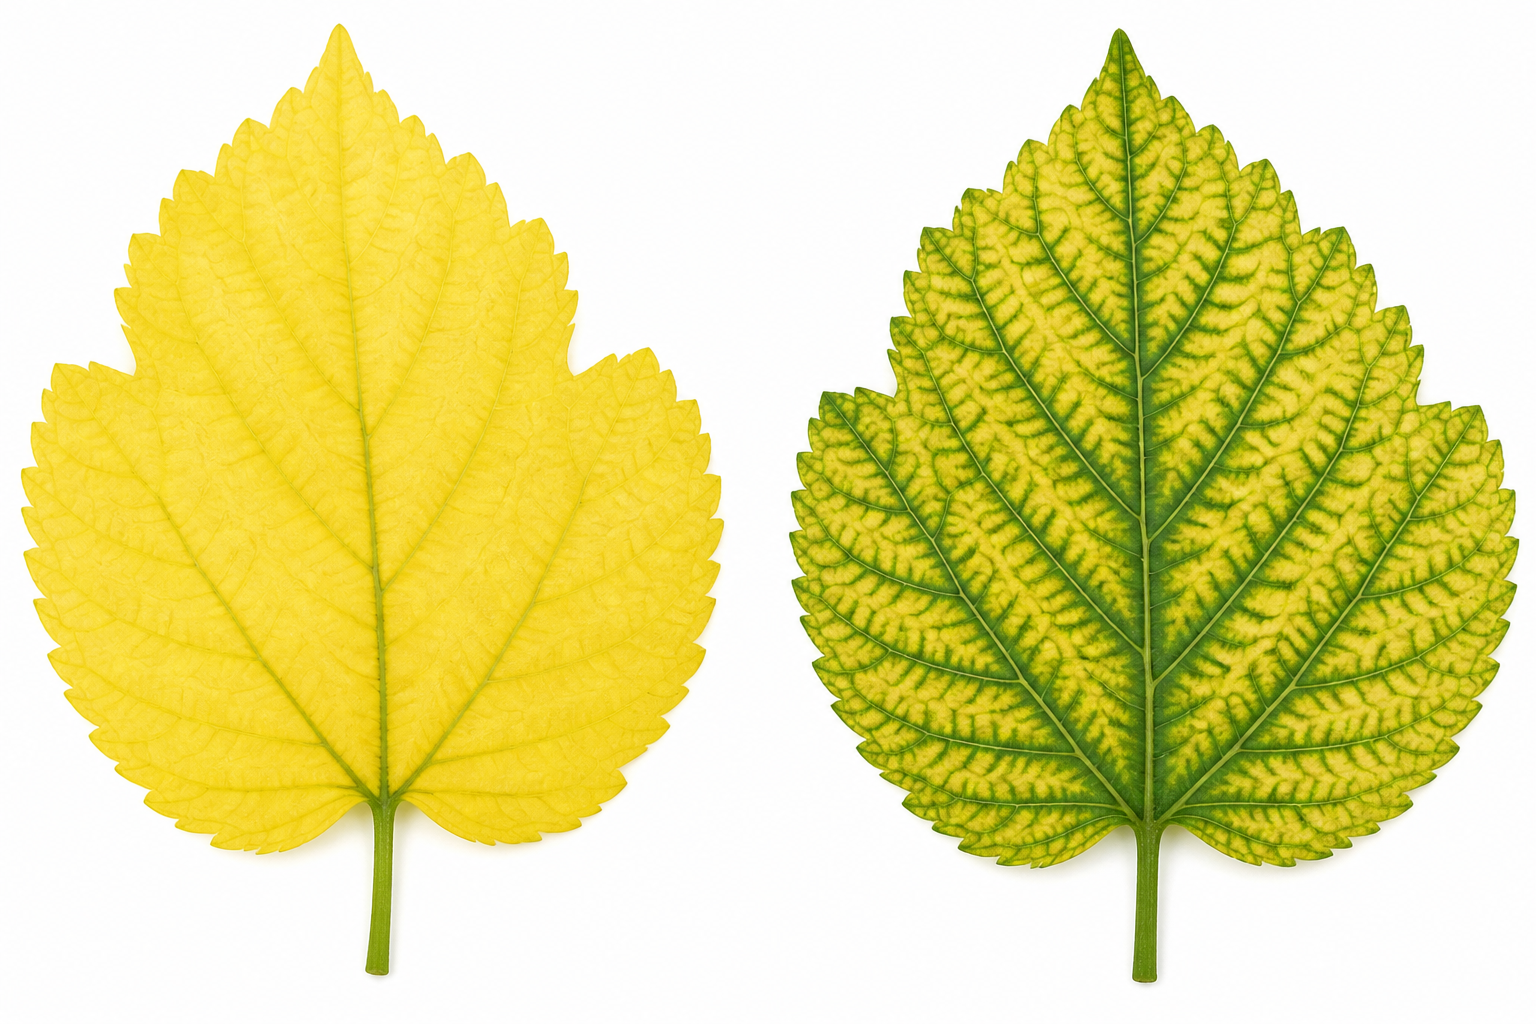
All Leaves, Zero Berries: The Nitrogen Overfeed Problem
Your mulberry tree is gorgeous—a thick cloud of green, picture-perfect foliage. But come harvest time, you find almost nothing to pick. This is nitrogen excess, plain and simple. Lawn fertilizers dump nitrogen into the soil specifically to make grass green and thick. When that runoff or fertilizer application reaches your mulberry’s root zone, the tree gets the message: grow leaves. It channels all available energy into stem and leaf production, completely shutting down the biological processes that lead to flowers and fruit. You’ve accidentally told the tree that reproduction isn’t the priority right now. More vegetation is.
Disappointing Harvests: When Potassium and Micronutrients Fall Short
Your tree is making berries, which is good. But they’re underwhelming—small, tart, mushy, or just plain bland. This usually traces back to insufficient potassium. Potassium drives sugar development inside the fruit and regulates how water moves through the plant. Without enough potassium, berries can’t achieve their full size or sweetness. Micronutrients like boron and zinc matter too; they support pollination and fruit set. Skip them and you’ll notice fewer berries forming or more flowers that never develop into fruit at all.
A Tree Stuck in Slow Motion: Addressing Stunted Growth
Some years your mulberry barely grows. New shoots are short. Leaves don’t expand the way they should. The tree seems exhausted. This is the voice of a tree that doesn’t have access to balanced nutrition. Nitrogen fuels leaf and stem expansion. Phosphorus drives root strength and energy transfer. Potassium oversees water balance and overall vigor. When all three are sparse—which happens in poor, unamended soil—the tree simply doesn’t have the raw materials to build itself bigger. A balanced feeding program restarts that growth engine.
Common Fertilizing Blunders That Backfire on Mulberry Growers
Understanding what your tree needs is half the battle. The other half is knowing what NOT to do. These mistakes are easy to make, especially when you’re trying to help.
When Fertilizer Burns Your Tree: Recognizing Over-Application
More fertilizer doesn’t mean faster growth or healthier trees. Excess fertilizer—especially synthetic granular types—releases high concentrations of mineral salts into the soil. Those salts pull water out of the roots in a process called osmotic stress. The roots shrivel and can’t absorb anything, including water, even if the soil is moist. The tree literally dries from the inside out. Watch for these warning flags:
- Leaf edges turning brown, papery, and crispy—the telltale burn pattern.
- Leaves dropping suddenly, even during the growing season.
- Visible wilting despite adequate soil moisture.
- A white, chalky crust visible on the soil surface—that’s salt accumulation.
If over-fertilization has happened, the fix is patient deep watering. Soak the area repeatedly over several weeks to flush excess salts down and away from where the roots live.
Soil pH: The Silent Barrier That Blocks Nutrient Uptake
This is the trap that caught me. You can apply perfect fertilizer, but if soil pH is off, your tree can’t use it. The pH scale runs from 0 to 14, measuring whether soil is acidic or alkaline. Mulberries do best in the slightly acidic to neutral range: roughly pH 6.0 to 7.0.
When pH drifts outside that window, nutrients get chemically locked up. They’re there in the soil, but the plant can’t access them. Too much alkalinity (high pH)? Iron becomes unavailable, causing the interveinal yellowing we talked about earlier. This is why I found myself chasing nitrogen deficiencies when I should have been correcting pH. The symptom looked like one problem but the root cause was different.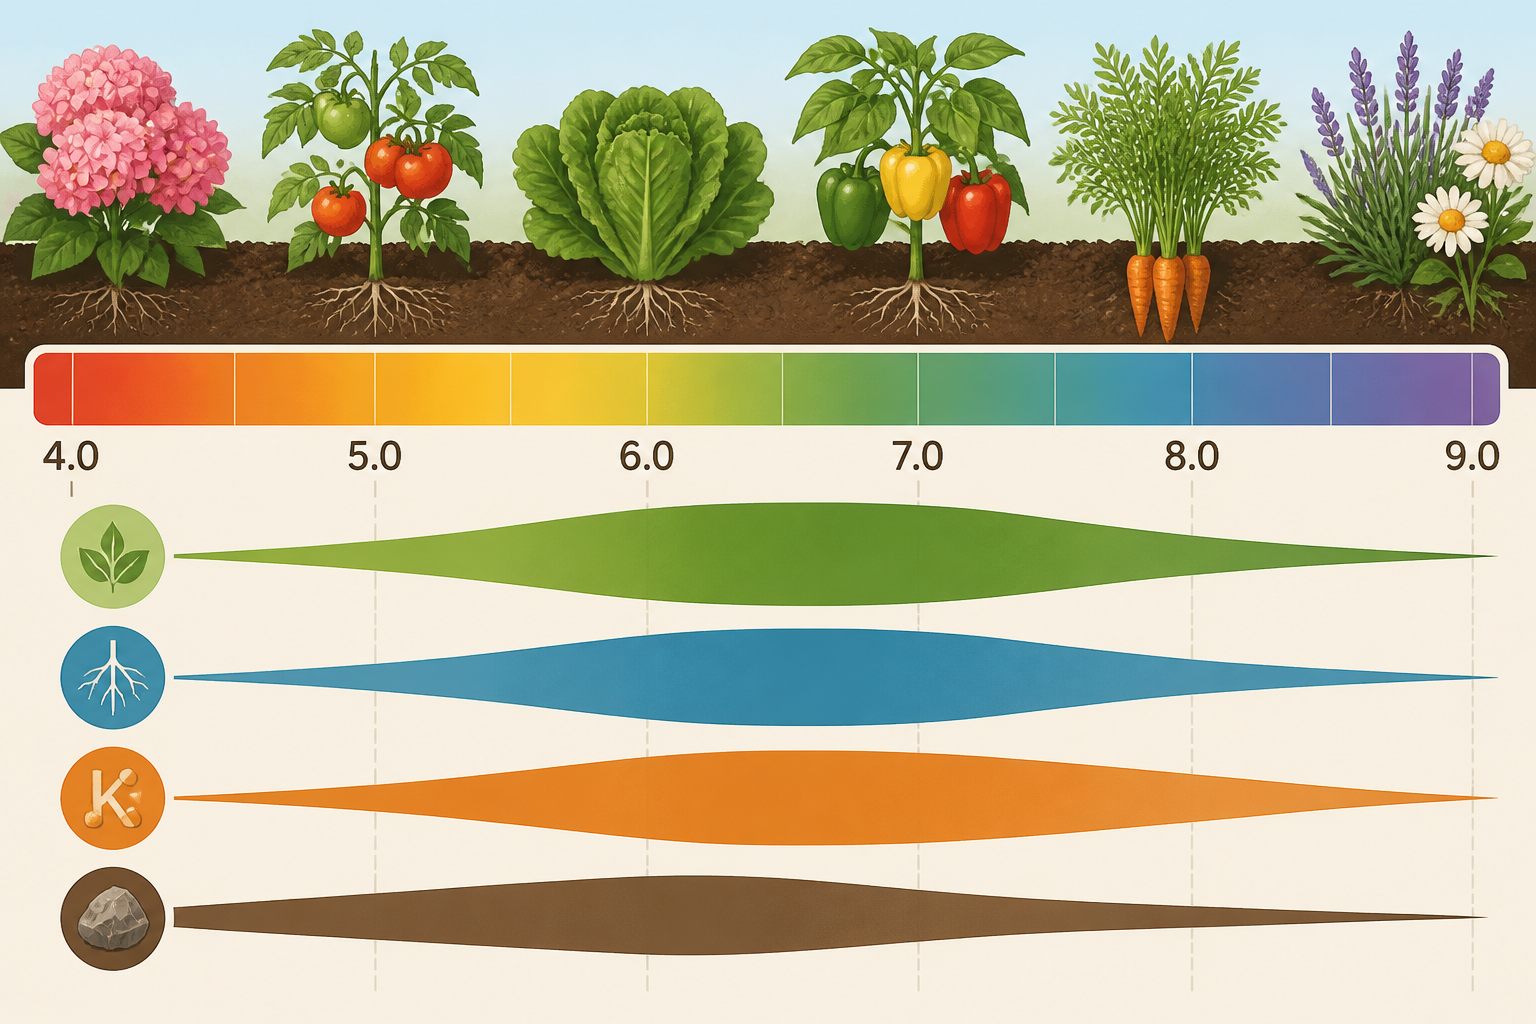
Timing Your Fertilizer Applications for Peak Results (And What to Avoid)
The calendar matters as much as the product. Feed your mulberry at the wrong time and you waste the fertilizer or, worse, you stress the tree.
- The Right Window: Apply fertilizer in late winter or early spring, right as your tree wakes up but before heavy growth starts. This gives it fuel for the season ahead.
- The Danger Zone: Stay away from late summer and fall feeding. Nitrogen applied when days are shortening triggers a flush of tender, new growth that frost will kill. Your tree gets stressed, winter hardiness drops, and you can end up with cold damage.
Building Your Custom Feeding Schedule for Success
Now you know the problems and the pitfalls. Time to put together a plan that works for your specific situation. This isn’t complicated, but it does require paying attention.
Start With Soil Testing: The Foundation of Smart Feeding
Stop guessing. Get a soil test done. Cheap DIY kits from the garden center take ten minutes. Or send a sample to your county extension office for a thorough analysis that tells you pH, nutrient levels, and organic matter content. That information is worth its weight in gold. Instead of throwing fertilizer at problems and hoping, you’ll know exactly what your soil is missing and what it already has plenty of. It saves money, prevents waste, and cuts the guesswork in half.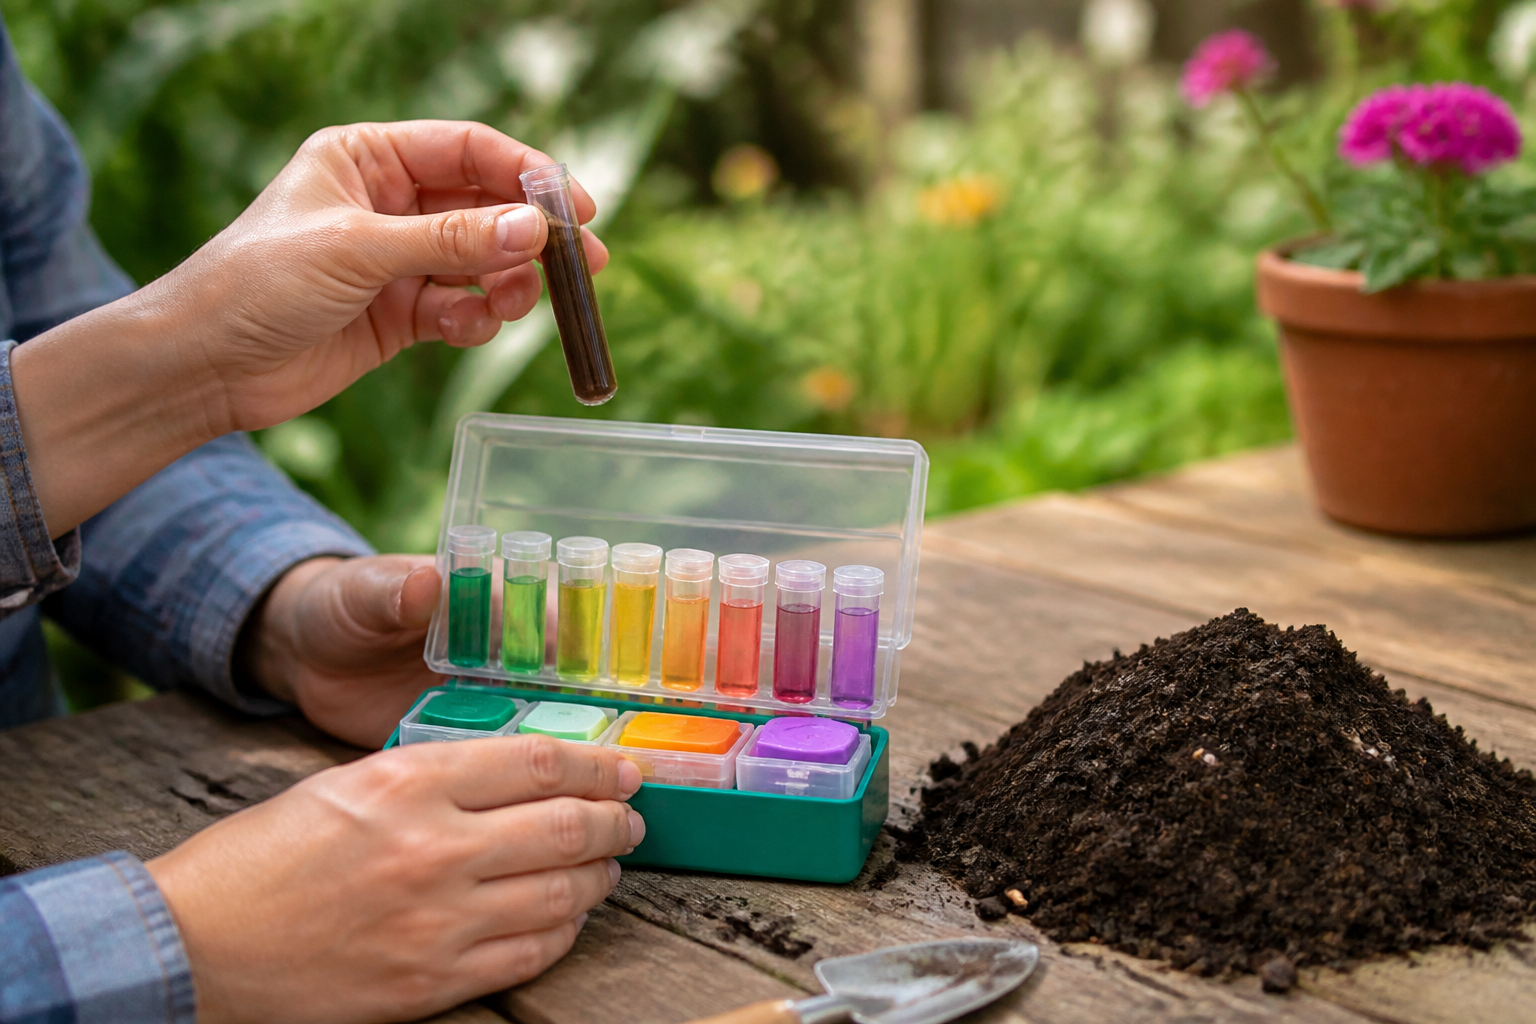
Choosing the Right NPK Ratio for Your Goals
Every fertilizer label shows three numbers—the NPK ratio—representing Nitrogen, Phosphorus, and Potassium percentages.
- For Young Trees or Recovery: A balanced ratio like 10-10-10 works well when you’re establishing a tree or trying to reverse obvious nutrient deficiency. Everything is represented equally, so you’re feeding the whole plant without pushing it in any one direction.
- For Mature, Fruit-Bearing Trees: Once your mulberry is established and you want maximum berries, shift to something like 5-10-10 or a dedicated fruit tree formula. Lower nitrogen prevents excessive leaf production; higher phosphorus and potassium direct energy toward flowers, fruit set, and berry quality.
Organic Options That Actually Work in the Pacific Northwest
If you’re steering toward organic feeding, your options are solid. These sources release nutrients slower and build soil health as a bonus.
- Compost: The gold standard. It’s balanced nutrition plus beneficial microorganisms, all wrapped in one slow-release package that improves soil structure.
- Well-Aged Manure: Nitrogen powerhouse when properly composted. Fresh stuff will scorch roots, but aged manure is safe and effective.
- Bone Meal: A concentrated source of phosphorus. Great for supporting root development and energy transfer in the tree.
- Kelp Meal: Loaded with potassium plus dozens of trace minerals your mulberry wants. This is your micronutrient insurance policy.
The Right Way to Apply Fertilizer So It Reaches the Roots
Proper application technique means the difference between a successful feeding and wasted effort.
- Do the Math: Check the package label for rate guidance. A rough baseline for granular 10-10-10: apply 1 pound per inch of trunk diameter (measured one foot up from the ground). Never exceed the labeled amount.
- Find the Feeder Zone: The tree’s active roots aren’t clustered at the trunk base. They’re spread out under the branch canopy edge, where the drip line is. Spread fertilizer there.
- Scatter Evenly: Broadcast the granules across the soil, starting a foot away from the trunk and extending out to the canopy’s furthest reach.
- Rake It In: Don’t leave it sitting on top. Scratch it gently into the top inch of soil to keep it from washing away in rain.
- Soak It Down: Water thoroughly after application. This activates the fertilizer and moves it toward the root zone where it matters.
The Big Picture: What Matters Beyond Just Feeding Your Tree
Fertilizer is one tool, but it’s not the whole story. Mulberry success depends on getting several things right simultaneously.
Water, Light, and Pruning: The Supporting Cast for Fertilizer Success
- Full Sunlight: Your mulberry needs a minimum of 6-8 hours of direct sun daily to build enough energy for a decent crop. Shade-grown trees will be leafy but fruitless.
- Consistent Water: Young trees need regular moisture to establish. Once mature, they’re drought-tolerant, but periodic deep soaking during dry spells keeps them comfortable. Shallow, frequent watering builds weak roots.
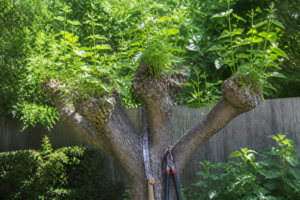
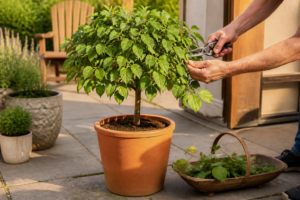
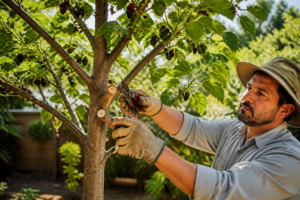
- Dormant-Season Pruning: Prune while the tree is asleep (late winter, before buds break). This improves shape, opens the canopy for better air circulation and disease prevention, and removes any deadwood that’s wasting resources.
Moving Forward: From Guessing to Growing with Confidence
Your struggling mulberry doesn’t need a miracle. It needs you to listen, to test, and to feed it what it actually lacks. Every yellow leaf, every barren branch, every sour berry is information. Once you stop treating fertilizer as a one-size-fits-all solution and start responding to what your specific trees show you, growth and production transform. You’re not becoming a horticulturalist overnight. You’re becoming an observer. You’re learning your soil, your climate, your varieties. That’s how mulberry mastery happens—not through credentials, but through years of close attention and willingness to adjust what isn’t working. Your next harvest will prove it.
Mulberry trees require specific nutrients to thrive and produce abundant fruit. Here are the mulberry fertilizer products available on Amazon that are specifically formulated for mulberry trees and other fruit-bearing plants:
The pH Test That Finally Explained My Yellowing Leaves
I spent two seasons chasing nitrogen deficiencies when my mulberries turned yellow, only to discover the real culprit was soil pH locking up iron and magnesium. A quick pH check would have saved me months of guessing and wasted fertilizer applications.
What works
- Gives you a reading in under a minute—no waiting for lab results or mixing chemical solutions, which matters when you’re troubleshooting multiple trees.
- Helped me pinpoint that my soil was creeping toward 7.5 pH, which explained why acidifying my mulberries with iron supplements wasn’t touching the yellow-leaf problem until I lowered the pH first.
- Portable enough to test different spots in your garden bed—I found my sandy patch was drifting alkaline while my amended corner stayed at 6.8, which changed how I fertilize each zone.
What doesn’t
- The probe can give inconsistent readings if your soil is bone-dry or waterlogged—you need soil moisture somewhere in the middle range, which means timing your test right.
- It only tells you pH, not nutrient levels themselves, so you’ll still need a separate soil test kit if you want the full picture of nitrogen, phosphorus, and potassium.
I almost returned mine after the first reading seemed off until I realized I’d tested the soil right after a downpour and the moisture threw the result. Grab a digital soil pH tester and save yourself the frustration of treating deficiencies that don’t actually exist.
Frequently Asked Questions
How much 10-10-10 fertilizer does a mulberry tree need?
Apply 1 pound of granular 10-10-10 per inch of trunk diameter, measured one foot up from the ground, and never exceed the labeled amount. Spread it under the canopy edge where the drip line is, starting a foot away from the trunk, scratch it into the top inch of soil, then water thoroughly.
Can I use lawn fertilizer on my mulberry tree?
I’d keep lawn fertilizer away from mulberries. Lawn products dump nitrogen into the soil specifically to make grass green and thick, and when that application or runoff reaches your mulberry’s root zone, the tree channels all its energy into stem and leaf production. You end up with beautiful foliage and almost nothing to pick.
How do I fix a mulberry tree burned by too much fertilizer?
Patient deep watering is the fix. Soak the area repeatedly over several weeks to flush the excess mineral salts down and away from where the roots live. The warning signs are brown, papery, crispy leaf edges, sudden leaf drop during the growing season, wilting despite moist soil, and a white chalky crust on the surface.
How much sun does a mulberry need to produce fruit?
My mulberries need a minimum of 6-8 hours of direct sun daily to build enough energy for a decent crop. Shade-grown trees end up leafy but fruitless, and no fertilizer program corrects that. Consistent water and dormant-season pruning in late winter, before buds break, work alongside feeding rather than replacing it.
Keep Reading
About This Article

Written by Ruth Nakamura. Ruth Nakamura is a backyard orchardist in the Pacific Northwest who has grown mulberries for fifteen years, cultivating twelve different varieties in her own backyard. Not a horticulturist by formal training - she shares what she has learned through hands-on growing, workshops, and connecting with nurseries and growers across the country. More about this site.
Scope and limits. Ruth is a backyard orchardist without formal horticultural training. Growing conditions vary enormously by region, so confirm variety, timing, and pest guidance with your local extension service.
Verify this against a primary source
Specifics change, and your situation may differ from the one described here. These are the authorities worth checking directly:
- USDA Plant Hardiness Zone Map — zone verification for your location
- Oregon State University Extension — fruit growing and pruning research
- USDA PLANTS Database — species range and identification